DVD-TR520
AK68-00627D-01
Getting Started
FCC Note for U.S.A
Maintenance of Cabinet
Precaution
Important Safety Instructions
Handling Cautions
Disc Specifications
Disc Storage
Disc Copy
Disc Format
Do not use the following discs
Protection
Contents
Troubleshooting 109
Selecting Record Mode of Each Title from
Changing Record Mode of All Titles from
Before Recording
High quality Progressive Scan
General Features
Copy from P Tray to R Tray
Variety of functions with an easy-to-use user interface
How to use
Before Reading User’s Manual
Editing on discs is easier than conventional video
With a simple and easy edit menu, you can operate
Setting the Remote Control
Preparing the Remote Control
Unpacking
Encounter problems, operate the television directly
Controlling TVs with the Remote Control
See Controllable TV Codes
Description
Front Panel
Front Panel Display
AV Video OUTgood video quality
Rear Panel
Component Video OUTbest video quality
Video OUTbetter video quality
Tour of the Remote Control
Connecting & Setting up
Quick Overview
If you are using an off-air antenna that
Antenna Cable
Method 1 Antenna + Twin Tray DVD Recorder + TV No Cable box
Connecting & Setting up
Method 1 Connecting to a Video input jack
Progressive Scan Output 480p
Method 2 Connecting to an Video input jack
Method 3 Connecting to Component video input jacksY,PB,PR
Make sure that the color coded
Manufactured under license from Dolby
Method 1 Connecting to your TV
Connecting to your TV
This connection will use your TV’s speakers
AV 1 in jacks
Method 1 Connecting a VCR, Set
Copy protected content cannot be recorded
Top BoxSTB or DVD player to
Power Cord
Method 2 Connecting a Camcorder to the AV 2 in jacks
Method 3 Connecting a Camcorder to the DV in jack
…†, œ √ Buttons
On-Screen Menu Navigation
Menu Button
Enter Button
OSD Language Setup
Auto Clock Set
Clock Data CH
Time Zone
Daylight Saving
Manual Clock Set
Press the …† buttons to select Antenna/Cable
TV, then press the Enter or √ button
Manual Channel Set
Press the …† buttons to select Channel Set
Then press the Enter or √ button
Auto Power Off Setting
EP Mode Time Setting
Setting up the Front Display Options
Press the …† buttons to select the desired item
DVD-RWV
Setting up the Language Options
Setting up the Audio Options
Press the Return or œ button to return
When DTS soundtrack is played, sound
Digital Output
Dynamic Compression
TV Aspect
Setting up Progressive scan
AV1 Video Input
Input Level
If the P.SCAN button on the Twin Tray
Canceling Progressive scan
Message Video Output Mode Progressive
Scan will appear
Press the Enter or √ button to select Password
If you forgot your password
Enter the 4-digit password using the number
Do not press the P.SCAN button if you are
About the Rating Level
About the Change Password
See page 40 if you forgot your password
Press the …† buttons to select Rating Level
Disc types that can be played
Before Playing
Region code DVD-Video only
Discs that cannot be played
Playing a Disc
This Twin Tray DVD Recorder can only
DVD-RAM Standard Version
For DVD-VIDEO discs
For DVD-RAM/-RW/-R Disc
Skipping Chapters, a Tracks or Markers
Using the Search & Skip Functions
Searching through a Chapter or Track
No sound is heard during ScanSearch
Slow Motion Play Step Motion Play
Moving to a scene directly using
About Anykey
Slow Motion Play
Using Time
Using the Title List button
Playing the Title List
About Info button
VR mode
Navigation Menu
Scene Navigation
Using the Anykey button
Time Navigation
Title List button
An edited title may not display exact
Title is shorter than 1 minute
Unit
Search time
Press the Enter button when the desired scene
Using the Markers
Using the Marker button
Press the Marker button during playback
Press the Marker button during playback
Press the …† buttons to select Marker
When the disc tray is opened and then
Closed, bookmarks will disappear
Mode
Press the Cancel button to delete the selected bookmark
Playing from the selected scene
Using the Subtitle button
Language
Press the Subtitle button during playback
Selecting the Audio
Using the Audio button
Audio Channels
Press the Audio button during playback
Angle
Using the Repeat button
Changing the Camera
Playing RepeatedlyRepeat Playback
DVD-RAM/-RWVR mode, unfinalized
Using the Repeat A-B button
Repeat A-B
Do not repeat a chapter
Zooming-In
If you set point B before five seconds
Playing an Audio CDCD-DA
Playing an Audio
Select Tray
Audio CDCD-DA Screen Elements
If a disc contains only MP3 files or only
Playing an MP3 Disc
MP3 Screen Elements
Press the Search buttons Fast Play X2, X4
Buttons on the Remote Control used for MP3 playback
Repeat CD CD-DA & MP3
To return to normal playback
Repeat Track CD CD-DA/MP3
New Playlist
Disc
Plays a disc’s track in random order
Go To Playlist
After playback of selected playlist folder
Has finished, next playlist folder is played automatically
Delete the Playlist
Go To Edit Playlist
Enter or Cancel button
Go To Music List
Select Tray
Rotate
To set up, follow steps 1~3 Press the Anykey button
Slide Show
To stop the Slide Show
To stop the Zoom
Zoom
Go To Photo List
X2 X4 X2 Normal
DVD-R disc cannot be unfinalized
Before Recording
Recordable Discs
Compatibility between Samsung and Other Company’s Recorder
Recording Formats
Recording Mode
DVD-RAM/-RWVR mode
DVD-RWV mode/-R
Concerning Copy Control Signals
Unrecordable video
Before you start
To pause recording
To stop recording
Channel while recording
SP LP EP XP
Recorder using a DV cable
Press the REC Mode button repeatedly to select
Recording speedquality
If you want to record a TV channel, press
030 100 .. Off
Timer counter decreases by
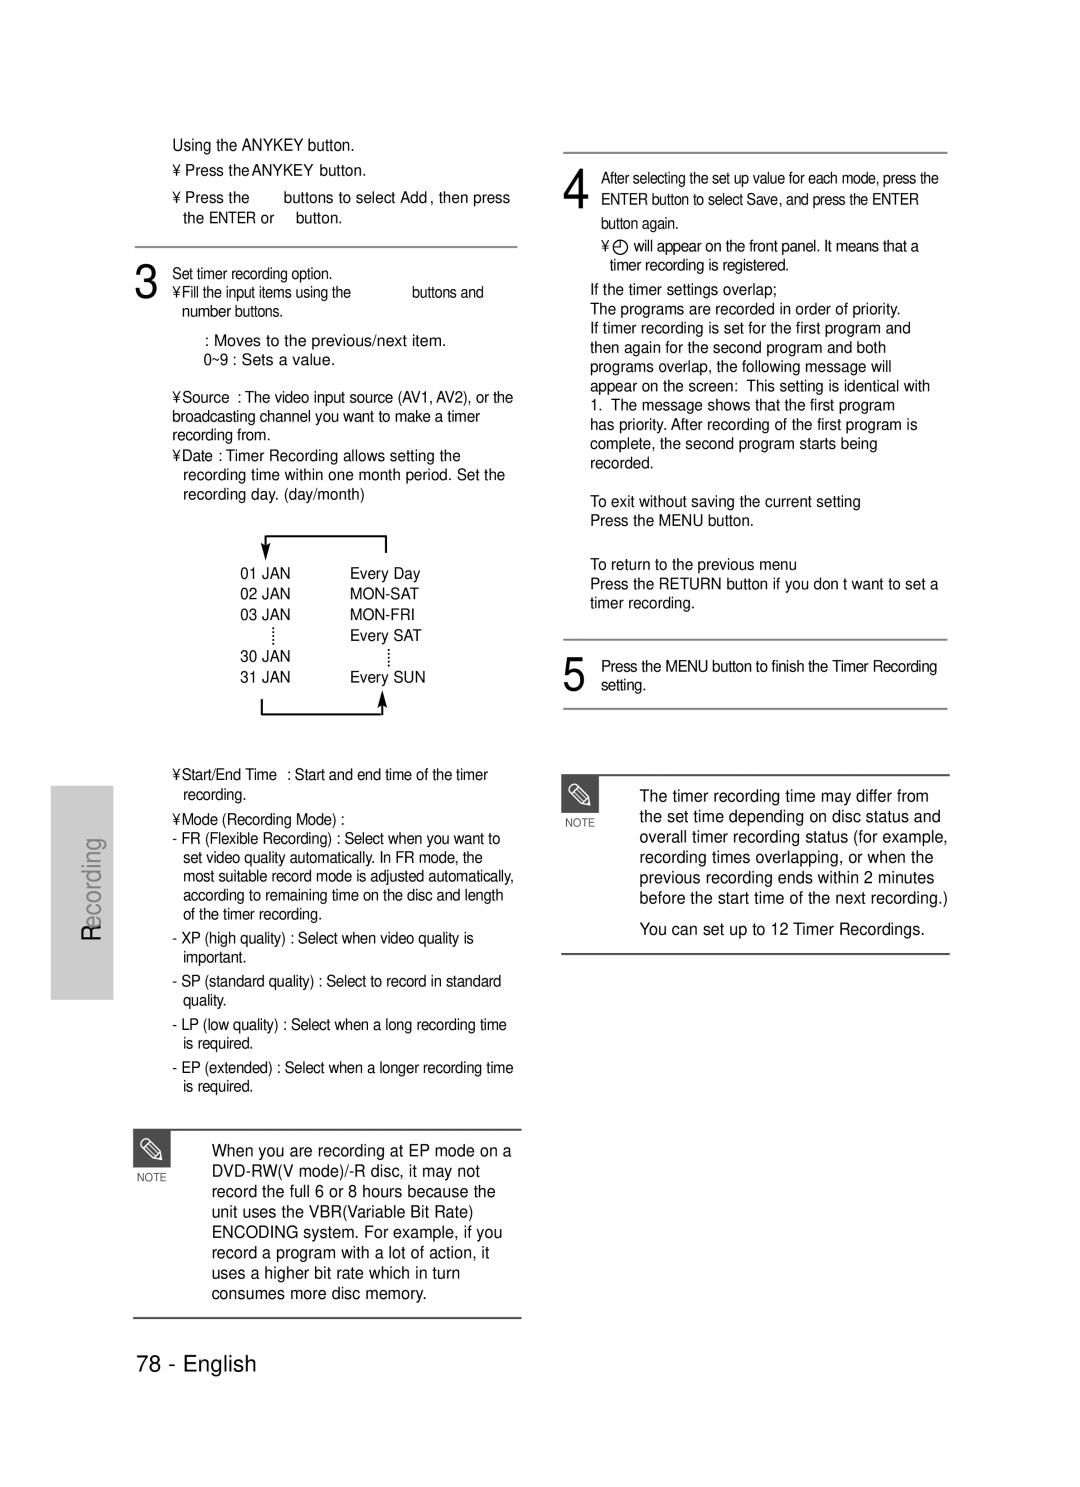
Making a Timer Recording
Using the Timer button
About Info button
You can set up to 12 Timer Recordings
When you are recording at EP mode on a
Timer recording time may differ from
DVD-RWV mode/-R disc, it may not
Editing the Timer Record List
Flexible Recording
Press the Anykey button
Deleting a Timer Record List
Timer Record List screen will disappear
Enter button Selected entry will be deleted from the list
Play List
Available only in the R Tray
Title List
Edit functions of Title List and Play List are
Then press the Enter or √ button
RenamingLabeling a Title
Press the …† buttons to select Title
Button
Deleting a Title
Button on the remote control
Locking Protecting a Title
Title List screen is displayed
Enter button
Want to delete a protected entry, select
Off in the Title Protection menu. See
You cannot delete a protected entry. If you
Deleting a Section of a Title Partial Delete
Title List button Title List screen is displayed
Press the Enter or √ button
Section deletion starting point window To delete?
Press the Enter button at the starting point
Image and starting point time are displayed
Press the Enter button at the end point
Playlist
Creating a Playlist
Image and time at the start point are displayed on
Using the Play List button
Playing Entries in the Playlist
With the unit in Stop mode, press the Menu button
Renaming a Playlist Entry
Button Edit Playlist screen is displayed
Button Anykey menu is displayed Rename, Delete, Edit
Follow these instructions to edit scenes for a playlist
Editing a Scene for the Playlist
Edit Playlist, Go To Titlelist, Disc Manager
Edit Playlist Scene screen is displayed
To setup, follow steps 1 to 4
Enter or √ button Modify Scene screen is displayed
Using, the displayed screen may appear
Depending on the type of disc you are
Slightly different
To setup, follow steps 1 to 4 on
Press the …† œ √ buttons to select the scene that
Scene
Want to delete, then press the Anykey button
Deleting a Playlist Entry from the Playlist
Press the …† œ √ buttons to select the scene you
Message Do you want to delete the scene ? is displayed
ContentsTitle Copy Specifications
Title Copy
About the Copy Screen
Copy To move to other pages, press the Skip Buttons
Player Tray
MP3, JPEG, DivX, VCD, Cdda discs cannot be copied
Previous page of title list
About Using Direct Copy button
Copying a Title that has been edited
Copying an Unedited title
Tray simultaneously
Changing the Record Mode
At the maximum speed possible
High speed copy Copying can be performed
Title List screen is displayed Press the Anykey button
Button on the remote control
Copying Multiple Titles at One Time
Press the …† buttons to select Copy, then press
Deleting an Undesired Title from the Copy List
If copy list contains at least one title that
Described on
Selecting Record Mode of Each Title from the Copy List
Previewing a Selected Title from the Copy List
Changing Record Mode of All Titles from the Copy List
Disc Copy Specifications
Disc Copy
Direct Copy button
Disc Manager
Editing the Disc Name
Deleted. Do you want to continue? message is
Cartridge protect is cleared
Disc Protection
Before beginning editing
You may need to clear the disc protection
Delete All Title Lists
Discs created in DVD-V mode can be
Formatting a Disc
Be played in DVD recorders
Finalizing a Disc
Entries from the record list
Unfinalizing a Disc V/VR mode
Once a disc is finalized, you cannot delete
Disc is finalized
Enter button Disc is unfinalized
DVD-RW can be finalized or unfinalized Video mode
DVD-RW can be finalized or unfinalized in VR mode
Finalize Unfinalize
Recording
Troubleshooting
Power
Cannot record TV programs
When the disc contains images
Angle operation does not work while playing a DVD disc
Captured from different angles
Video
Timer Recording
Timer lamp flickers
Sound
Forgot my password for parental supervision
Remote Control Unit
Remote control doesnt work Other problems
Other
Specifications
Audio Output
Warranty
One 1 Year Parts / Ninety 90 Days Labor
Challenger Road, Rldgefield Park, N.J 07660-0511
Valley Road, Suite 201, Mount Arlington, NJ Samsung