Paper menu
Use the Paper menu to define all settings relating to print material input and output, as well as the specific print material you are using with your printer.
Item |
| Explanation |
|
| |
Copies | Set the default number of copies by selecting any | |
| number from 1 to 999. | |
|
| |
Paper Size | Select the paper size currently loaded in the tray. | |
|
| |
Paper Type | Select the paper type currently loaded in the tray. | |
|
| |
Paper | Using this item, you can set which tray you want to | |
Source | use. | |
| • | If you select Auto, the printer can automatically |
|
| determine the source. |
| • | Select MP Tray or Manual Tray to use the multi- |
|
| purpose tray. If you select Manual Tray, you |
|
| need to press OK each time you print a page. |
| • Tray 2 is available only when an optional tray 2 is | |
|
| installed. |
|
| |
Tray | When you select any other value except Auto from | |
Chaining | Paper Source and the selected tray is empty, the | |
| printer automatically prints from other trays. | |
| If this menu item is set to Off, the printer does not | |
| work until you insert paper into the specified tray. | |
|
|
|
Graphic menu
Use the Graphic menu to change settings affecting the quality of the printed characters and images.
Item |
| Explanation |
|
| |
Resolution | Specify the number of dots printed per inch (dpi). | |
| The higher the setting, the sharper printed | |
| characters and graphics. | |
| • | If your print jobs are mostly text, select 600dpi- |
|
| Normal for the highest quality printing. |
| • | Select |
|
| bitmapped images, such as scanned photos or |
|
| some graphics, that will benefit from enhanced |
|
| line screening. |
|
| |
Darkness | You can lighten or darken the print on the page by | |
| changing the toner density setting. The Normal | |
| setting usually produces the best result. Use the | |
| Light toner density setting to save toner. | |
|
| |
Image | This item enhances the print quality. | |
Enhance | • | Normal: Doesn’t enhance the quality. |
| • | Text Enhance: Enhances letters and simple |
|
| figures. |
|
|
|
System Setup menu
Use the System Setup menu to configure a variety of printer features.
Item |
|
| Explanation | |||
|
|
|
|
|
| |
Language | This setting determines the language of the text | |||||
| that appears on the control panel display and | |||||
| information printing. |
|
| |||
|
|
|
|
|
| |
Power Save | When the printer does not receive data for an | |||||
| extended period of time, power consumption is | |||||
| automatically lowered. You can set how long the | |||||
| printer waits before going to power save mode. | |||||
|
|
|
|
|
| |
Auto | This item determines whether or not the printer | |||||
Continue | continues printing when it detects the paper | |||||
| unmatched to your paper setting. | |||||
| • | Off: If a paper mismatch occurs, the message | ||||
|
| will remain on the display and the printer will | ||||
|
| wait until you insert the correct paper. | ||||
| • | On: If a paper mismatch occurs, an error | ||||
|
| message will display. The printer will wait for 20 | ||||
|
| seconds, then automatically clear the message | ||||
|
| and continue printing. |
|
| ||
|
|
|
|
|
| |
Altitude Adj. | You can optimize print quality according to your | |||||
| altitude. |
|
| |||
|
|
|
|
|
| |
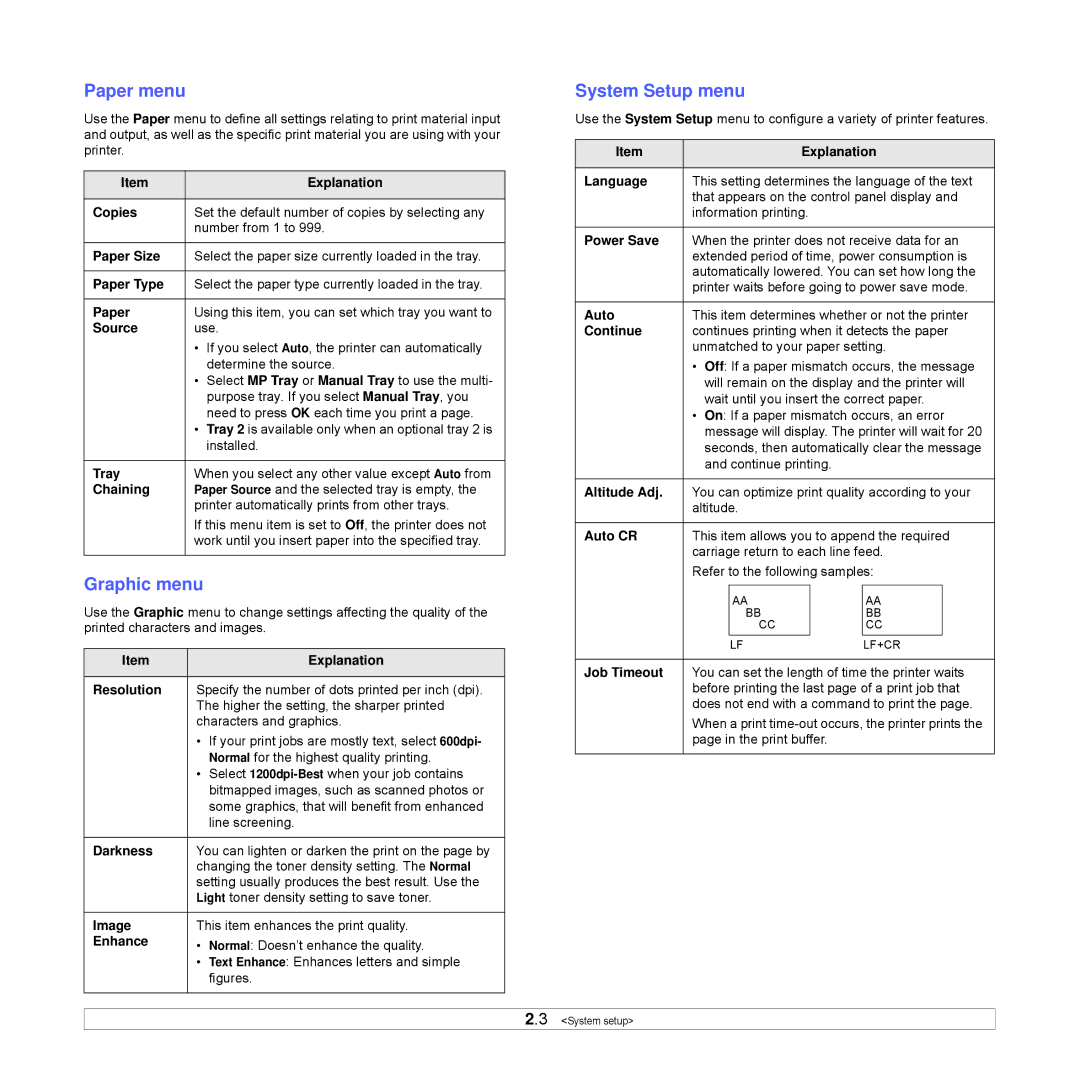
Auto CR | This item allows you to append the required | |||||
| carriage return to each line feed. | |||||
| Refer to the following samples: | |||||
|
|
|
|
|
|
|
|
|
| AA |
| AA |
|
|
|
| BB |
| BB |
|
|
|
| CC |
| CC |
|
|
|
| LF | LF+CR | ||
|
|
|
|
|
| |
Job Timeout | You can set the length of time the printer waits | |||||
| before printing the last page of a print job that | |||||
| does not end with a command to print the page. | |||||
| When a print | |||||
| page in the print buffer. |
|
| |||
|
|
|
|
|
|
|
2.3 <System setup>