Using the tray 1 or the optional tray 2
Use the print material you use for the majority of your print jobs in the tray 1. The tray 1 can hold a maximum of 250 sheets of 80 g/m2 paper.
You can purchase an optional tray 2 and attach it below the tray 1 to load an additional 250 sheets of paper.
To load paper, pull open the tray and load paper with the side to be printed on face down.
You can load letterhead paper with the design side face down. The top edge of the sheet with the logo should be placed at the front of the tray.
Notes
• If you experience problems with paper feed, place one sheet at a time in the
•You can load previously printed paper. The printed side should be facing up with an uncurled edge at the front. If you experience problems with paper feed, turn the paper around. Note that the print quality is not guaranteed.
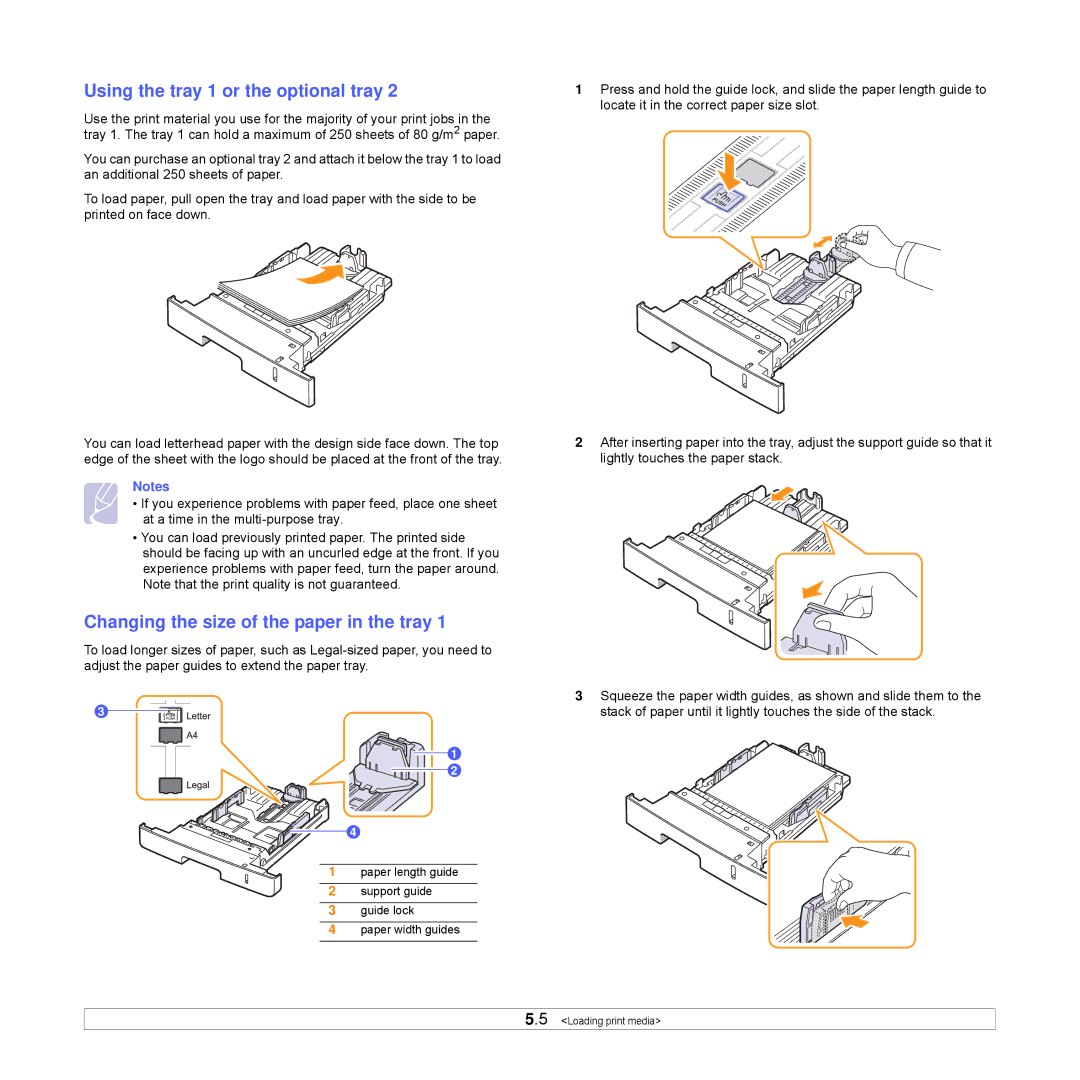
Changing the size of the paper in the tray 1
To load longer sizes of paper, such as
3
1
2
4
1 paper length guide
2 support guide
3 guide lock
4 paper width guides
1Press and hold the guide lock, and slide the paper length guide to locate it in the correct paper size slot.
2After inserting paper into the tray, adjust the support guide so that it lightly touches the paper stack.
3Squeeze the paper width guides, as shown and slide them to the stack of paper until it lightly touches the side of the stack.
5.5 <Loading print media>