Selecting the Picture Size
You can select the picture size which best corresponds to |
|
|
|
|
| |
|
| Picture |
|
| ||
your viewing requirements. |
| More |
|
|
| |
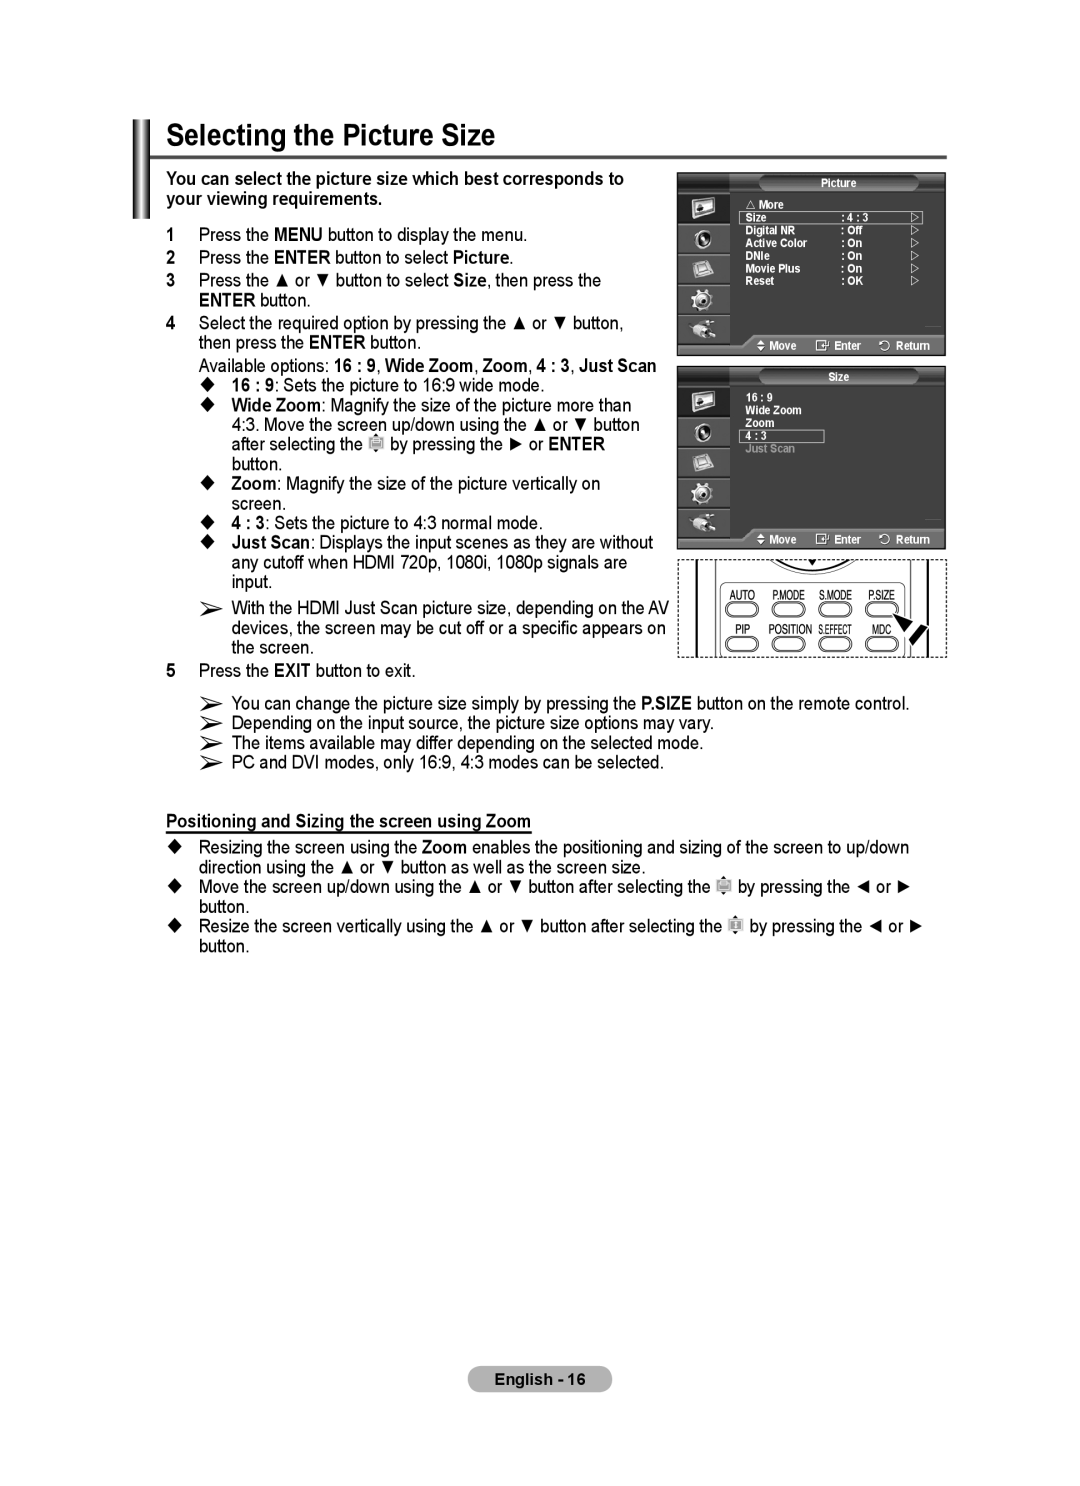
1 | Press the MENU button to display the menu. |
| Size | : 4 : 3 | |
|
| Active Color | : On | |
| ||
|
|
| Digital NR | : Off | |
|
2 | Press the ENTER button to select Picture. |
| DNIe | : On | | |
3 | Press the ▲ or ▼ button to select Size, then press the |
| Movie Plus | : On | | |
| Reset | : OK | | |||
| ENTER button. |
|
|
|
|
|
4Select the required option by pressing the ▲ or ▼ button,
then press the ENTER button. |
| Move | Enter | Return |
Available options: 16 : 9, Wide Zoom, Zoom, 4 : 3, Just Scan |
|
|
|
|
|
| Size |
| |
16 : 9: Sets the picture to 16:9 wide mode. |
|
|
| |
16 : 9 |
|
| ||
Wide Zoom: Magnify the size of the picture more than |
|
| ||
| Wide Zoom |
|
| |
4:3. Move the screen up/down using the ▲ or ▼ button |
| Zoom |
|
|
after selecting the by pressing the ► or ENTER |
| 4 : 3 |
|
|
| Just Scan |
|
| |
button. |
|
|
|
|
Zoom: Magnify the size of the picture vertically on screen.
4 : 3: Sets the picture to 4:3 normal mode.
Just Scan: Displays the input scenes as they are without | Move | Enter | Return |
any cutoff when HDMI 720p, 1080i, 1080p signals are |
|
|
|
input. |
|
|
|
➢ With the HDMI Just Scan picture size, depending on the AV devices, the screen may be cut off or a specific appears on the screen.
5Press the EXIT button to exit.
➢You can change the picture size simply by pressing the P.SIZE button on the remote control.
➢Depending on the input source, the picture size options may vary.
➢The items available may differ depending on the selected mode.
➢PC and DVI modes, only 16:9, 4:3 modes can be selected.
Positioning and Sizing the screen using Zoom
Resizing the screen using the Zoom enables the positioning and sizing of the screen to up/down direction using the ▲ or ▼ button as well as the screen size.
Move the screen up/down using the ▲ or ▼ button after selecting the ![]() by pressing the ◄ or ► button.
by pressing the ◄ or ► button.
Resize the screen vertically using the ▲ or ▼ button after selecting the ![]() by pressing the ◄ or ► button.
by pressing the ◄ or ► button.
English - 16