Setting the Home Theatre PC
➢ Preset to the PC mode by pressing the SOURCE button. |
|
|
|
| |
| Setup |
|
| ||
You can view higher quality pictures by configuring the |
| Screen Burn Protection | | ||
screen settings in PC Mode. |
| Language | : English | | |
| Time | : Off | | ||
If you set the Home Theatre PC function to On, you can |
| Blue Screen | | ||
|
| Game Mode | : Off | | |
configure the Detailed Settings (when Picture Mode is set to |
| Melody | : Off | | |
Standard or Movie) as in PC Mode. |
| PC |
| | |
| Home Theatre PC | : Off | |
| |
1 Press the MENU button to display the menu. |
| More |
|
|
|
|
|
|
|
| |
2 Press the ▲ or ▼ button to select Setup, then press the |
| Move | Enter | Return | |
ENTER button. |
|
|
|
|
|
3 Press the ▲ or ▼ button to select Home Theatre PC, then |
|
|
|
|
|
press the ENTER button. |
|
|
|
|
|
4Select Off or On by pressing the ▲ or ▼ button, then press the ENTER button.
5 Press the EXIT button to exit.
➢ This function is available only in PC mode.
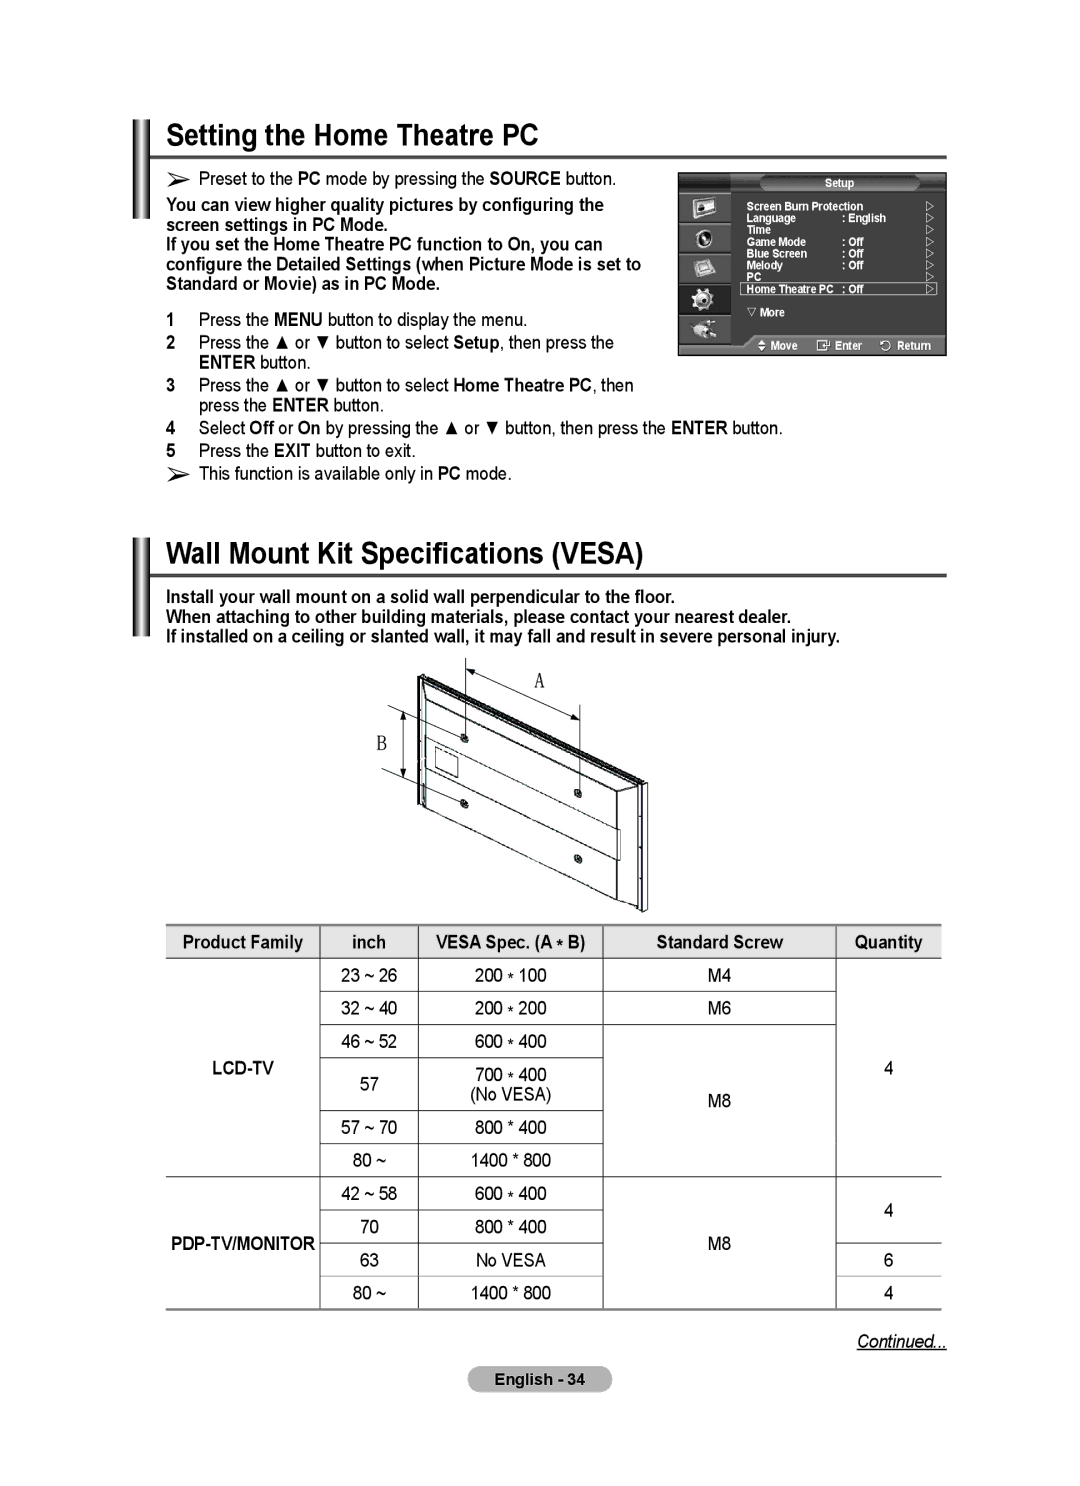
Wall Mount Kit Specifications (VESA)
Install your wall mount on a solid wall perpendicular to the floor.
When attaching to other building materials, please contact your nearest dealer.
If installed on a ceiling or slanted wall, it may fall and result in severe personal injury.
Product Family | inch | VESA Spec. (A * B) | Standard Screw | Quantity | |
| 23 ~ 26 | 200 * 100 | M4 |
| |
| 32 ~ 40 | 200 * 200 | M6 |
| |
46 ~ 52 | 600 * 400 |
| 4 | ||
57 | 700 * 400 |
| |||
|
|
| |||
|
| (No VESA) | M8 |
| |
| 57 ~ 70 | 800 * 400 |
|
| |
|
|
|
|
| |
| 80 ~ | 1400 * 800 |
|
| |
|
|
|
|
| |
| 42 ~ 58 | 600 * 400 |
| 4 | |
70 | 800 * 400 | M8 | |||
| |||||
|
|
| |||
63 | No VESA | 6 | |||
|
| ||||
| 80 ~ | 1400 * 800 |
| 4 |
Continued...
English - 34
