SMX-F53BN/SMX-F53RN/SMX-F53SN/SMX-F53UN, SMX-F54BN/SMX-F54RN/SMX-F54SN/SMX-F54UN, SMX-F500BN/SMX-F500RN/SMX-F500SN/SMX-F500UN, SMX-F50BN/SMX-F50RN/SMX-F50SN/SMX-F50UN, SMX-F530BN/SMX-F530RN/SMX-F530SN/SMX-F530UN specifications
The Samsung SMX-F530 series, including models SMX-F530BN, SMX-F530RN, SMX-F530SN, and SMX-F530UN, along with the SMX-F50, SMX-F500, and SMX-F54 series, exemplify Samsung's commitment to innovation in the camcorder market. These models cater to both amateur and semi-professional videographers seeking high-quality performance in a lightweight and portable design.One of the standout features of the SMX-F530 series is its 1/5.8" 1.5 MP CCD sensor, which ensures impressive image quality with vibrant colors and sharp details. This sensor works in concert with Samsung's powerful image processing technology, delivering videos in stunning 1080p resolution. The integrated 20x optical zoom lens allows for excellent subject framing, making it easy to capture distant subjects without significant loss in quality.
The SMX-F50 and SMX-F500 series offer similar specifications but come with additional enhancements like advanced optical image stabilization (OIS). This technology significantly reduces camera shake, enabling smooth video recording, even in dynamic shooting conditions. The OIS feature is particularly beneficial for users who are recording while moving, ensuring their final product remains steady and professional-looking.
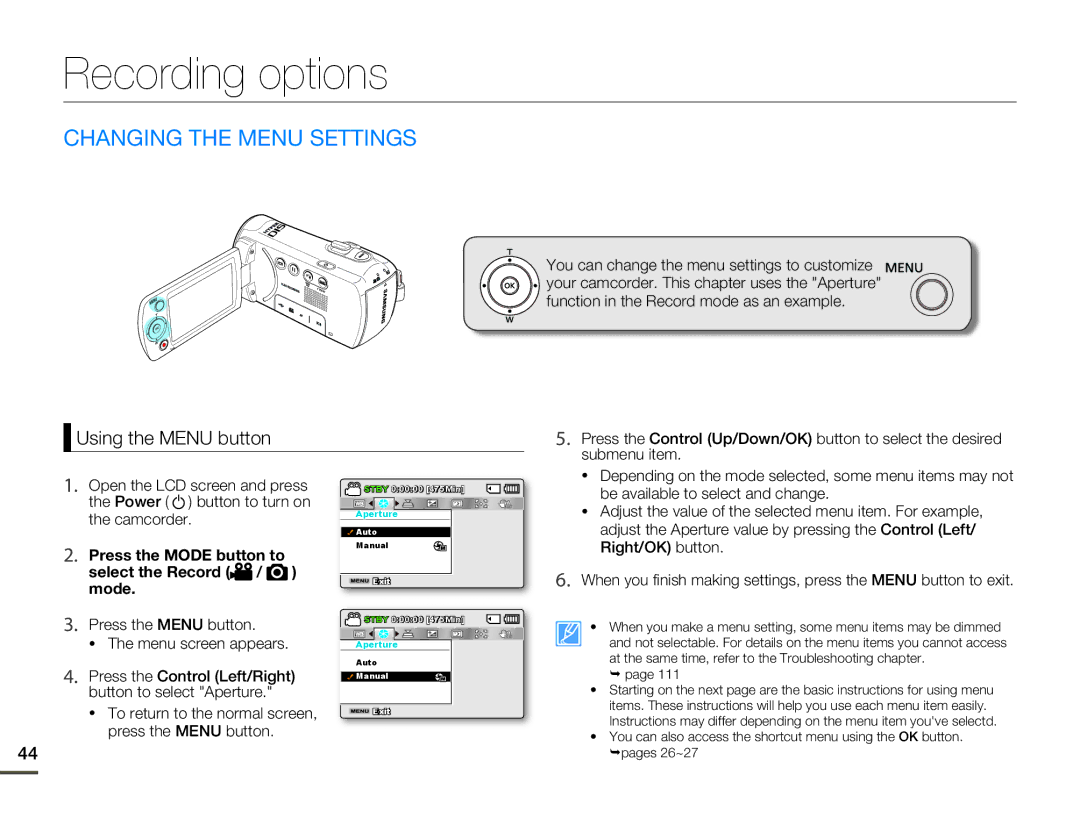
Another notable characteristic of these camcorders is their dual memory card slots, which support both SD and SDHC cards. This feature provides ample storage for extended shooting sessions, allowing users to easily switch cards without interrupting their recordings. The user-friendly interface, combined with a robust menu system, enables quick access to various shooting modes, including Night Mode and a range of scene selections, ensuring optimal results in different lighting conditions.
Wireless connectivity options are another highlight, with features such as Wi-Fi capability. This allows users to stream footage to their devices or upload videos directly to social media platforms, enhancing the sharing experience. Additionally, the built-in USB port simplifies data transfer, making it easier to back up footage or share it with friends and family.
With their overall design focused on usability, portability, and advanced imaging technology, the Samsung SMX-F53, SMX-F54, SMX-F50, and SMX-F500 camcorders stand out in the crowded market. Whether capturing precious family moments, documenting travel adventures, or producing creative projects, these camcorders are well-equipped to meet the diverse needs of users while delivering exceptional video quality. This blend of features and technology underscores Samsung’s dedication to creating versatile devices that appeal to video enthusiasts at any level.

