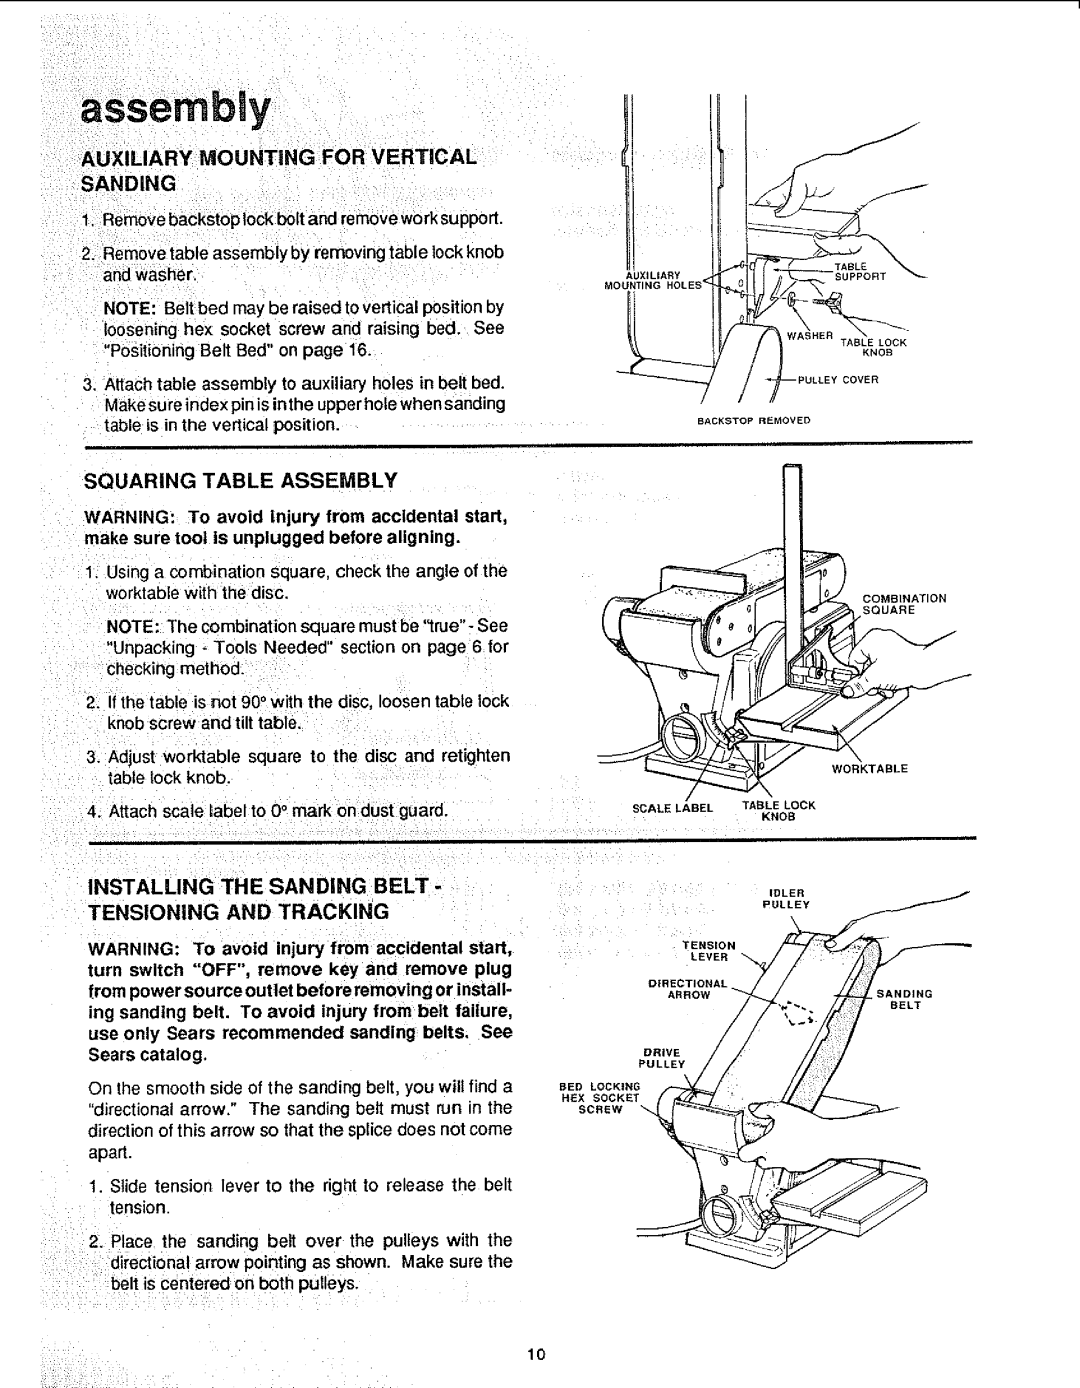
113.22643 specifications
The Sears 113.22643 is a classic sewing machine that has earned a reputation for reliability and versatility among sewing enthusiasts. Modelled as a product of the mid-20th century, this machine showcases a perfect blend of traditional design and functional capabilities that appeals to both beginners and experienced crafters.One of the main features of the Sears 113.22643 is its robust construction. Built with a steel frame, it ensures durability and stability during operation. This solid build quality allows the machine to handle a variety of fabrics, from lightweight cottons to heavier materials like denim, making it a versatile choice for garment creation, quilting, and home decor projects.
Another key characteristic is its straightforward mechanical design. The machine is equipped with a simple stitch selection feature, which allows users to easily switch between basic stitches such as straight, zig-zag, and decorative patterns. This approach caters to both novice sewers who may appreciate the ease of use as well as seasoned seamstresses who prefer a machine that can quickly adapt to different sewing techniques.
The Sears 113.22643 also includes adjustable settings for stitch length and width, providing users with greater control over their sewing projects. This customization capability is particularly useful for achieving professional-looking hems, topstitching, and various decorative finishes.
In terms of technology, the machine features a reliable drop-in bobbin system, minimizing the guesswork typically associated with threading. This design not only simplifies the setup process but also enhances the sewing experience by reducing the likelihood of thread jams and misalignments.
Additionally, the Sears 113.22643 incorporates a built-in needle threader, which proves incredibly helpful for those who may struggle with the sometimes tedious task of manually threading the needle. This practical feature allows for quicker project completion, ensuring that the sewing experience remains enjoyable.
Furthermore, the compact size of the machine makes it portable, allowing enthusiasts to easily transport it to sewing classes, workshops, or quilting retreats. The classic aesthetic appeal of the Sears 113.22643, with its vintage charm, can also serve as a nostalgic centerpiece in any sewing room.
Overall, the Sears 113.22643 stands out for its reliability, user-friendly features, and adaptable performance. It represents an excellent choice for anyone looking to embark on their sewing journey or seeking a dependable machine for their creative endeavors. Whether you're a hobbyist or an experienced sewer, the Sears 113.22643 continues to be a valuable tool in crafting functional and beautiful handmade items.

