I KEEPYOUR DUSPENSnNG
LUBRICATION
lubricate the solution pump as follows:
1.Unplug the electrical power cord,
2.Loosen the set screw in the feed control knob
and remove the knob and bushing,
3.Remove the pump top cover,
4.Clean all the grease from the moving parts and inspect for wear, damage or corrosion. Replace parts as needed
5.Lubricate all parts with a premium grease,
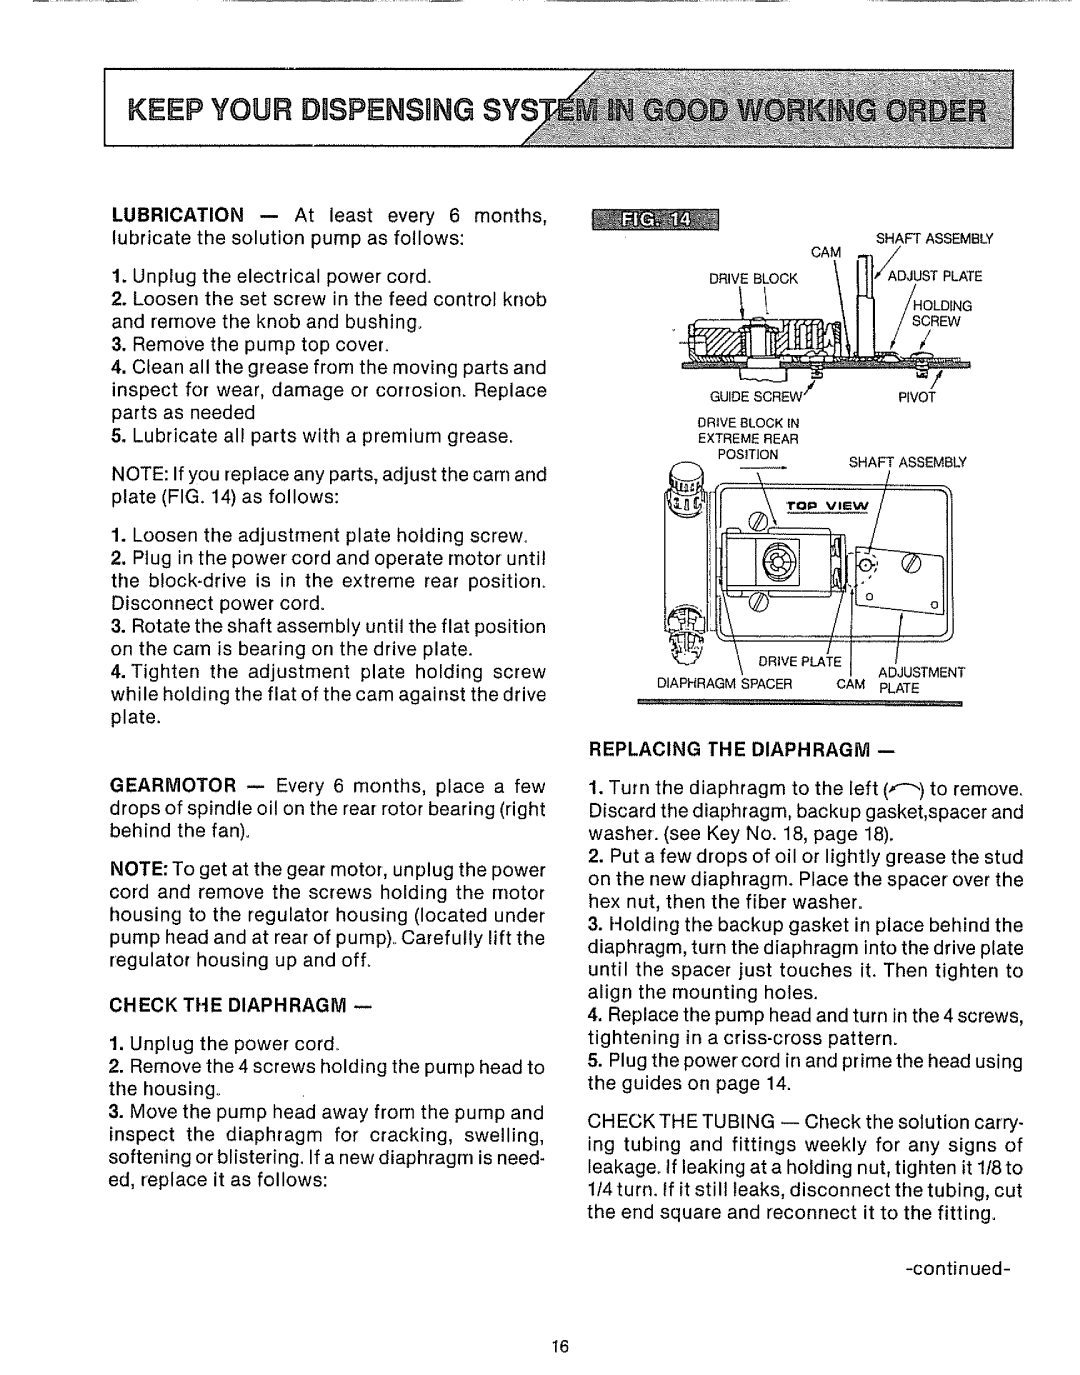
NOTE: If you replace any parts, adjust the cam and plate (FIG. 14) as follows:
1.Loosen the adjustment plate holding screw.
2.Plug in the power cord and operate motor until
the
Disconnect power cord.
3.Rotate the shaft assembly until the flat position on the cam is bearing on the drive plate.
4.Tighten the adjustment plate holding screw while holding the flat of the cam against the drive plate.
GEARMOTOR I Every 6 months, place a few drops of spindle oil on the rear rotor bearing (right behind the fan).
NOTE: To get at the gear motor, unplug the power cord and remove the screws holding the motor housing to the regulator housing (located under pump head and at rear of pump). Carefully lift the regulator housing up and off_
CHECK THE DIAPHRAGM
1.Unplug the power cord.
2.Remove the 4 screws holding the pump head to the housing°
3.Move the pump head away from the pump and
inspect the diaphragm for cracking, swelling, softening or blistering. If a new diaphragm is need- ed, replace it as follows:
| SHAFT ASSEMBLY |
| CAM |
DRIVE BLOCK |
|
! | /HOLDING |
| ! REW |
GUIDE SCREW / | ! |
PIVOT | |
DRIVE BLOCK IN |
|
EXTREME REAR |
|
POSITION |
|
rf.......\ ° v._.w/
_SHAFT ASSEMBLY
/ oi ojj
\ DRIVE PLATE
yADJUSTMENT
DIAPHRAGM SPACER CAM PLATE
REPLACING THE DIAPHRAGM --
1.Turn the diaphragm to the left
2.Put a few drops of oil or lightly grease the stud
on the new diaphragm. Place the spacer over the hex nut, then the fiber washer.
3.Holding the backup gasket in place behind the diaphragm, turn the diaphragm into the drive plate until the spacer just touches it. Then tighten to align the mounting holes.
4.Replace the pump head and turn in the 4 screws,
tightening in a
5.Plug the power cord in and prime the head using the guides or] page 14.
CHECK THE TUBING
16