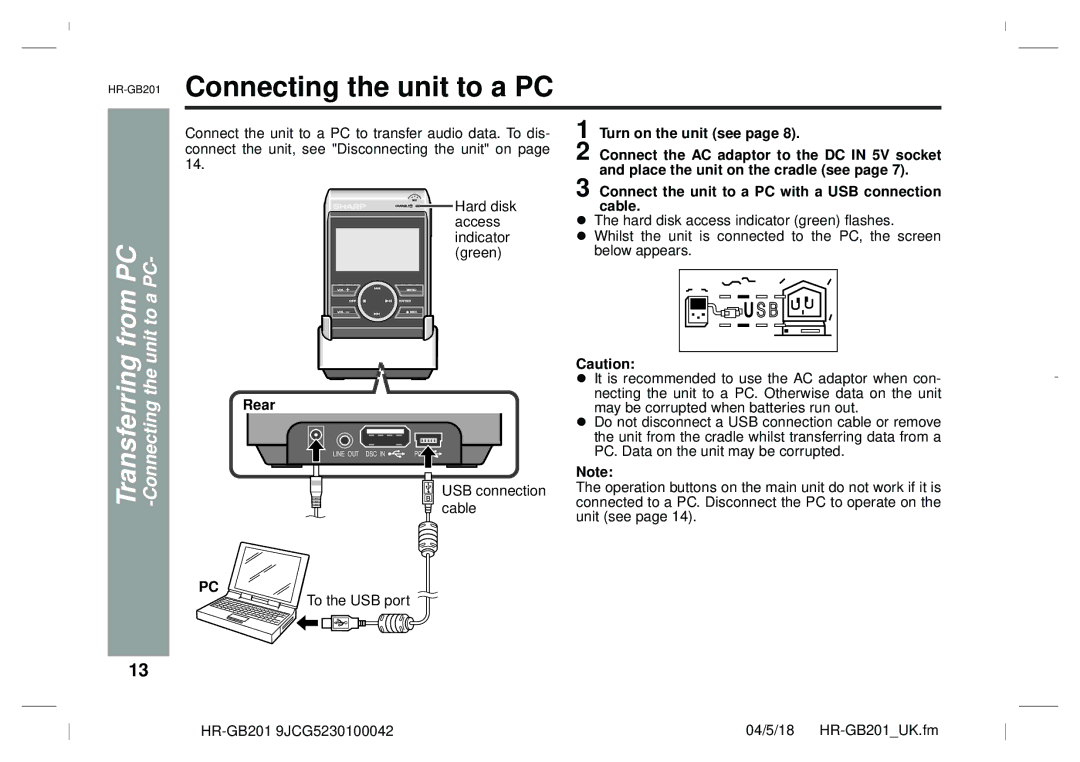
GB201 specifications
The Sharp GB201 is an innovative multifunctional printer designed for both office and home use, delivering high-quality printing, scanning, copying, and faxing capabilities in a compact form factor. It exemplifies Sharp's commitment to producing reliable and efficient office equipment that meets the evolving needs of modern workplaces.One of the standout features of the Sharp GB201 is its impressive printing speed. Capable of printing up to 20 pages per minute, it ensures that users can quickly produce documents without compromising on quality. The printer uses advanced laser technology, which guarantees crisp text and sharp graphics, making it ideal for both professional documents and vibrant presentations.
In terms of scanning, the GB201 is equipped with a high-resolution color scanner that provides scanning capabilities up to 600 dpi. This ensures that scanned documents retain their original quality and detail, which is particularly beneficial for archiving or sharing important paperwork. The document feeder allows users to scan multipage documents efficiently, making it a time-saving feature for busy office environments.
The device also boasts multifunction capabilities, allowing users to copy and fax documents seamlessly. The copying function supports various paper sizes and offers options such as resizing, collating, and reduction/enlargement, giving users the flexibility needed for different tasks. Additionally, the GB201's fax capability is equipped with a robust memory, which stores multiple incoming messages and sends documents with speed and reliability.
Connectivity is another key aspect of the Sharp GB201. It supports USB connections, enabling direct printing from computers or laptops. Furthermore, with the growing trend of mobile printing, the GB201 is equipped with wireless capabilities, allowing users to print directly from their smartphones or tablets utilizing compatible apps. This feature enhances convenience and streamlines the printing process, making it ideal for on-the-go professionals.
Energy efficiency is also a notable characteristic of the Sharp GB201. It is designed with eco-friendly technologies that reduce power consumption without sacrificing performance. This aligns with the increasing demand for sustainability in office equipment.
In summary, the Sharp GB201 is a versatile multifunctional printer that combines speed, quality, and connectivity with excellent scanning and copying features. Its robust set of technologies makes it a valuable asset for any office or home environment, facilitating productivity and efficiency in daily tasks.

