DTV menu operations
Carrier Setup
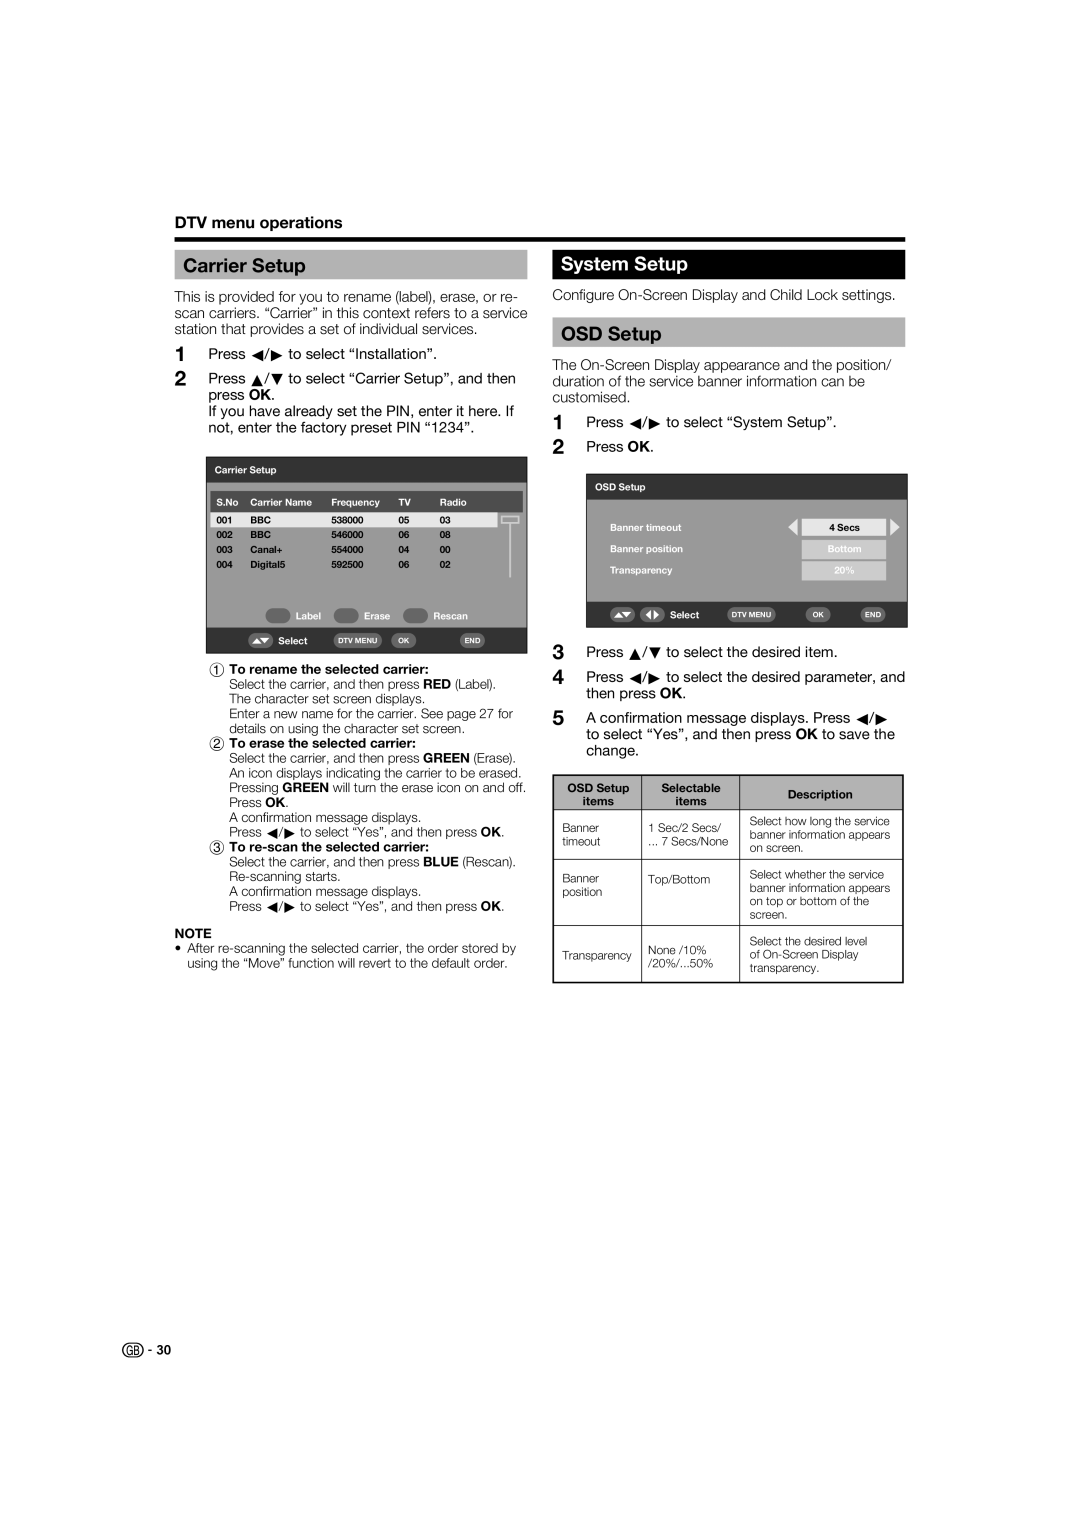
This is provided for you to rename (label), erase, or re- scan carriers. “Carrier” in this context refers to a service station that provides a set of individual services.
1Press c/d to select “Installation”.
2Press a/b to select “Carrier Setup”, and then press OK.
If you have already set the PIN, enter it here. If not, enter the factory preset PIN “1234”.
Carrier Setup
| S.No | Carrier Name | Frequency | TV | Radio |
| |||
|
|
|
|
|
|
|
|
|
|
| 001 | BBC | 538000 | 05 | 03 |
|
|
|
|
|
|
|
|
| |||||
002 | BBC | 546000 | 06 | 08 |
|
|
|
| |
003 | Canal+ | 554000 | 04 | 00 |
|
|
|
| |
004 | Digital5 | 592500 | 06 | 02 |
|
|
|
| |
|
|
|
|
|
|
| |||
|
| Label | Erase |
| Rescan | ||||
|
|
|
|
|
|
|
|
|
|
|
| Select | DTV MENU | OK | END | ||||
|
|
|
|
|
|
|
|
|
|
1 To rename the selected carrier:
Select the carrier, and then press RED (Label). The character set screen displays.
Enter a new name for the carrier. See page 27 for details on using the character set screen.
2 To erase the selected carrier:
Select the carrier, and then press GREEN (Erase). An icon displays indicating the carrier to be erased. Pressing GREEN will turn the erase icon on and off. Press OK.
A confi rmation message displays.
Press c/d to select “Yes”, and then press OK.
3 To re-scan the selected carrier:
Select the carrier, and then press BLUE (Rescan).
A confi rmation message displays.
Press c/d to select “Yes”, and then press OK.
NOTE
•After
System Setup
Confi gure On-Screen Display and Child Lock settings.
OSD Setup
The
1Press c/d to select “System Setup”.
2Press OK.
OSD Setup
Banner timeout |
|
| 4 Secs |
|
|
|
|
|
|
Banner position |
|
| Bottom |
|
|
|
|
|
|
|
|
|
|
|
Transparency |
|
| 20% |
|
|
|
|
|
|
|
|
|
|
|
Select | DTV MENU | OK | END | |
|
|
|
|
|
3Press a/b to select the desired item.
4Press c/d to select the desired parameter, and then press OK.
5A confirmation message displays. Press c/d to select “Yes”, and then press OK to save the change.
OSD Setup | Selectable | Description | |
items | items | ||
| |||
Banner | 1 Sec/2 Secs/ | Select how long the service | |
banner information appears | |||
timeout | ... 7 Secs/None | ||
on screen. | |||
|
| ||
|
|
| |
Banner | Top/Bottom | Select whether the service | |
banner information appears | |||
position |
| ||
| on top or bottom of the | ||
|
| ||
|
| screen. | |
|
|
| |
| None /10% | Select the desired level | |
Transparency | of | ||
/20%/...50% | |||
| transparency. | ||
|
| ||
|
|
|
![]()
![]() 30
30