Auto installation
You can run auto installation again, even after setting up the preset channels.
1Press MENU and the MENU screen displays.
2 Press c/d to select “![]() ” (Programme setup).
” (Programme setup).
3Press a/b to select “Auto installation”, and then press ENTER.
4If you have already set the password, enter it here.
• See page 14 for setting a password.
5Press a/b to select your country channels listed
on the screen, and then press ENTER. Press a/b to select “DTV”, “ATV” or “DTV + ATV”, and then press ENTER.
You do not need to do anything during the auto search. Press MENU to exit.
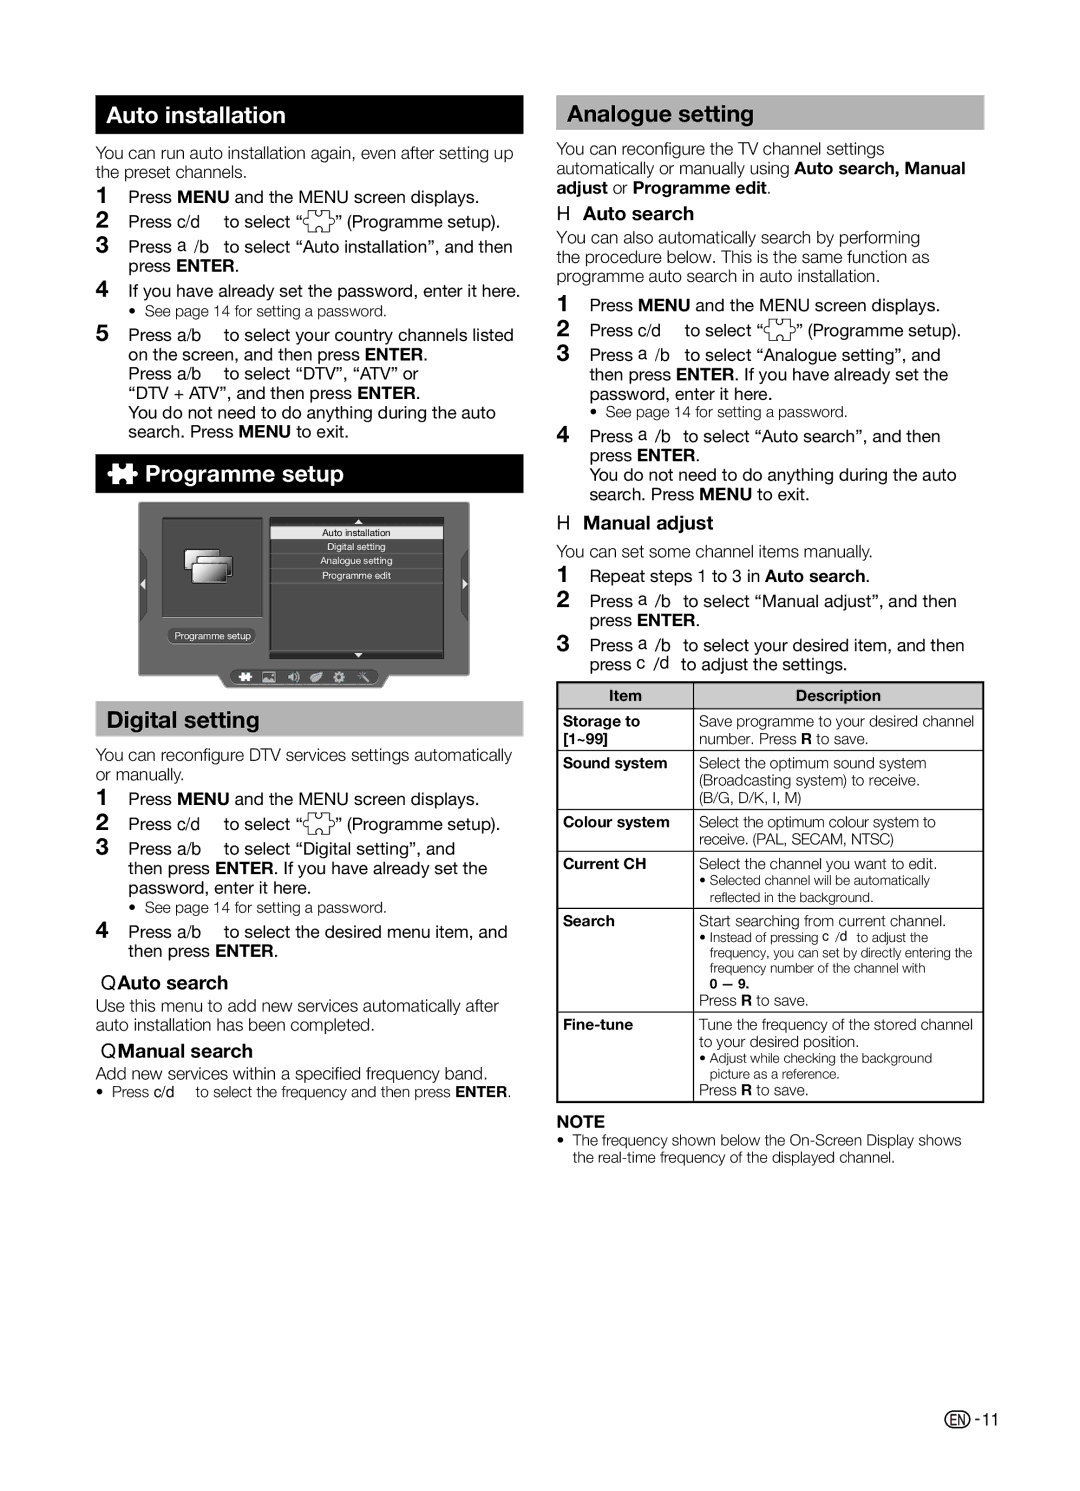
 Programme setup
Auto installation
Digital setting
Analogue setting
Programme edit
Programme setup
Digital setting
You can reconfigure DTV services settings automatically or manually.
1Press MENU and the MENU screen displays.
2 Press c/d to select “![]() ” (Programme setup).
” (Programme setup).
3Press a/b to select “Digital setting”, and then press ENTER. If you have already set the password, enter it here.
• See page 14 for setting a password.
4Press a/b to select the desired menu item, and then press ENTER.
Auto search
Use this menu to add new services automatically after auto installation has been completed.
Manual search
Add new services within a specified frequency band.
•Press c/d to select the frequency and then press ENTER.
Analogue setting
You can reconfigure the TV channel settings automatically or manually using Auto search, Manual adjust or Programme edit.
H Auto search
You can also automatically search by performing the procedure below. This is the same function as programme auto search in auto installation.
1Press MENU and the MENU screen displays.
2 Press c/d to select “![]() ” (Programme setup).
” (Programme setup).
3Press a/b to select “Analogue setting”, and then press ENTER. If you have already set the password, enter it here.
• See page 14 for setting a password.
4Press a/b to select “Auto search”, and then press ENTER.
You do not need to do anything during the auto search. Press MENU to exit.
H Manual adjust
You can set some channel items manually.
1Repeat steps 1 to 3 in Auto search.
2Press a/b to select “Manual adjust”, and then press ENTER.
3Press a/b to select your desired item, and then press c/d to adjust the settings.
Item | Description |
|
|
Storage to | Save programme to your desired channel |
[1~99] | number. Press R to save. |
Sound system | Select the optimum sound system |
| (Broadcasting system) to receive. |
| (B/G, D/K, I, M) |
|
|
Colour system | Select the optimum colour system to |
| receive. (PAL, SECAM, NTSC) |
|
|
Current CH | Select the channel you want to edit. |
| • Selected channel will be automatically |
| refl ected in the background. |
|
|
Search | Start searching from current channel. |
| • Instead of pressing c/d to adjust the |
| frequency, you can set by directly entering the |
| frequency number of the channel with |
| 0 — 9. |
| Press R to save. |
|
|
| Tune the frequency of the stored channel |
| to your desired position. |
| • Adjust while checking the background |
| picture as a reference. |
| Press R to save. |
NOTE
•The frequency shown below the
![]()
![]() 11
11
