Connecting the monitor and turning the monitor on and off
English
Note:
-If using the monitor for the first time or after having changed the system settings during use, perform an automatic screen adjustment.
-Depending on the computer or OS, it may be necessary to use the computer to install monitor
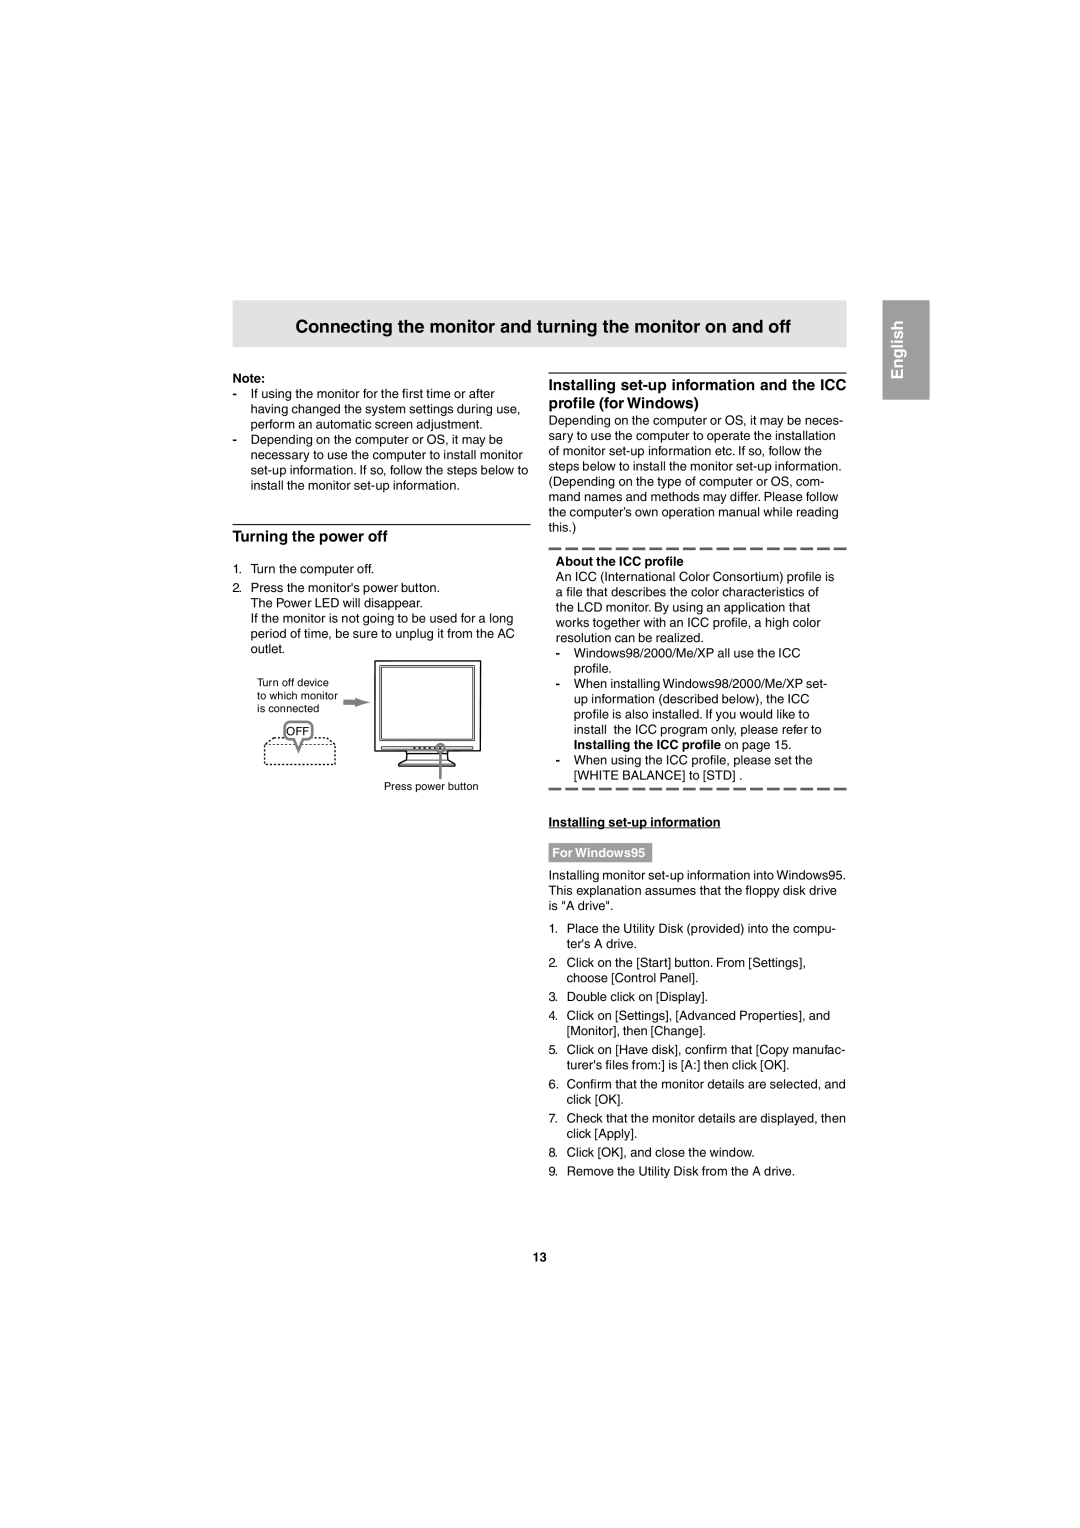
Turning the power off
1.Turn the computer off.
2.Press the monitor's power button. The Power LED will disappear.
If the monitor is not going to be used for a long period of time, be sure to unplug it from the AC outlet.
Turn off device to which monitor is connected
OFF
Press power button
Installing
Depending on the computer or OS, it may be neces- sary to use the computer to operate the installation of monitor
About the ICC profile
An ICC (International Color Consortium) profile is a file that describes the color characteristics of the LCD monitor. By using an application that works together with an ICC profile, a high color resolution can be realized.
-Windows98/2000/Me/XP all use the ICC profile.
-When installing Windows98/2000/Me/XP set- up information (described below), the ICC profile is also installed. If you would like to install the ICC program only, please refer to Installing the ICC profile on page 15.
-When using the ICC profile, please set the [WHITE BALANCE] to [STD] .
Installing set-up information
For Windows95
Installing monitor
1.Place the Utility Disk (provided) into the compu- ter's A drive.
2.Click on the [Start] button. From [Settings], choose [Control Panel].
3.Double click on [Display].
4.Click on [Settings], [Advanced Properties], and [Monitor], then [Change].
5.Click on [Have disk], confirm that [Copy manufac- turer's files from:] is [A:] then click [OK].
6.Confirm that the monitor details are selected, and click [OK].
7.Check that the monitor details are displayed, then click [Apply].
8.Click [OK], and close the window.
9.Remove the Utility Disk from the A drive.
13
