2 Adjusting the Image
Adjustment | O button | Q button | |
items | |||
|
| ||
Contrast | For less | For more | |
| contrast. | contrast. | |
Bright | For less | For more | |
| brightness. | brightness. | |
Color*1 | For less color | For more color | |
| intensity. | intensity. | |
Tint*1 | For making skin | For making skin | |
| tones purplish. | tones greenish. | |
Sharp*1 | For less | For more | |
| sharpness. | sharpness. | |
Red*2 | For weaker red. | For stronger | |
|
| red. | |
Blue*2 | For weaker | For stronger | |
| blue. | blue. | |
BrilliantColor™*2 *3 | For making the | For making the | |
| effect weaker. | effect stronger. |
*1 Not displayed in the RGB input mode.
*2 Not adjustable/selectable when selecting “sRGB”.
*3 BrilliantColor™ uses Texas Instruments' BrilliantColor™ technology. As the BrilliantColor™ level is increased, the image becomes brighter while the color reproduction is kept at a high level.
![]() Note
Note
•To reset all adjustment items, select “Reset” and press ENTER.
3 Adjusting the Color
Temperature
Selectable | Description | ||
items | |||
|
| ||
| For lower color temperature for | ||
warmer, reddish | |||
0 | images. | ||
|
| ||
|
| ||
|
|
| |
1For higher color temperature for cooler, bluish, fl
![]() Note
Note
•Values on “CLR Temp” are only for general standard purposes.
Menu operation n Page 36
4 Adjusting the Colors
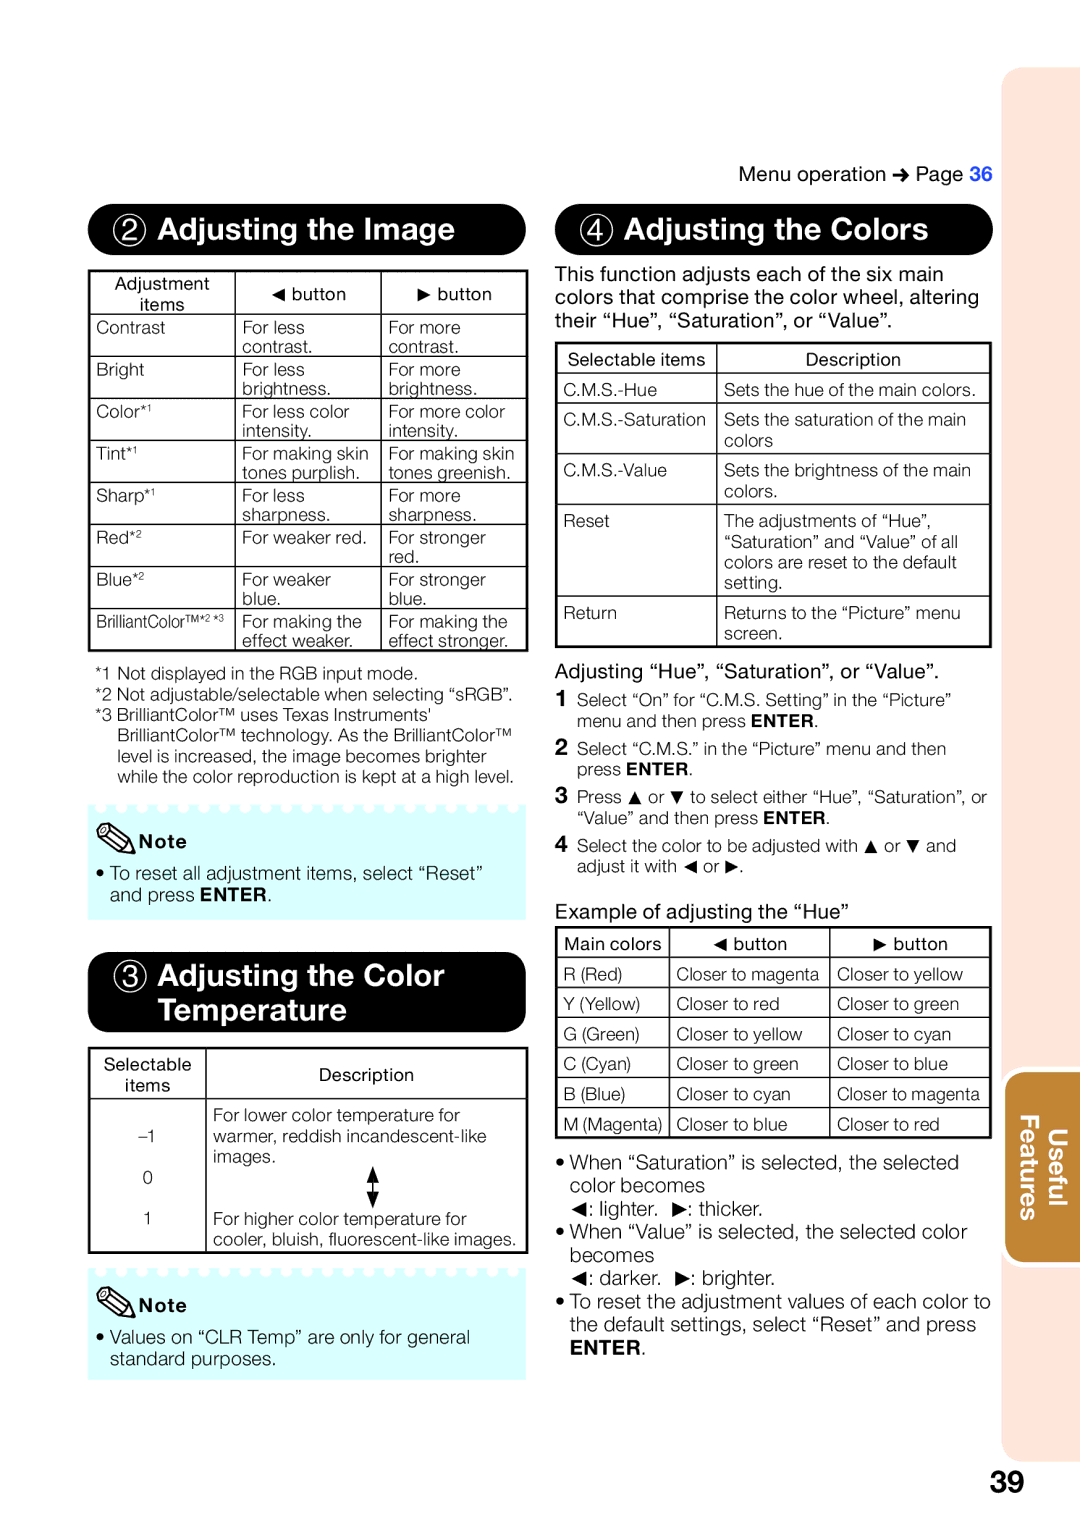
This function adjusts each of the six main colors that comprise the color wheel, altering their “Hue”, “Saturation”, or “Value”.
Selectable items | Description |
Sets the hue of the main colors. | |
|
|
Sets the saturation of the main | |
| colors |
Sets the brightness of the main | |
| colors. |
Reset | The adjustments of “Hue”, |
| “Saturation” and “Value” of all |
| colors are reset to the default |
| setting. |
|
|
Return | Returns to the “Picture” menu |
| screen. |
Adjusting “Hue”, “Saturation”, or “Value”.
1Select “On” for “C.M.S. Setting” in the “Picture” menu and then press ENTER.
2Select “C.M.S.” in the “Picture” menu and then press ENTER.
3Press P or R to select either “Hue”, “Saturation”, or “Value” and then press ENTER.
4Select the color to be adjusted with P or R and adjust it with O or Q.
Example of adjusting the “Hue”
Main colors | O button | Q button |
|
|
|
R (Red) | Closer to magenta | Closer to yellow |
|
|
|
Y (Yellow) | Closer to red | Closer to green |
G (Green) | Closer to yellow | Closer to cyan |
|
|
|
C (Cyan) | Closer to green | Closer to blue |
B (Blue) | Closer to cyan | Closer to magenta |
|
|
|
M (Magenta) | Closer to blue | Closer to red |
•When “Saturation” is selected, the selected
color becomes
O: lighter. Q: thicker.
•When “Value” is selected, the selected color
becomes
O: darker. Q: brighter.
•To reset the adjustment values of each color to the default settings, select “Reset” and press
ENTER.
Features | Useful |
39
