6 System Lock Function
This function prevents unauthorized use of the projector. Once this function is activated, users must enter the correct keycode each time the projector is turned on. We suggest you record the keycode in a safe place where only authorized users have access.
 Info
Info
•If you lose or forget your keycode, contact your nearest Sharp Authorized Projector Dealer or Service Center (see page 69). Even if the product warranty is valid, the keycode reset will incur a charge.
a Setting/Changing the Keycode
1![]()
![]() Select “System Lock”, then press
Select “System Lock”, then press
ENTER or Q.
2Select “Next”, then press ENTER.
•The screen for entering the keycode appears.
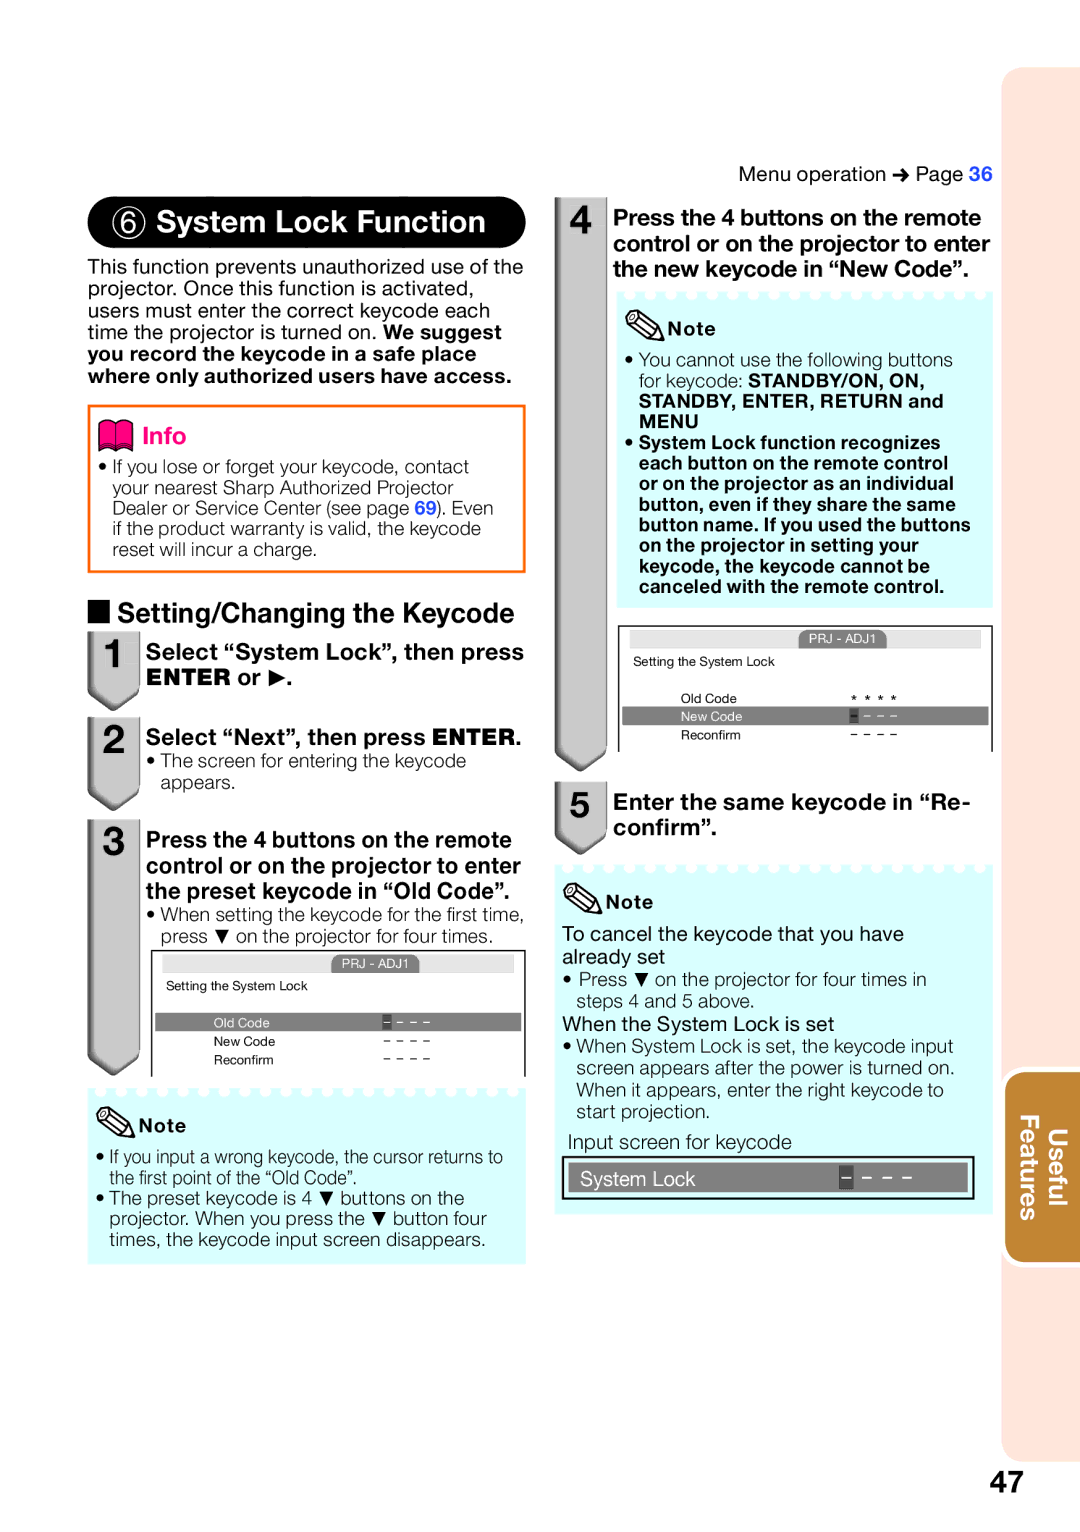
3Press the 4 buttons on the remote control or on the projector to enter the preset keycode in “Old Code”.
•When setting the keycode for the fi rst time, press R on the projector for four times.
|
| PRJ - ADJ1 |
| ||||
| Setting the System Lock |
|
|
|
|
|
|
|
|
|
|
|
|
|
|
| Old Code |
| – | – | – | – |
|
| New Code |
| – – – – |
| |||
| Reconfirm |
| – – – – |
| |||
![]() Note
Note
•If you input a wrong keycode, the cursor returns to the fi rst point of the “Old Code”.
•The preset keycode is 4 R buttons on the projector. When you press the R button four times, the keycode input screen disappears.
Menu operation n Page 36
4![]()
![]() Press the 4 buttons on the remote control or on the projector to enter the new keycode in “New Code”.
Press the 4 buttons on the remote control or on the projector to enter the new keycode in “New Code”.
![]() Note
Note
•You cannot use the following buttons for keycode: STANDBY/ON, ON,
STANDBY, ENTER, RETURN and
MENU
•System Lock function recognizes each button on the remote control or on the projector as an individual button, even if they share the same button name. If you used the buttons on the projector in setting your keycode, the keycode cannot be canceled with the remote control.
|
| PRJ - ADJ1 |
| ||||
| Setting the System Lock |
|
|
|
|
|
|
| Old Code | * * * * |
| ||||
| New Code |
| – | – | – | – |
|
| Reconfirm |
| – – – – | ||||
5Enter the same keycode in “Re- confirm”.
![]() Note
Note
To cancel the keycode that you have already set
•Press R on the projector for four times in steps 4 and 5 above.
When the System Lock is set
•When System Lock is set, the keycode input screen appears after the power is turned on. When it appears, enter the right keycode to start projection.
Input screen for keycode
|
|
|
|
|
|
|
| System Lock | – | – | – | – |
|
|
|
|
|
|
|
|
Features | Useful |
47