
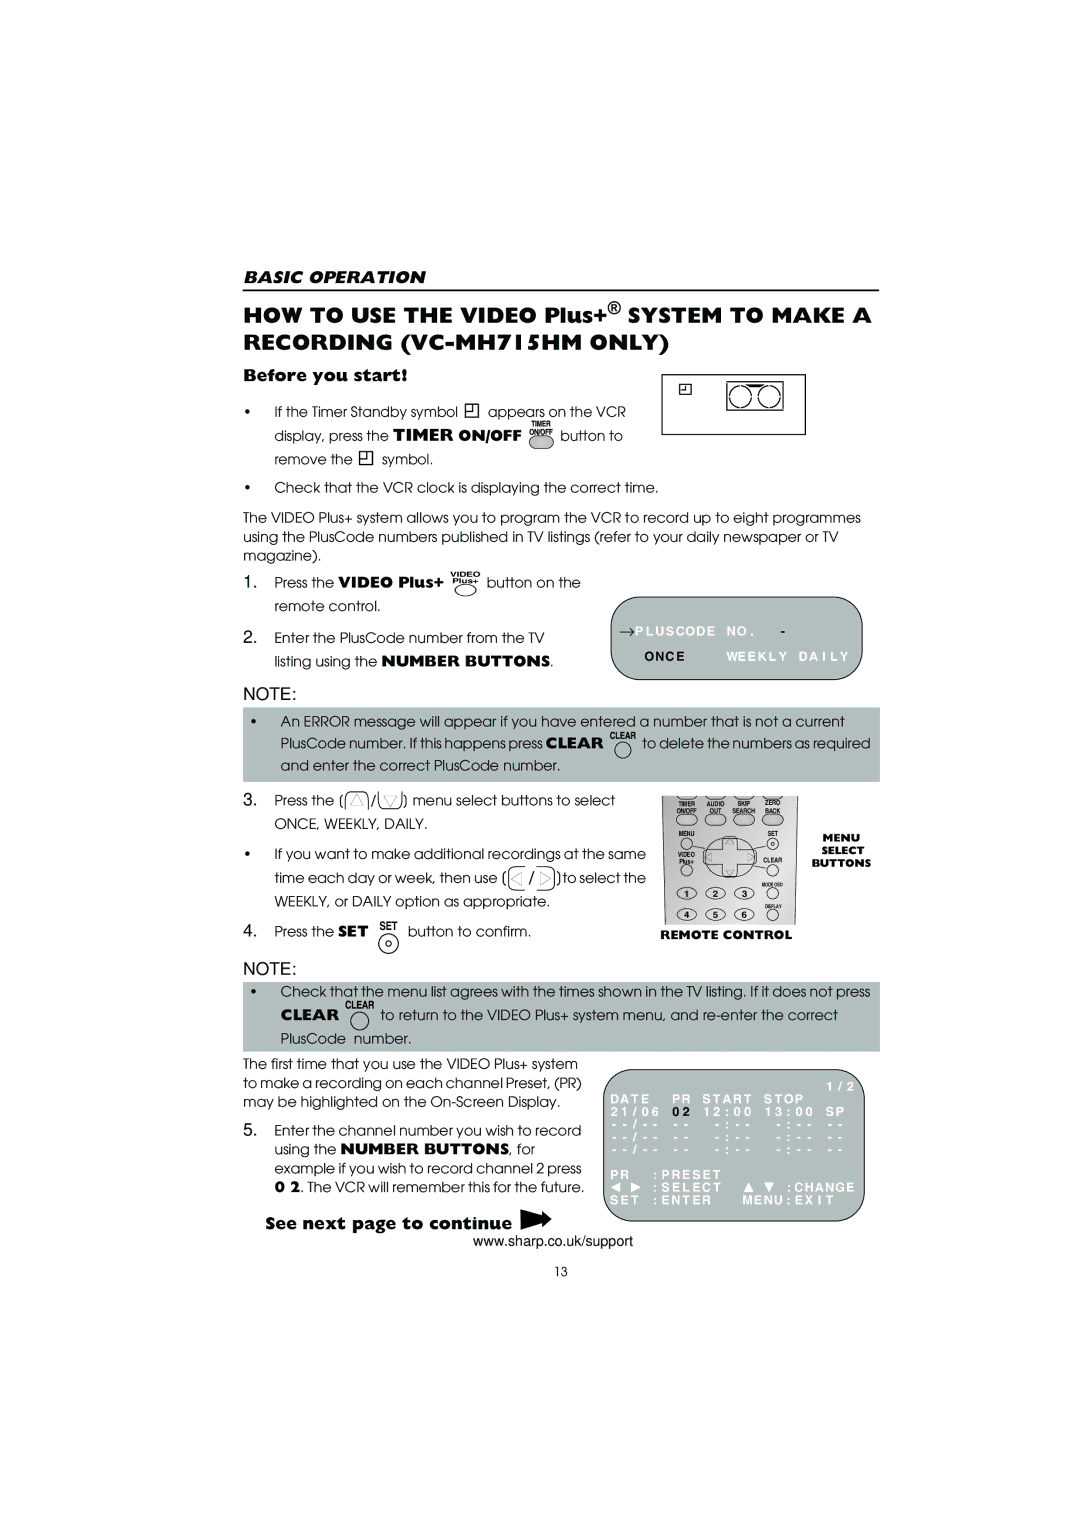
VC-MH715HM specifications
The Sharp VC-MH715HM is a versatile and advanced video cassette recorder that embodies the blend of performance, convenience, and technology. This VCR is designed to deliver quality playback and recording, catering to users who appreciate both nostalgia and functionality.One of the most notable features of the Sharp VC-MH715HM is its ability to provide high-quality video playback through its S-VHS capabilities. This format enhances the video resolution compared to standard VHS, delivering clearer and sharper images. The incorporation of the S-VHS format allows users to enjoy their video collections with improved picture quality, making old home videos look significantly better.
Another significant feature of the VC-MH715HM is its high-speed dubbing capability. This allows users to copy their tapes quickly without sacrificing quality. With the convenient one-touch recording function, users can effortlessly capture their favorite shows or special events with just a single press of a button. This seamless operation enhances the overall user experience, making recording simple and straightforward.
In terms of design, the VC-MH715HM showcases a user-friendly interface with easy-to-navigate controls. The remote control enhances usability, allowing users to operate the VCR from a distance. This makes watching and recording more comfortable, especially in larger living spaces.
The machine also comes equipped with a built-in timer function, which permits users to set recording schedules in advance. This is particularly useful for capturing shows that air when users are unavailable. By programming the timer, users can ensure they never miss their favorite content.
Moreover, the VC-MH715HM features an automatic head cleaner, which helps maintain the longevity of the playback heads. This technology reduces wear and tear, ensuring optimal performance over time and preserving the quality of recordings and playback.
In summary, the Sharp VC-MH715HM combines advanced video technology with user-friendly features. Its S-VHS capability ensures superior video quality, while high-speed dubbing and a built-in timer enhance its recording functionality. The automatic head cleaner and accessible controls make this VCR a reliable choice for users who cherish their video collections and seek both convenience and quality in their playback and recording experiences.