TEST MODE
The test mode applied to this microcomputer has three modes, namely the ordinary test mode for adjustment or measurement, the aging test mode, and the
1. Turning on the test mode
For obtaining each test mode, press the
[Ordinary test mode]
1.Tuner Test Mode (TEST 2)
.......................REW/PRESET DOWN + CD PLAY
2.Electronic Volume Test Mode (TEST 3)
.......................REW/PRESET DOWN + FF/PRESET UP
3.Timer Test Mode (TEST 4)
.......................FUNCTION + VOLUME UP
4.LCD Test Mode (TEST 5)
.......................FUNCTION + FF/PRESET UP
5.Electric CD Lid Aging Test Mode (TEST 8)
.......................FUNCTION + CD PLAY
1.Button input diagnosis test mode (TEST6)
.......................FUNCTION + VOLUME
Processes are different depending on destinations at initial settings.
2.Tuner Test Mode (TEST 2)
1.Outline of tuner (radio) test mode
The tuner test mode is intended to store the adjustment and measurement frequencies in the preset memory CH. When adjusting the tuner section in the production line, adjusting personnel are not required to set frequency.
2. Details of tuner test mode
Press the "REW/PRESET DOWN" and "CD PLAY" buttons in POWER OFF state and turn on the power by the use of
("FF 
 " + "MEMORY/SET" KEY SPAN CHANGE)
(As for frequencies to be preset and stored for each destination, refer to item 3.)
The tuner test mode is started from preset No.1.
The operations of test mode are identical with the ordinary operations of TUNER function. FUNCTION switching is invalid.
It is necessary to discard the content of preset memory when the tuner test mode is ended; be sure to write "0000" or "1111" bits in the memory to be checked for judging memory error at initial setting and to initialize memory.
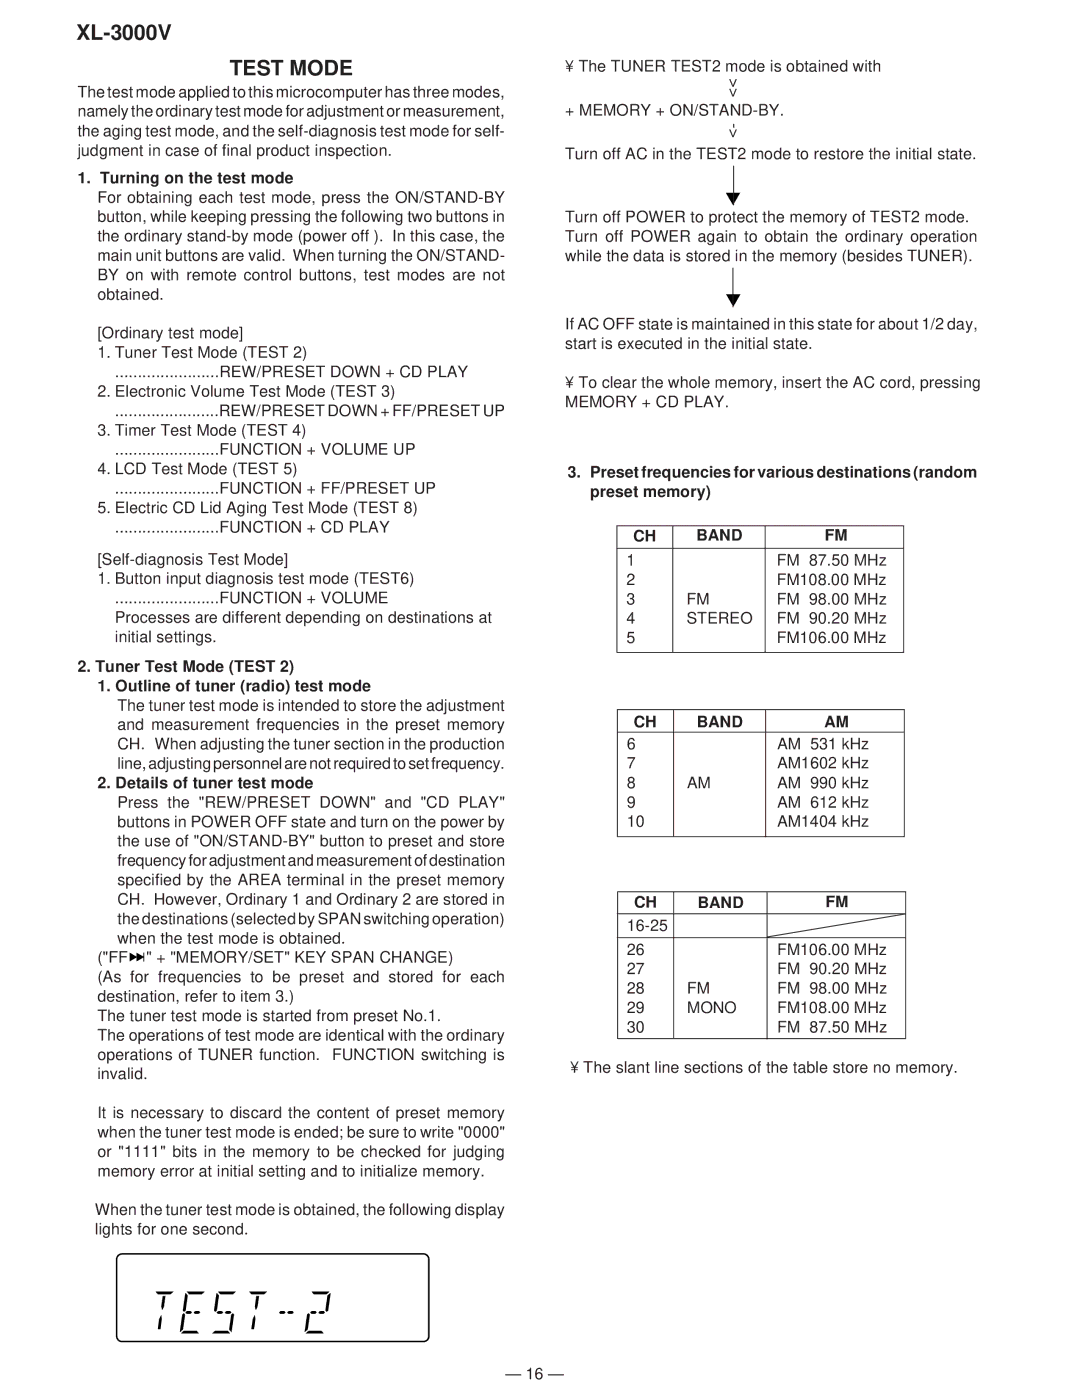
When the tuner test mode is obtained, the following display lights for one second.
• The TUNER TEST2 mode is obtained with >> + MEMORY +
Turn off POWER to protect the memory of TEST2 mode. Turn off POWER again to obtain the ordinary operation while the data is stored in the memory (besides TUNER).
If AC OFF state is maintained in this state for about 1/2 day, start is executed in the initial state.
•To clear the whole memory, insert the AC cord, pressing
MEMORY + CD PLAY.
3.Preset frequencies for various destinations (random preset memory)
CH | BAND | FM |
1 |
| FM 87.50 MHz |
2 |
| FM108.00 MHz |
3 | FM | FM 98.00 MHz |
4 | STEREO | FM 90.20 MHz |
5 |
| FM106.00 MHz |
|
|
|
CH | BAND | AM |
6 |
| AM 531 kHz |
7 |
| AM1602 kHz |
8 | AM | AM 990 kHz |
9 |
| AM 612 kHz |
10 |
| AM1404 kHz |
|
|
|
CH | BAND | FM |
|
| |
|
|
|
26 |
| FM106.00 MHz |
27 |
| FM 90.20 MHz |
28 | FM | FM 98.00 MHz |
29 | MONO | FM108.00 MHz |
30 |
| FM 87.50 MHz |
|
|
|
• The slant line sections of the table store no memory.
– 16 –
