On the remote
control
_P. 28
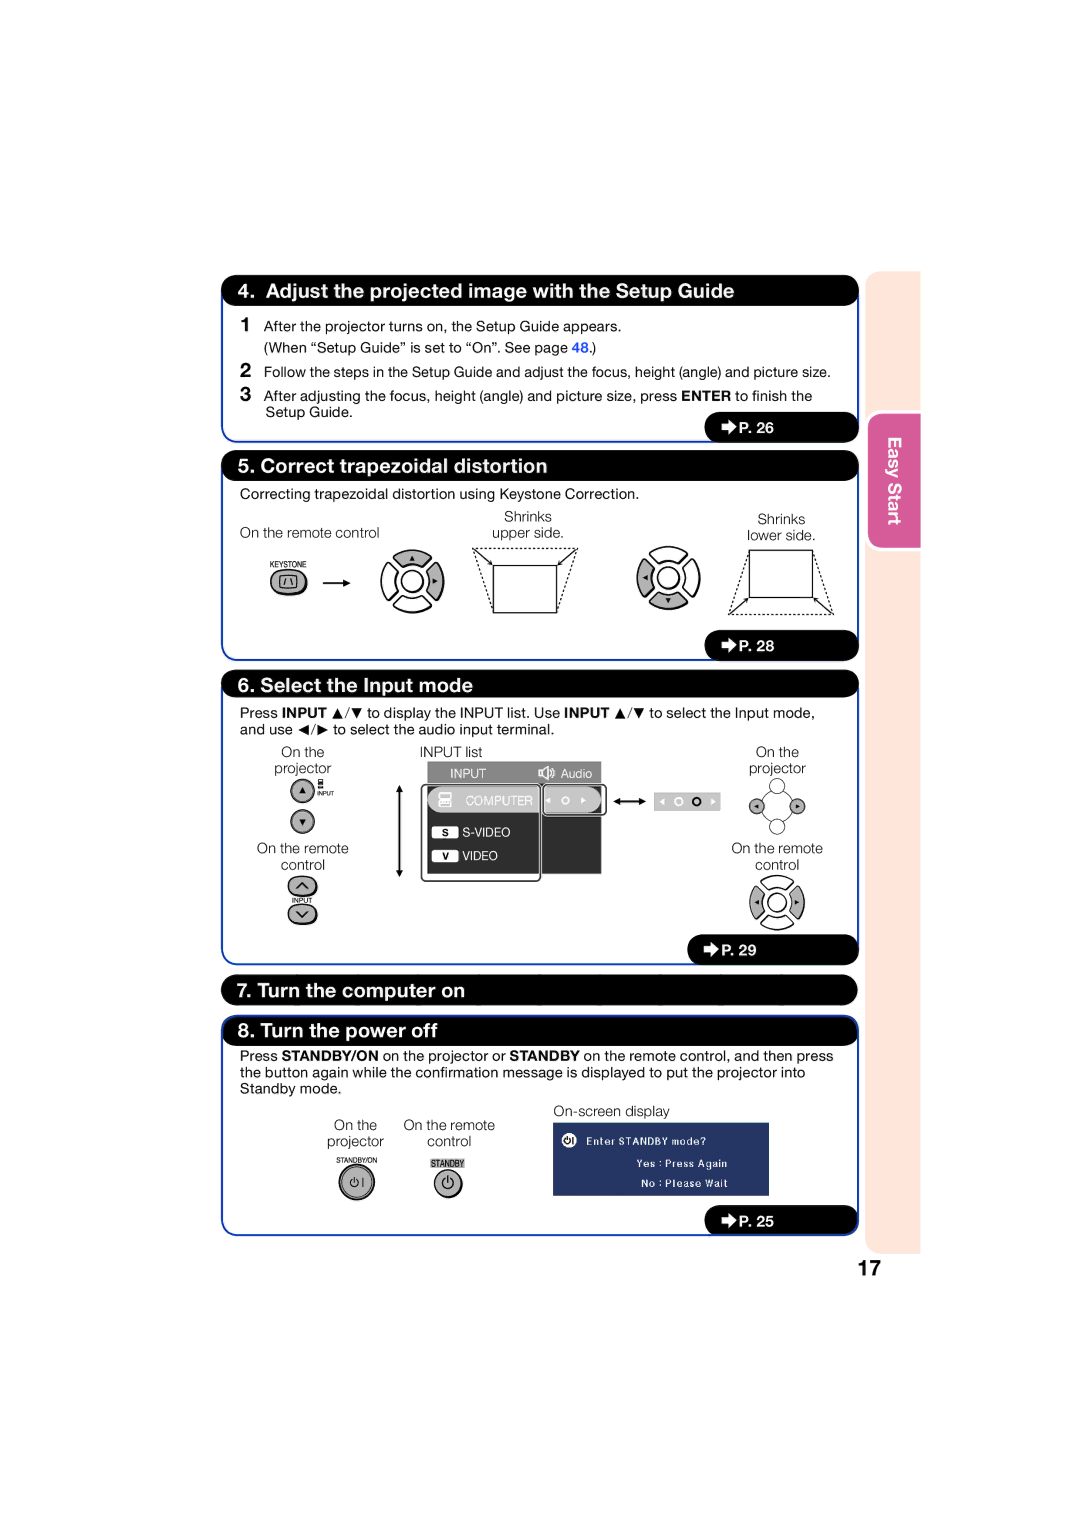
6. Select the Input mode
Press INPUT P/R to display the INPUT list. Use INPUT P/R to select the Input mode, and use O/Q to select the audio input terminal.
On the remote control
Shrinks
lower side.
Shrinks
upper side.
(When “Setup Guide” is set to “On”. See page 48.)
2 Follow the steps in the Setup Guide and adjust the focus, height (angle) and picture size.
3 After adjusting the focus, height (angle) and picture size, press ENTER to finish the Setup Guide.
_P. 26
5. Correct trapezoidal distortion
Correcting trapezoidal distortion using Keystone Correction.
After the projector turns on, the Setup Guide appears.
1
4. Adjust the projected image with the Setup Guide
Easy Start
On the | INPUT list |
| On the |
projector | INPUT | Audio | projector |
|
| ||
| COMPUTER |
|
|
S
On the remote
control
V VIDEO
_P. 29
7.Turn the computer on
8.Turn the power off
Press STANDBY/ON on the projector or STANDBY on the remote control, and then press the button again while the confirmation message is displayed to put the projector into Standby mode.
On the | On the remote |
projector | control |
_P. 25
17