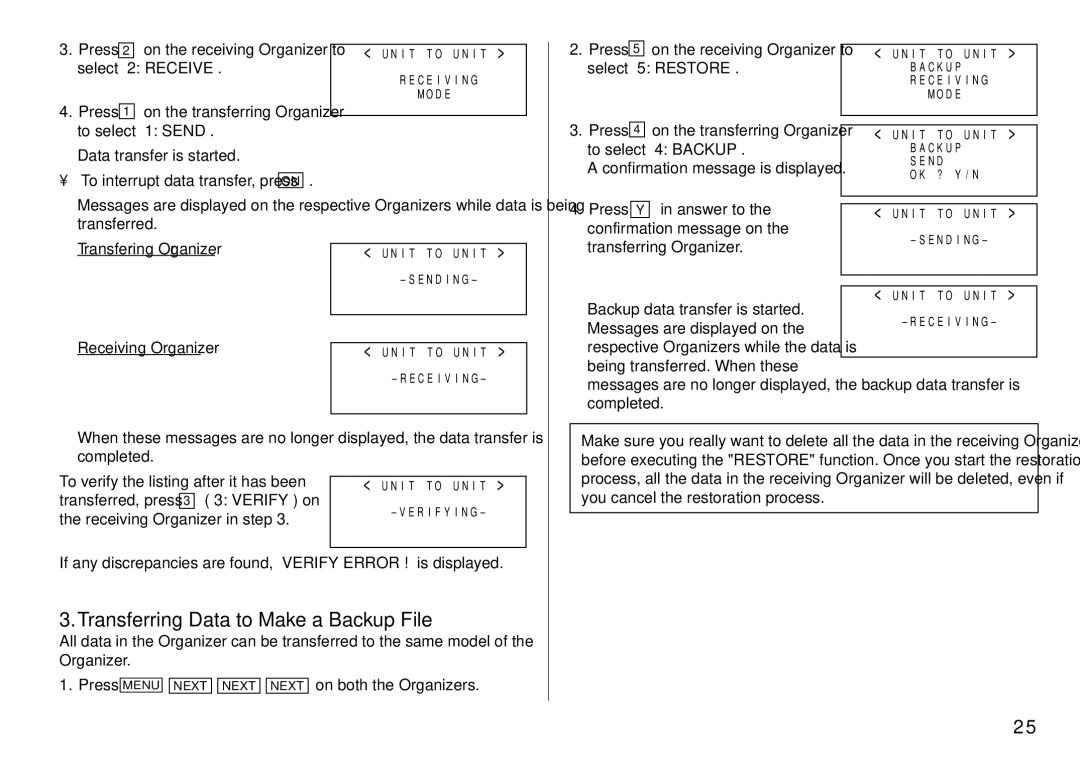
3. Press 2 on the receiving Organizer to select “2: RECEIVE”.
4.Press 1 on the transferring Organizer to select “1: SEND”.
Data transfer is started.
• To interrupt data transfer, press ON .
<UNIT TO UNIT >
RECEIVING
MODE
2. | Press 5 on the receiving Organizer to | < UNIT TO UNIT > |
| select “5: RESTORE”. | BACKUP |
|
| RECEIVING |
|
| MODE |
3. | Press 4 on the transferring Organizer |
|
| ||
< UNIT TO UNIT > | ||
| to select “4: BACKUP”. | BACKUP |
| A confirmation message is displayed. | SEND |
| OK ? Y/N | |
|
| |
|
|
|
Messages are displayed on the respective Organizers while data is being transferred.
Transferring Organizer | < UNIT TO UNIT > |
| |
Receiving Organizer |
|
| |
< UNIT TO UNIT > | |
| |
|
|
When these messages are no longer displayed, the data transfer is completed.
To verify the listing after it has been | < UNIT TO UNIT > | |
transferred, press 3 (“3: VERIFY”) on | ||
the receiving Organizer in step 3. | ||
| ||
|
|
If any discrepancies are found, “VERIFY ERROR !” is displayed.
3.Transferring Data to Make a Backup File
All data in the Organizer can be transferred to the same model of the Organizer.
1. Press MENU ![]()
![]() NEXT
NEXT ![]()
![]() NEXT
NEXT ![]()
![]() NEXT on both the Organizers.
NEXT on both the Organizers.
4. Press Y in answer to the | < UNIT | TO | UNIT > | |
confirmation message on the | ||||
transferring Organizer. | ||||
|
|
| ||
|
|
|
| |
|
|
|
| |
| < UNIT | TO | UNIT > | |
Backup data transfer is started.
Messages are displayed on the–RECEIVING–respective Organizers while the data is
being transferred. When these
messages are no longer displayed, the backup data transfer is completed.
Make sure you really want to delete all the data in the receiving Organizer before executing the "RESTORE" function. Once you start the restoration process, all the data in the receiving Organizer will be deleted, even if you cancel the restoration process.
25