3.Enter the correct daylight saving time/summer time.
4.Press 2nd ![]()
![]() ENTER to set the time as DST.
ENTER to set the time as DST.
A “ ![]() ” appears on the display and DST is now set.
” appears on the display and DST is now set.
(2) World clock
1. Press MENU ![]()
![]() PREV
PREV ![]()
![]() PREV
PREV ![]()
![]() 3 to select “3: DATE FORMAT”.
3 to select “3: DATE FORMAT”.
2.Press 1 or 2 to select “MONTH/ DAY/YEAR” or “DAY. MONTH. YEAR”.
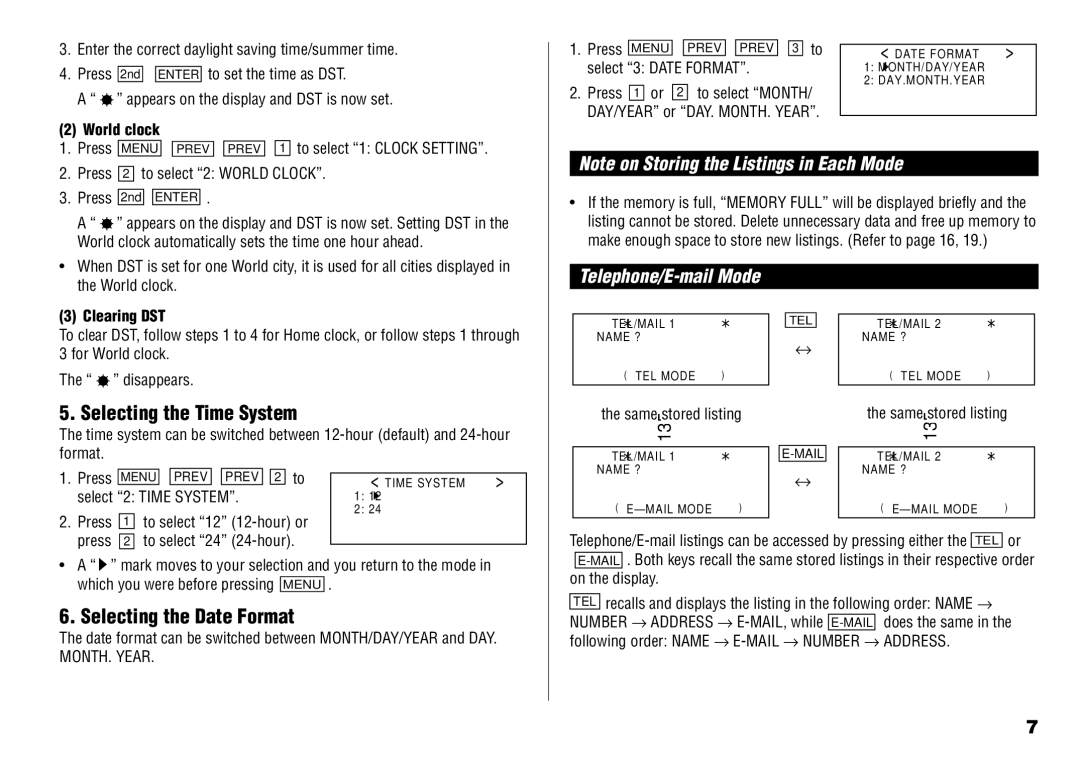
<DATE FORMAT >
1:![]() MONTH/DAY/YEAR
MONTH/DAY/YEAR
2:DAY.MONTH.YEAR
1. Press MENU ![]()
![]() PREV
PREV ![]()
![]() PREV
PREV ![]()
![]() 1 to select “1: CLOCK SETTING”.
1 to select “1: CLOCK SETTING”.
2.Press 2 to select “2: WORLD CLOCK”.
3.Press 2nd ![]()
![]() ENTER .
ENTER .
A “ ![]() ” appears on the display and DST is now set. Setting DST in the World clock automatically sets the time one hour ahead.
” appears on the display and DST is now set. Setting DST in the World clock automatically sets the time one hour ahead.
•When DST is set for one World city, it is used for all cities displayed in the World clock.
Note on Storing the Listings in Each Mode
•If the memory is full, “MEMORY FULL” will be displayed briefly and the listing cannot be stored. Delete unnecessary data and free up memory to make enough space to store new listings. (Refer to page 16, 19.)
Telephone/E-mail Mode
(3) Clearing DST
To clear DST, follow steps 1 to 4 for Home clock, or follow steps 1 through 3 for World clock.
The “ ![]() ” disappears.
” disappears.
5. Selecting the Time System
The time system can be switched between
TEL/MAIL 1 NAME ?
(TEL MODE )
the same135stored listing
![]() TEL/MAIL 1
TEL/MAIL 1![]()
TEL
↔
![]() TEL/MAIL 2
TEL/MAIL 2![]() NAME ?
NAME ?
(TEL MODE )
the same135stored listing
![]() TEL/MAIL 2
TEL/MAIL 2![]()
1. | Press | MENU |
| PREV |
| PREV | 2 to |
| select “2: TIME SYSTEM”. | ||||||
2. | Press | 1 to select “12” | |||||
<TIME SYSTEM >
1:![]() 12
12
2:24
NAME ?
(
↔
NAME ?
(
press 2 to select “24” |
•A “ ![]() ” mark moves to your selection and you return to the mode in which you were before pressing MENU .
” mark moves to your selection and you return to the mode in which you were before pressing MENU .
6. Selecting the Date Format
The date format can be switched between MONTH/DAY/YEAR and DAY.
MONTH. YEAR.
![]()
![]() . Both keys recall the same stored listings in their respective order on the display.
. Both keys recall the same stored listings in their respective order on the display.
TEL recalls and displays the listing in the following order: NAME →
NUMBER → ADDRESS → ![]()
![]() does the same in the following order: NAME →
does the same in the following order: NAME →
7