Continued
4. Place the microphone on a flat level at the second main listening position.
•For optimum effectiveness, place the microphone at the second main position within the listening area surrounded by the speakers.
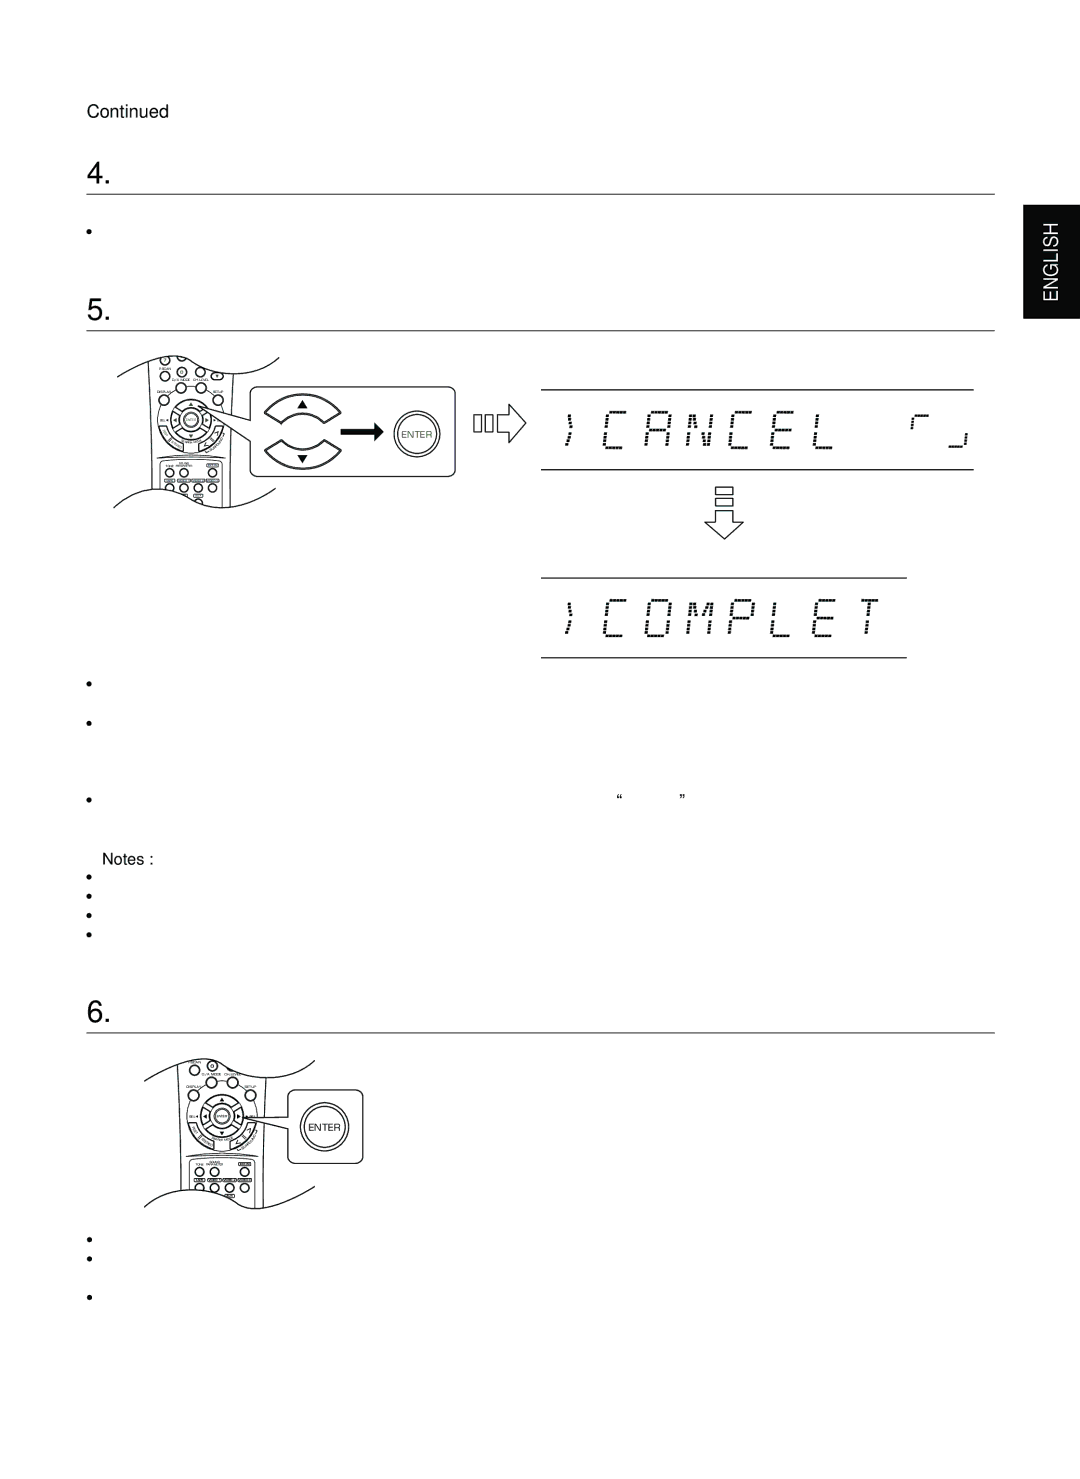
5. Press the CURSOR UP( | )/DOWN( ) buttons to select the "CONTINUE", then press the ENTER button. | |||||
7 | 8 | 9 |
|
|
|
|
|
|
|
|
|
| |
|
| MUTE |
|
|
| When performing the auto setup |
P.SCAN |
|
| VOLUME | |||
D/A MODE | CH.LEVEL |
|
| |||
| 0 |
|
|
|
|
|
DISPLAY |
|
| SETUP |
| ||
SEL | ENTER | SEL |
| |||
T |
|
|
|
|
| ENTER |
E |
|
|
|
|
|
|
S |
|
|
|
|
|
|
T |
|
|
|
|
|
|
S | SEARCH MODE |
| U | N D |
| |
TE |
| RO |
|
| ||
| REO |
|
|
|
| |
|
|
| SUR |
|
|
|
| SOUND |
| EXT.IN |
|
|
|
TONE | PARAMETER |
|
|
|
| |
TAPE | VIDEO 1 | VIDEO 2 | VIDEO 3 |
|
|
|
FM/AM/XM CD | AUX |
|
|
|
| |
REMOTE CONTROL
When the auto setup has been completed
ENGLISH
•Loud test tones are output again successively and then if a series of auto setup procedure has been completed, "COMPLETE" will be displayed.
• To stop the auto setup procedure while performing it, (press the CURSOR UP( )/DOWN( ) buttons to select "CANCEL", then) press the ENTER button.
In such a case that the auto setup procedure is stopped before "COMPLETE", the results of each adjustment may not be memorized.
•If there may be a problem with front speakers or microphone connection, “ERROR” will be displayed. In this case, turn off the power, check the connection and then retry the auto setup procedure.
Notes :
•It takes several minutes to complete the auto setup.
•Before starting auto setup, be sure not to set the SPEAKER button to off.
•Because the test tones are loud, ensure there no infants or small children in the room.
•For best results, ensure the room is as quiet as possible during the auto setup procedure. If there is too much ambient noise, the results may not be satisfactory.
6.To check the results, press the ENTER button.
7
| MUTE |
|
P.SCAN | 0 | VOLUME |
|
| |
| D/A MODE CH.LEVEL |
|
DISPLAY |
| SETUP |
SEL | ENTER | SEL |
T
E
S
T
S | SEARCH MODE |
TE | |
| REO |
SURRO
U
N
D
ENTER
| SOUND | EXT.IN |
TONE PARAMETER | ||
TAPE | VIDEO 1 | VIDEO 2 VIDEO 3 |
FM/AM/XM | CD | AUX |
•Then the results are memorized and the previous menu is displayed.
•Check the results on each setup menu(SPEAKER CONFIGURATION menu on page 44, SPEAKER DISTANCE menu on page 45, SPEAKER CROSSOVER menu on page 46 and CH LEVEL menu for "CAL" mode on page 48).
•If the results are not satisfactory, you can retry the auto setup procedure or personalize your speaker setup and channel level setup by making the settings manually. (For details, refer to "When selecting the SPEAKER CONFIGURATION" on page 44, "When selecting the SPEAKER DISTANCE" on page 45, "When selecting the SPEAKER CROSSOVER" on page 46, "Adjusting each channel level with test tone" on page 23 and "Adjusting the current channel level" on page 24.)
43