ENGLISH
Continued
When selecting the SPEAKER CONFIGURATION
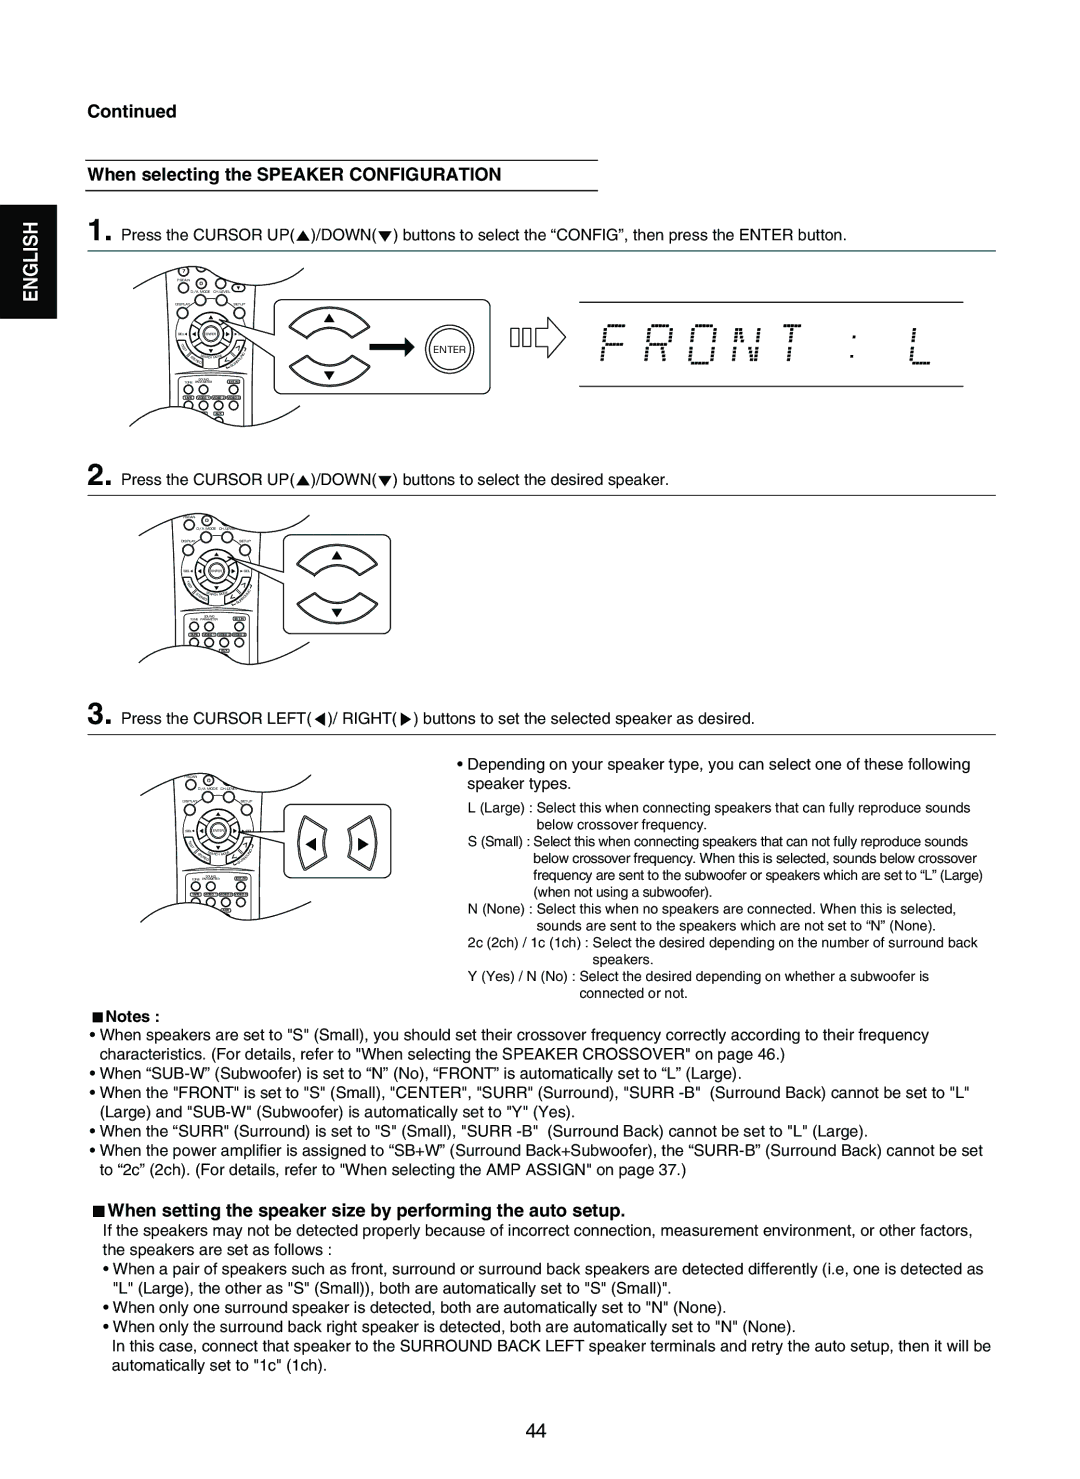
1. Press the CURSOR UP( )/DOWN( ) buttons to select the “CONFIG”, then press the ENTER button.
7 | 8 | 9 |
|
|
|
|
|
|
|
|
|
| |
|
| MUTE |
|
|
|
|
P.SCAN | 0 |
| VOLUME |
| ||
|
|
|
|
|
| |
D/A MODE | CH.LEVEL |
|
|
| ||
DISPLAY |
|
| SETUP |
| ||
SEL | ENTER | SEL |
| |||
T |
|
|
|
|
| ENTER |
E |
|
|
|
|
|
|
S |
|
|
|
|
|
|
T |
|
|
|
|
|
|
ST | SEARCH MODE | OU | N | D |
| |
ER | EO |
|
|
|
| |
|
| RR |
|
|
| |
|
|
| SU |
|
|
|
| SOUND |
| EXT.IN |
|
|
|
TONE PARAMETER |
|
|
|
| ||
TAPE | VIDEO 1 | VIDEO 2 | VIDEO 3 |
|
|
|
FM/AM/XM | CD | AUX |
|
|
|
|
2. Press the CURSOR UP( )/DOWN( ) buttons to select the desired speaker.
7
|
| MUTE |
|
|
|
P.SCAN | 0 |
| VOLUME | ||
|
|
|
|
| |
D/A MODE | CH.LEVEL |
|
| ||
DISPLAY |
|
| SETUP | ||
SEL | ENTER | SEL | |||
T |
|
|
|
|
|
E |
|
|
|
|
|
S |
|
|
|
|
|
T |
|
|
|
|
|
ST | SEARCH MODE | OU | N | D | |
ER | EO |
|
|
| |
|
| RR |
|
| |
|
|
| SU |
|
|
| SOUND |
| EXT.IN |
|
|
TONE PARAMETER |
|
|
| ||
TAPE | VIDEO 1 | VIDEO 2 | VIDEO 3 |
|
|
FM/AM/XM | CD | AUX |
|
|
|
3. Press the CURSOR LEFT( )/ RIGHT( ) buttons to set the selected speaker as desired.
7 | MUTE | • Depending on your speaker type, you can select one of these following |
P.SCAN | D/A MODE CH.LEVEL | VOLUME |
| speaker types. | |
| 0 |
|
DISPLAY |
| SETUP |
SEL | ENTER | SEL | |||
T |
|
|
|
|
|
E |
|
|
|
|
|
S |
|
|
|
|
|
T |
|
|
|
|
|
ST | SEARCH MODE | OU | N | D | |
ER | EO |
|
|
| |
|
| RR |
|
| |
|
|
| SU |
|
|
| SOUND |
| EXT.IN |
|
|
TONE PARAMETER |
|
|
| ||
TAPE | VIDEO 1 | VIDEO 2 | VIDEO 3 |
|
|
FM/AM/XM | CD | AUX |
|
|
|
L (Large) : Select this when connecting speakers that can fully reproduce sounds below crossover frequency.
S (Small) : Select this when connecting speakers that can not fully reproduce sounds below crossover frequency. When this is selected, sounds below crossover frequency are sent to the subwoofer or speakers which are set to “L” (Large) (when not using a subwoofer).
N (None) : Select this when no speakers are connected. When this is selected, sounds are sent to the speakers which are not set to “N” (None).
2c (2ch) / 1c (1ch) : Select the desired depending on the number of surround back speakers.
Y (Yes) / N (No) : Select the desired depending on whether a subwoofer is connected or not.
Notes :
•When speakers are set to "S" (Small), you should set their crossover frequency correctly according to their frequency characteristics. (For details, refer to "When selecting the SPEAKER CROSSOVER" on page 46.)
•When
•When the "FRONT" is set to "S" (Small), "CENTER", "SURR" (Surround), "SURR
•When the “SURR" (Surround) is set to "S" (Small), "SURR
•When the power amplifier is assigned to “SB+W” (Surround Back+Subwoofer), the
When setting the speaker size by performing the auto setup.
If the speakers may not be detected properly because of incorrect connection, measurement environment, or other factors, the speakers are set as follows :
•When a pair of speakers such as front, surround or surround back speakers are detected differently (i.e, one is detected as "L" (Large), the other as "S" (Small)), both are automatically set to "S" (Small)".
•When only one surround speaker is detected, both are automatically set to "N" (None).
•When only the surround back right speaker is detected, both are automatically set to "N" (None).
In this case, connect that speaker to the SURROUND BACK LEFT speaker terminals and retry the auto setup, then it will be automatically set to "1c" (1ch).
44
