119
USER’S Manual
Thank you for purchasing Sigma DP2 Digital Compact Camera
Package Contents / Accessories
Table of Contents
Advanced Operation
Operation of the Drive Mode
Reviewing and Deleting Images Quick Preview
Reviewing Images
Deleting Files
Other Reviewing Features
Recording and Playing Back Movies
Recording and Playing Back Sound
Safety Precautions
Safety Precautions
Safety Precautions
HOW to Store the Camera
Handling Precautions
Please read this section before using the camera
Environment
SD Memory Card and Multimdeia Card Sold Separately
Handling Precautions
Description of the Parts
Microphone Battery / Card Cover
Explanation of the icons displayed in still image shooting
Color LCD Monitor Indication
To insert the battery P.20
Charging the battery P.19
Basic Operation and Quick Reference
Preparation
Taking the Picture
Select the exposure mode P.41
Set the date and time P.25 Loading the card P.37
Turn the camera body on
Take a picture
Focus P.48
Review the image. P.75
Attaching the Carry Strap
Preparation
Lens CAP
HOW to Remove the Lens CAP
Attaching the Lens CAP
To Charge the Battery
Loading the Battery
Loading the Battery
To Remove the Battery
White Red Battery Status
Checking the Battery Status
Using a Home Power Supply Sold Separately
Setting the Language
TIP
Setting the Time and Date
Camera Settings
Capture Settings
Camera SET-UP Menu
Playback Menu
Open Display
List Display
Page
Sensitivity
List of Menu Functions
AEL
Key
Slideshow Slideshow Settings
Arrangement
→ → +
Dpof
PAL
Ntsc
Image Size Color Mode Image Quality Drive Mode
ISO Setting White Balance Flash Mode Metering Mode
Quick SET Menu
Operation
Changing the Color LCD Monitor Display
Reviewing
Grid Segment Display
Shooting Menu P.26 → Select
Segments with a solid line Segments with a dotted line
To Insert the Card
Inserting and Removing the Card
To Remove the Card
Formatting the Card
Camera Settings P.26 → Select Format and format the card
Shutter Button
It is possible to reset the settings to the defaults
Reset to the Defaults
Program AE
Basic Operation
Program Shift
Aperture Priority AE
Shutter Speed Priority AE
Manual Exposure
Using the BUILT-IN Flash
Using the BUILT-IN Flash
ISO50
Capture Settings P.26 → Flash Mode
Setting the Flash Mode
RED-EYE Reduction Flash Redeye
Normal Flash Redeye Slow Sync Redeye + Slow
HOW to USE Autofocus
Focusing
Focus Lock
Focusing Point Selection
Manual Focus
Focusing with Magnification Display
Single Capture
Single Frame Shooting
Self Timer 2 sec
Self Timer
Self Timer 10 sec
Continuous Shooting
Advanced Operation
Setting the White BALANCE(WB)
White Balance Options
Shooting Menu P.26 → White Balance
Description
Setting a Custom White Balance
ISO 3200 RAW
ISO Auto
Image Size Setting
Image File Setting
169
MED LOW
Color Space
Image Quality Setting
Fine Jpeg Normal
Basic Jpeg RAW
Picture Settings
Picture Settings
Contrast
Sharpness
Evaluative Center Weighted Average Spot
Selecting the Metering Mode
AE Lock
Setting the AEL Button
Center AF Lock Center AF Lock+AEL
Center AF Lock
Half Pressed AEL
Center AF Lock + AEL
Exposure Compensation
Flash Exposure Compensation
Auto Bracketing
→ 0 → + + → 0 →
→ Auto Bracketing Order
Capture Settings P.26 → Color Mode
Color Mode
Standard Vivid Neutral Portrait Landscape Sepia
→ Image with Sound
Image with Sound
10sec 30sec
Electronic Flash EF-140 DG SA-STTL Sold Separately
Using the External Flash
Off
Auto Rotate
Playback Menu → Rotate, this
5, 7, 10, 20, 30, 40, 50, 75, 99, ∞ unlimited
Interval Timer
Page
Save MY Settings
MY Settings
Load MY Settings
Capture Settings P.26 → Save My Settings, select from
EXP. KEY Arrangement
Exposure Mode
Quick Preview
Reviewing Deleting Images
Changing the Quick Preview Duration
Quick Preview Options
Reviewing Images
While in SINGLE-IMAGE View
Viewing ONE Image AT a Time
While in ZOOMED-IN View
Magnifying Images ZOOMED-IN View
While in Contact Sheet View
Viewing Nine Images AT a Time Contact Sheet View
While in Jump Mode
Viewing Images a page AT a Time Jump Mode
Viewing Images with Sound
Viewing Image Information
While in Image Info Screen
Image Info Screen for Magnified Images
To Display Magnified Image Info Screen
While in Image Info Screen for a Magnified Image
Histogram
To Connect the Camera to a Video Device
Viewing Images on a TV
Deleting Files
Current File All marked Cancel
Delete Menu
To Delete a Single File
Deleting a Single File
To Delete Multiple Files
Deleting Multiple Files
Locking Files
Other Reviewing Features
Lock Menu
Lock Unlock Lock all Unlock all
Unlocking a Single File
To Lock a Single File
Unlocking Multiple Files
To Lock Multiple Files
Mark Menu
Marking Images
Unmarking a Single File
To Mark a Single Image
Unmarking Multiple Images
Marking ALL Images
Rotate
Rotating Images
Rotate Menu
OK Button Shortcut
Exposure Warning
Recording Sound Memo
TIP
To Start a Slideshow
Showing a Slideshow
Show all Show locked Show marked
Slideshow Menu
Slideshow Setting Menu
Chaging Slideshow Settings
Duration
Repeat
Recording Movies
Recording and Playing Back Movies
101
Available recording time counter Elapsed time counter
102
Playing Back Movies
512MB
1GB 2GB 4GB
103
When pause is selected・・・
Movie play back screen・・・
104
Recording and Playing Back Sound
Playing Back Sound
When playing the sound ・・・
105
Printing Images with Pictbridge Compatible Printers
Printing Images
106
Select Images & Quantity menu
107
108
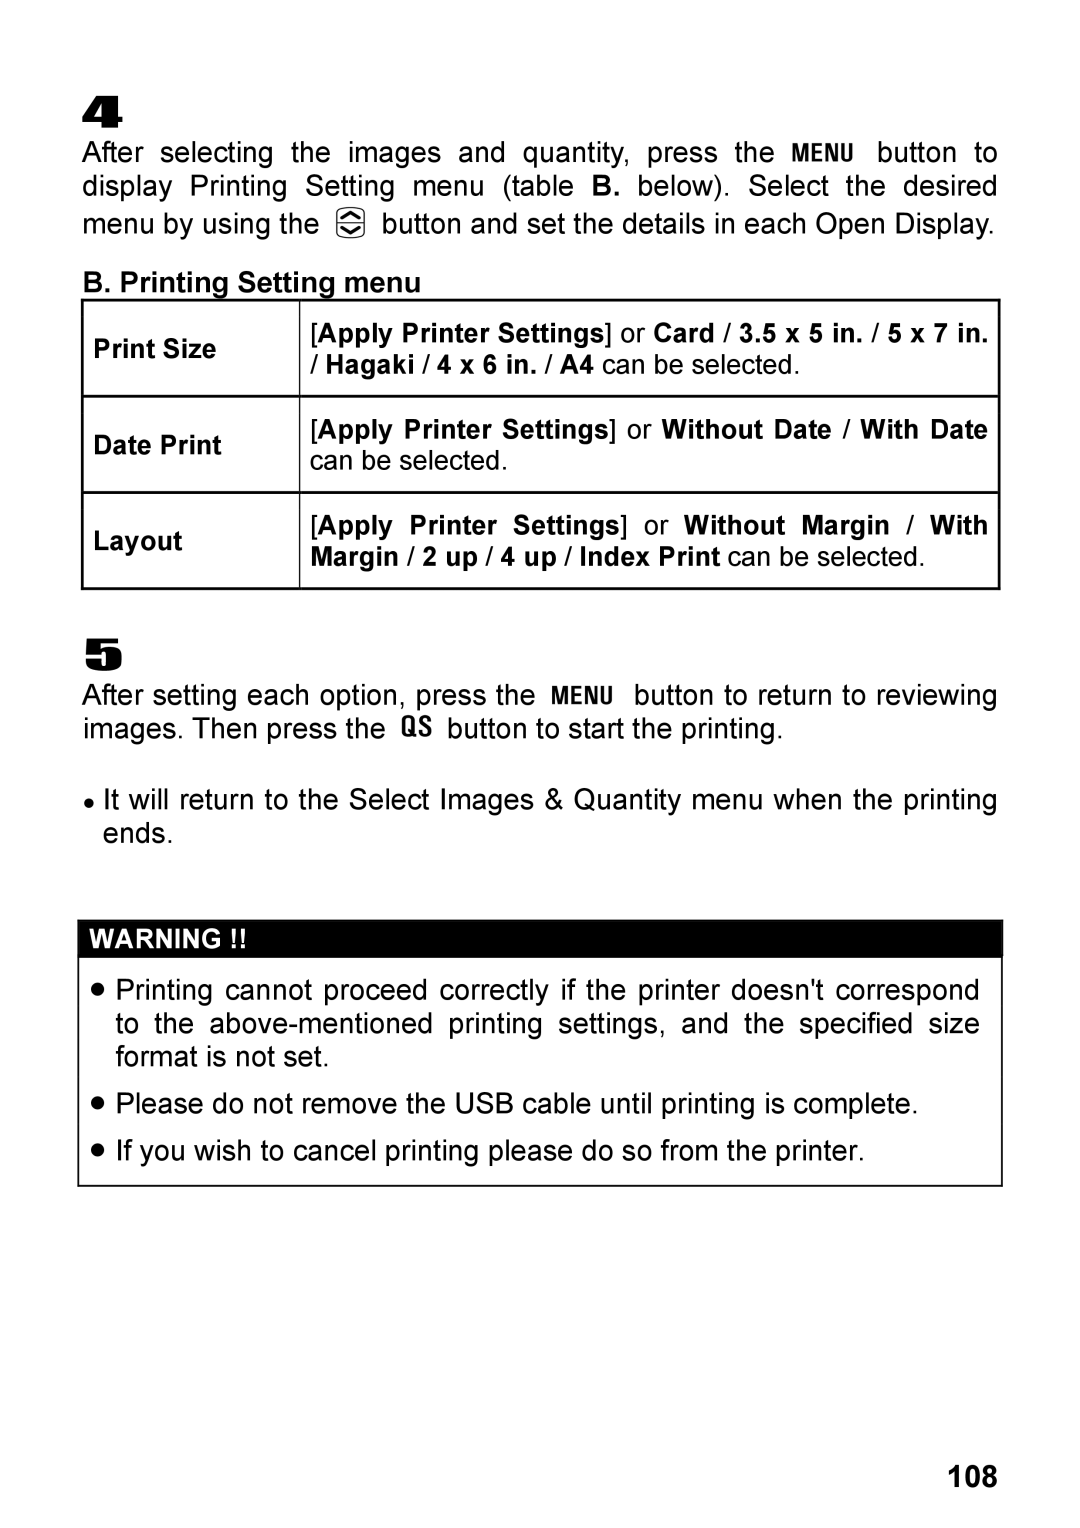
Printing Setting menu
Dpof Digital Print Order Format
Select / Quantity Select All Images Cancel All Selections
109
Dpof Menu
Maintenance
Optional Accessories
Reference
111
Explanation of Terms
Histogram
112
Continuous Auto Reset
Camera Settings P.26 → File Numbering
File Numbering System
113
114
LCD Sleep and Auto Power OFF
115
Troubleshooting
116
117
Specifications
118
Connecting the Cables
Sigma Corporation
120
For customers in the U.S.A
DP2