Changing the mode cancels the setting.
Wireless Multi Flash
Slave Unit’s Setting
1.Follow the slave unit’s instruction manual and set slave ID to 3.
2.Place the Slave Unit at the desired position.
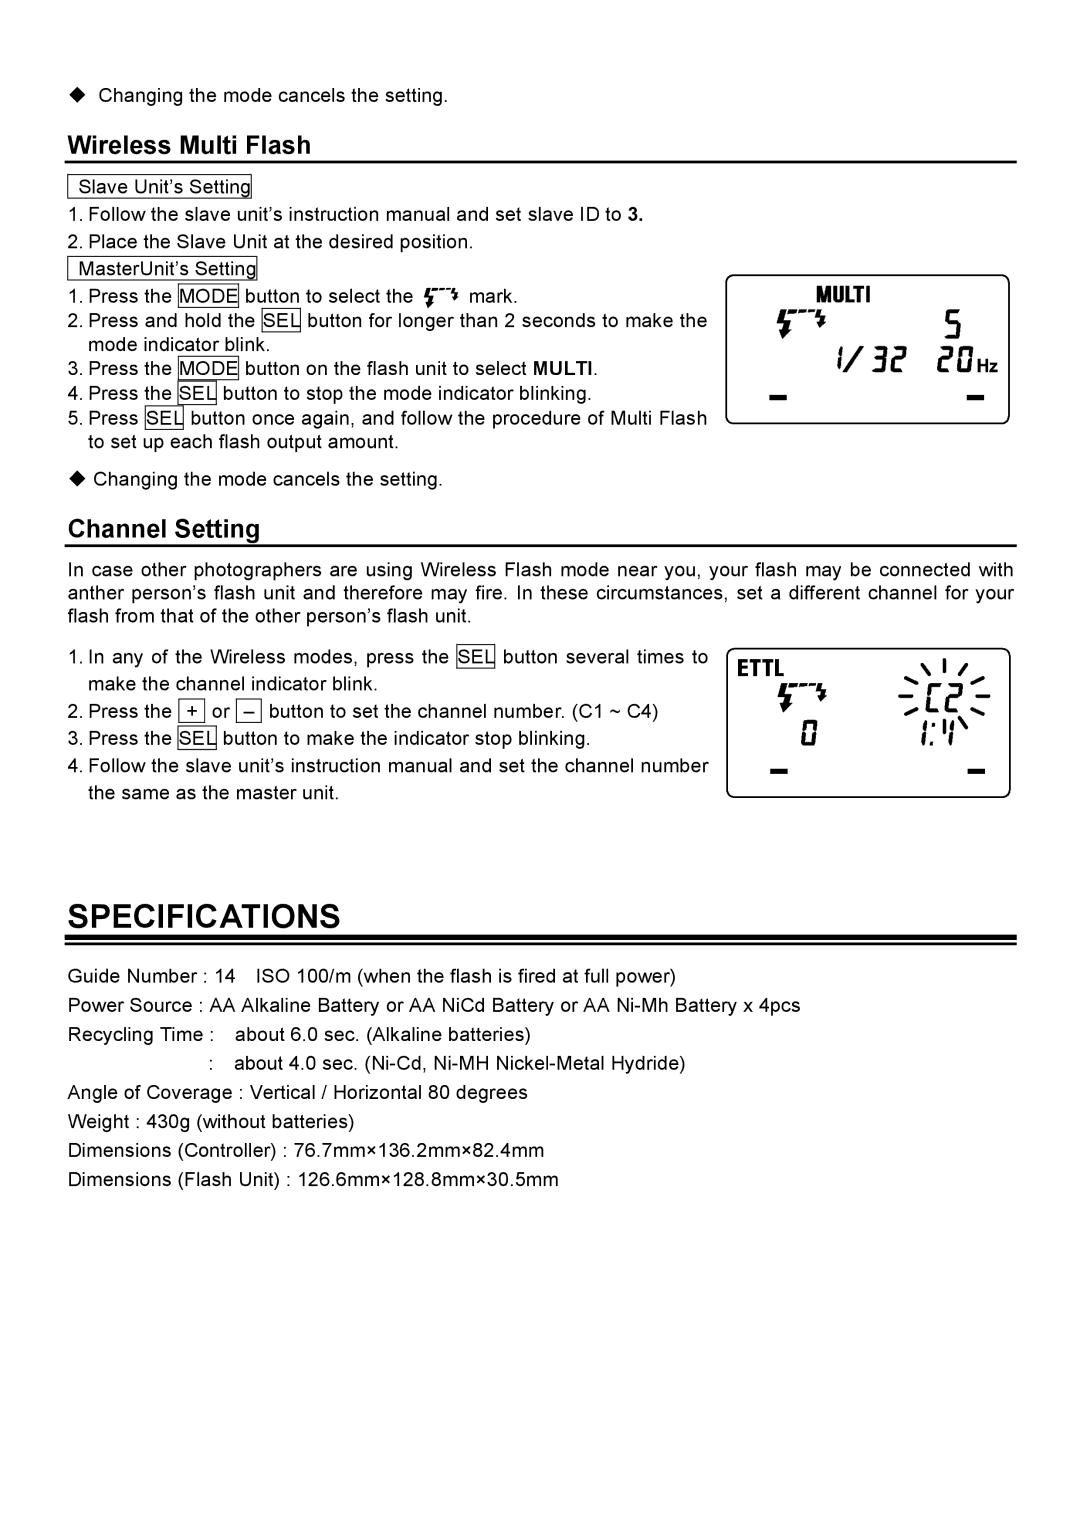
MasterUnit’s Setting
1.Press the MODE button to select the ![]() mark.
mark.
2.Press and hold the SEL button for longer than 2 seconds to make the mode indicator blink.
3.Press the MODE button on the flash unit to select MULTI.
4.Press the SEL button to stop the mode indicator blinking.
5.Press SEL button once again, and follow the procedure of Multi Flash to set up each flash output amount.
Changing the mode cancels the setting.
Channel Setting
In case other photographers are using Wireless Flash mode near you, your flash may be connected with anther person’s flash unit and therefore may fire. In these circumstances, set a different channel for your flash from that of the other person’s flash unit.
1.In any of the Wireless modes, press the SEL button several times to make the channel indicator blink.
2.Press the + or – button to set the channel number. (C1 ~ C4)
3.Press the SEL button to make the indicator stop blinking.
4.Follow the slave unit’s instruction manual and set the channel number the same as the master unit.
SPECIFICATIONS
Guide Number : 14 ISO 100/m (when the flash is fired at full power)
Power Source : AA Alkaline Battery or AA NiCd Battery or AA
Recycling Time : about 6.0 sec. (Alkaline batteries)
:about 4.0 sec.
Angle of Coverage : Vertical / Horizontal 80 degrees
Weight : 430g (without batteries)
Dimensions (Controller) : 76.7mm×136.2mm×82.4mm
Dimensions (Flash Unit) : 126.6mm×128.8mm×30.5mm