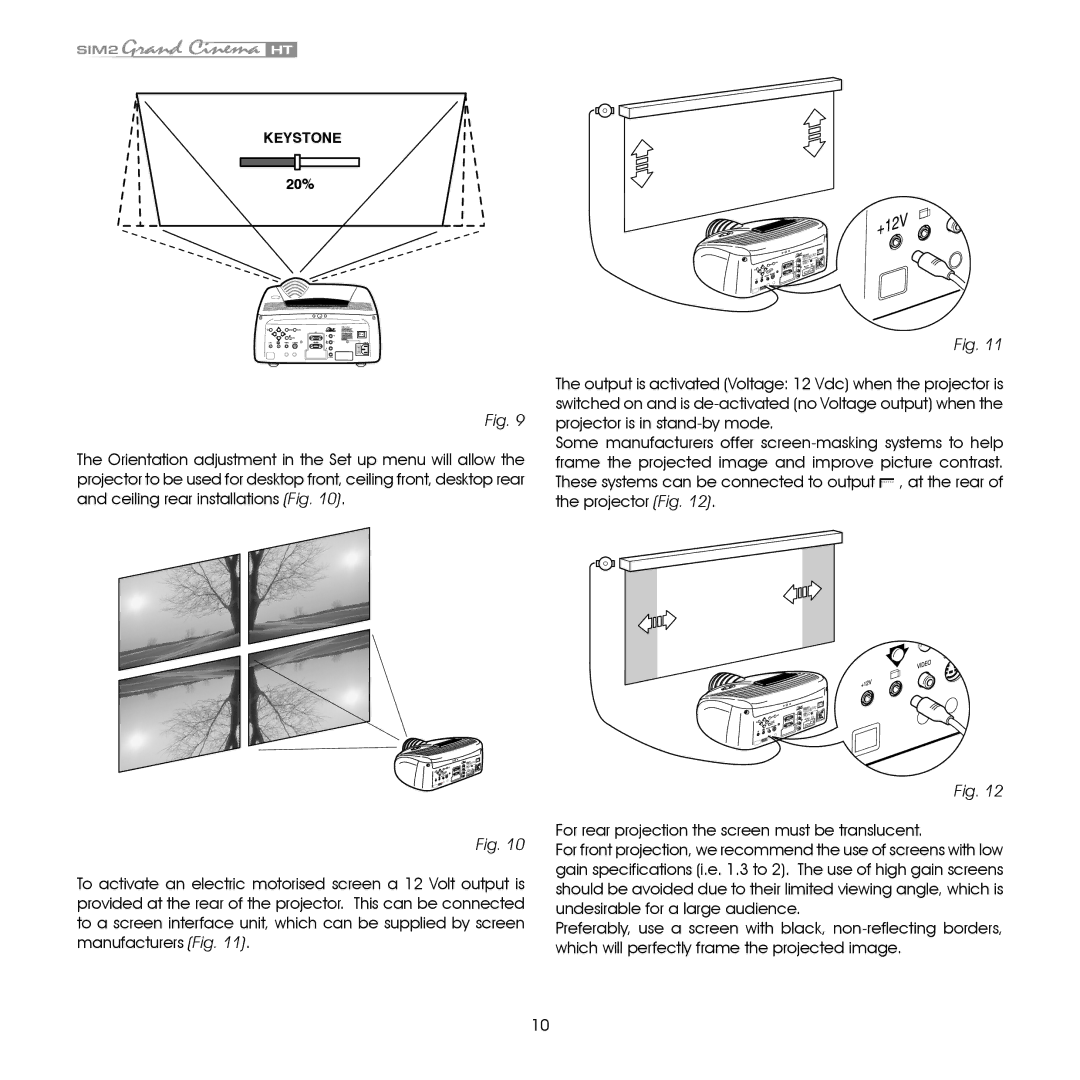
KEYSTONE
20%
Fig. 9
The Orientation adjustment in the Set up menu will allow the projector to be used for desktop front, ceiling front, desktop rear and ceiling rear installations (Fig. 10).
Fig. 10
To activate an electric motorised screen a 12 Volt output is provided at the rear of the projector. This can be connected to a screen interface unit, which can be supplied by screen manufacturers (Fig. 11).
Fig. 11
The output is activated (Voltage: 12 Vdc) when the projector is switched on and is
Some manufacturers offer ![]() , at the rear of the projector (Fig. 12).
, at the rear of the projector (Fig. 12).
Fig. 12
For rear projection the screen must be translucent.
For front projection, we recommend the use of screens with low gain specifications (i.e. 1.3 to 2). The use of high gain screens should be avoided due to their limited viewing angle, which is undesirable for a large audience.
Preferably, use a screen with black,
10