Contents
Main
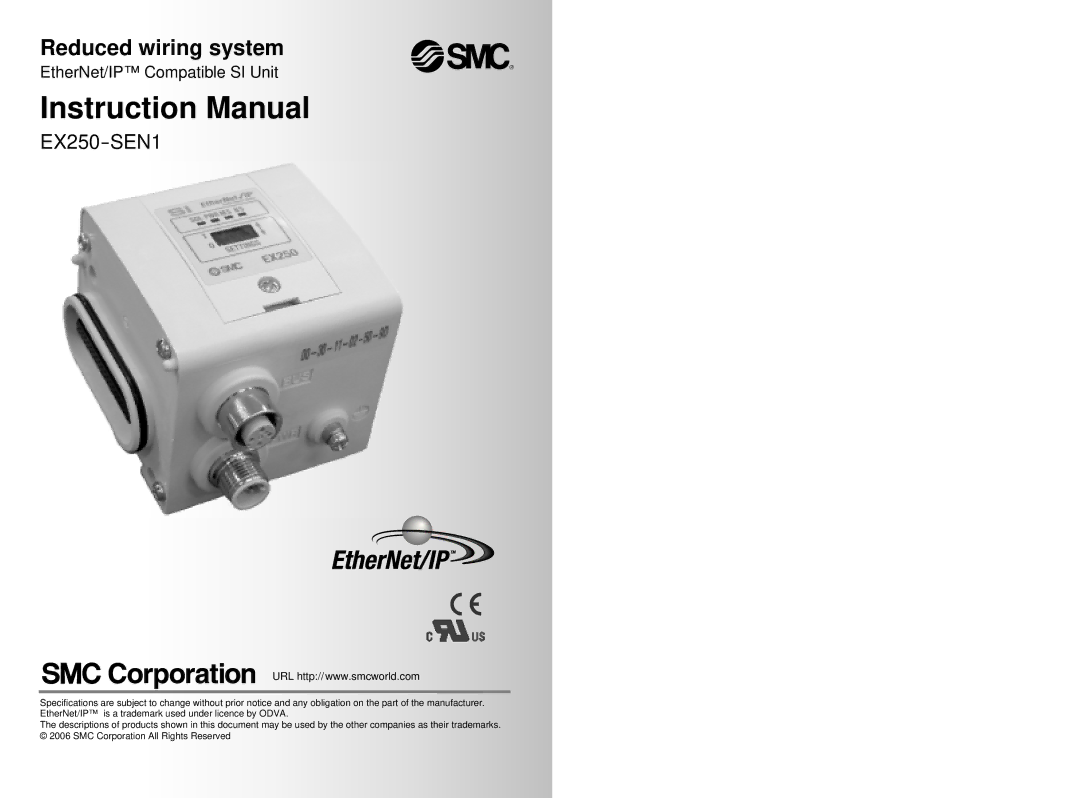
Reduced wiring system
Instruction Manual
Contents
OPERATOR
SAFETY
IMPORTANT MESSAGES
NOTE
Handling precautions
Product Summary
SAFETY ( continued )
System configuration general
6 7
SI Unit Model Indication Method
status with PLC.
How to assemble / disassemble units.
SI Unit body
EX250 SEN1
8 9
Mounting/Installation (continued )
Layout of the Input Block
Position the Input Block on the left side of the SI Unit.
Layout of the EX9 series Output Block / Power Block
()
12 13
Communication wiring
Cable connection
Pin layout and connection diagram of Ethernet Communication Cable
Power supply wiring Cable connection
Display/Setting
B. Single power supply
Connecting one or two power supplies to SI Unit.
Settings for display
16 17
ON
If the stored IP address of an EX250 is not known, please go to the "DHCP Mode" section.
SW1
Display/Setting ( continued )
Input Block Model Indication Method
EX250 IE
Block type
Input Block Model indication method
EX250-IE1 EX250-IE2 EX250-IE3
20 21
EX250-IE1 (M12 connector, 5 pin, Socket)
EX250-IE2 (M12 connector, 5 pin, Socket)
Input connector pin layout
EX250-IE1/2/3
Display/Setting
EX9 Series Output Block/Power Block
EX250-IE1 EX250-IE2/IE3
EX9 PE1
Switch setting
24 25
Tie-rod (2 pcs.) Accessory
(for socket)(1 pc.)
Tie-rod (2 pcs.) Accessory Waterproof cap
Refer to subsection "Mounting/Installation" (page 7) in this manual.
26 27
Specification ( continued )
Output connector pin layout
EX9-OET1, EX9-OEP1 (M12 connector, 5 pin, Socket)
Output wiring
28 29
M12 connector, 5 pin, Reverse key
Pin alignment and connection drawing of the Power Supply Cable
EX9-PE1 pin layout
Power Cable (Power Block)
Display
Option
32 33
Option ( continued )
Troubleshooting
EA 03
EX9
AW
EX500
Troubleshooting ( continued )
EtherNet/IP compatible communication