SCP111NU2, SCP111BU2 specifications
The Smeg SCP111BU2 and SCP111NU2 are standout models in Smeg's extensive collection of kitchen appliances, combining elegance with innovative technology. Designed with both functionality and aesthetics in mind, these built-in combination microwave ovens embody the quintessential Italian craftsmanship that Smeg is renowned for.One of the main features of the SCP111BU2 and SCP111NU2 is their impressive combination cooking capabilities. This feature allows users to utilize both microwave and traditional cooking methods, making it possible to prepare food faster while retaining moisture and flavor. The microwave function can be alone or in partnership with the oven, offering versatility and efficiency for busy households.
The Smeg SCP111BU2 and SCP111NU2 both boast a spacious cavity, providing ample room for cooking large dishes. With a capacity of around 40 liters, these microwave ovens can handle multiple cooking tasks at once, accommodating everything from casseroles to baked goods. The precise temperature control ensures that every dish is cooked to perfection, while the built-in fan helps distribute heat evenly for consistent results.
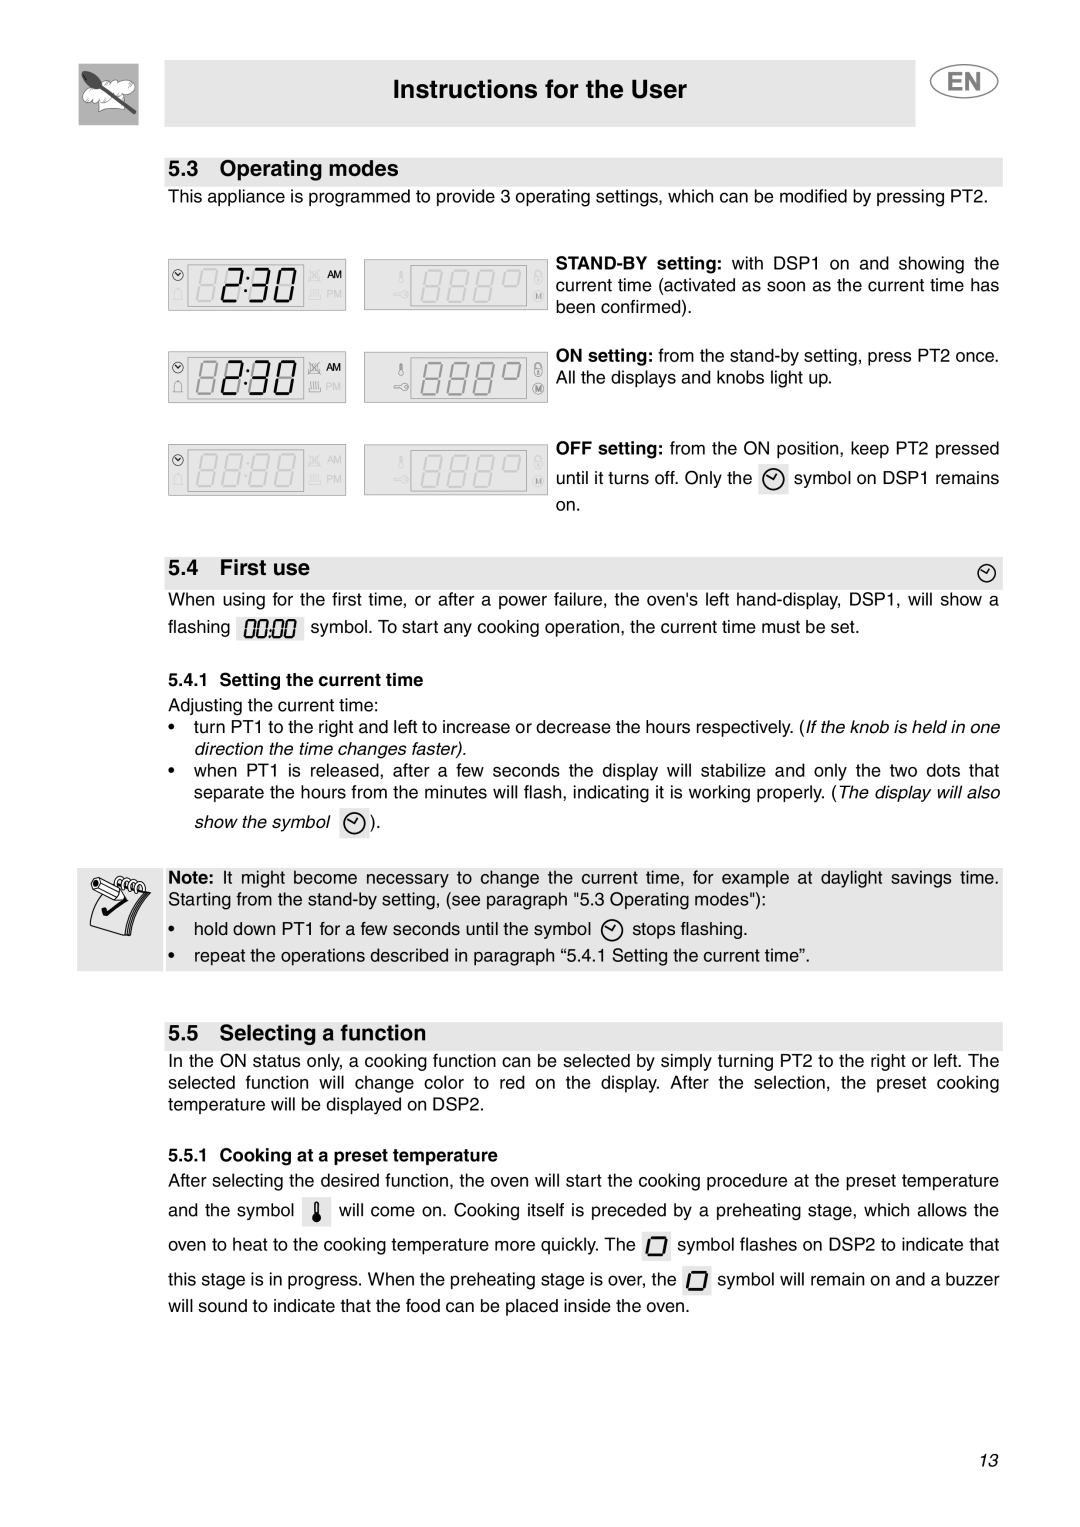
In terms of design, both models feature a sleek, modern interface with an intuitive touch control system. The clear digital display makes it easy for users to set cooking times and temperatures with precision. The stylish stainless-steel finish is not just visually appealing but also ensures durability and easy cleaning.
Additionally, the SCP111BU2 and SCP111NU2 come equipped with various cooking modes, including steam, grill, and traditional convection, making them incredibly versatile. The steam function helps retain vitamins and nutrients in vegetables while providing a healthy cooking method. The grill option is ideal for achieving that perfect golden-brown finish on meat and vegetables.
Both models also incorporate advanced safety features, including a child lock function, ensuring peace of mind in family homes. The easy-to-clean interiors feature a non-stick coating, allowing for effortless maintenance after cooking.
With energy efficiency being a significant consideration for modern consumers, Smeg has designed the SCP111BU2 and SCP111NU2 to operate efficiently, saving energy and reducing utility bills without compromising performance.
In summary, the Smeg SCP111BU2 and SCP111NU2 are a perfect blend of cutting-edge technology, stylish aesthetics, and practical features, making them an excellent addition to any modern kitchen. Whether you are reheating leftovers or preparing gourmet meals, these built-in combination microwave ovens provide an all-in-one solution for culinary enthusiasts and busy individuals alike.