Audio Channel Strips
In the Project menu select Add Track and click Audio.
Use the resulting Add Audio Track dialogue box to create audio tracks as required. The corresponding channel strips will be added to the mixer.
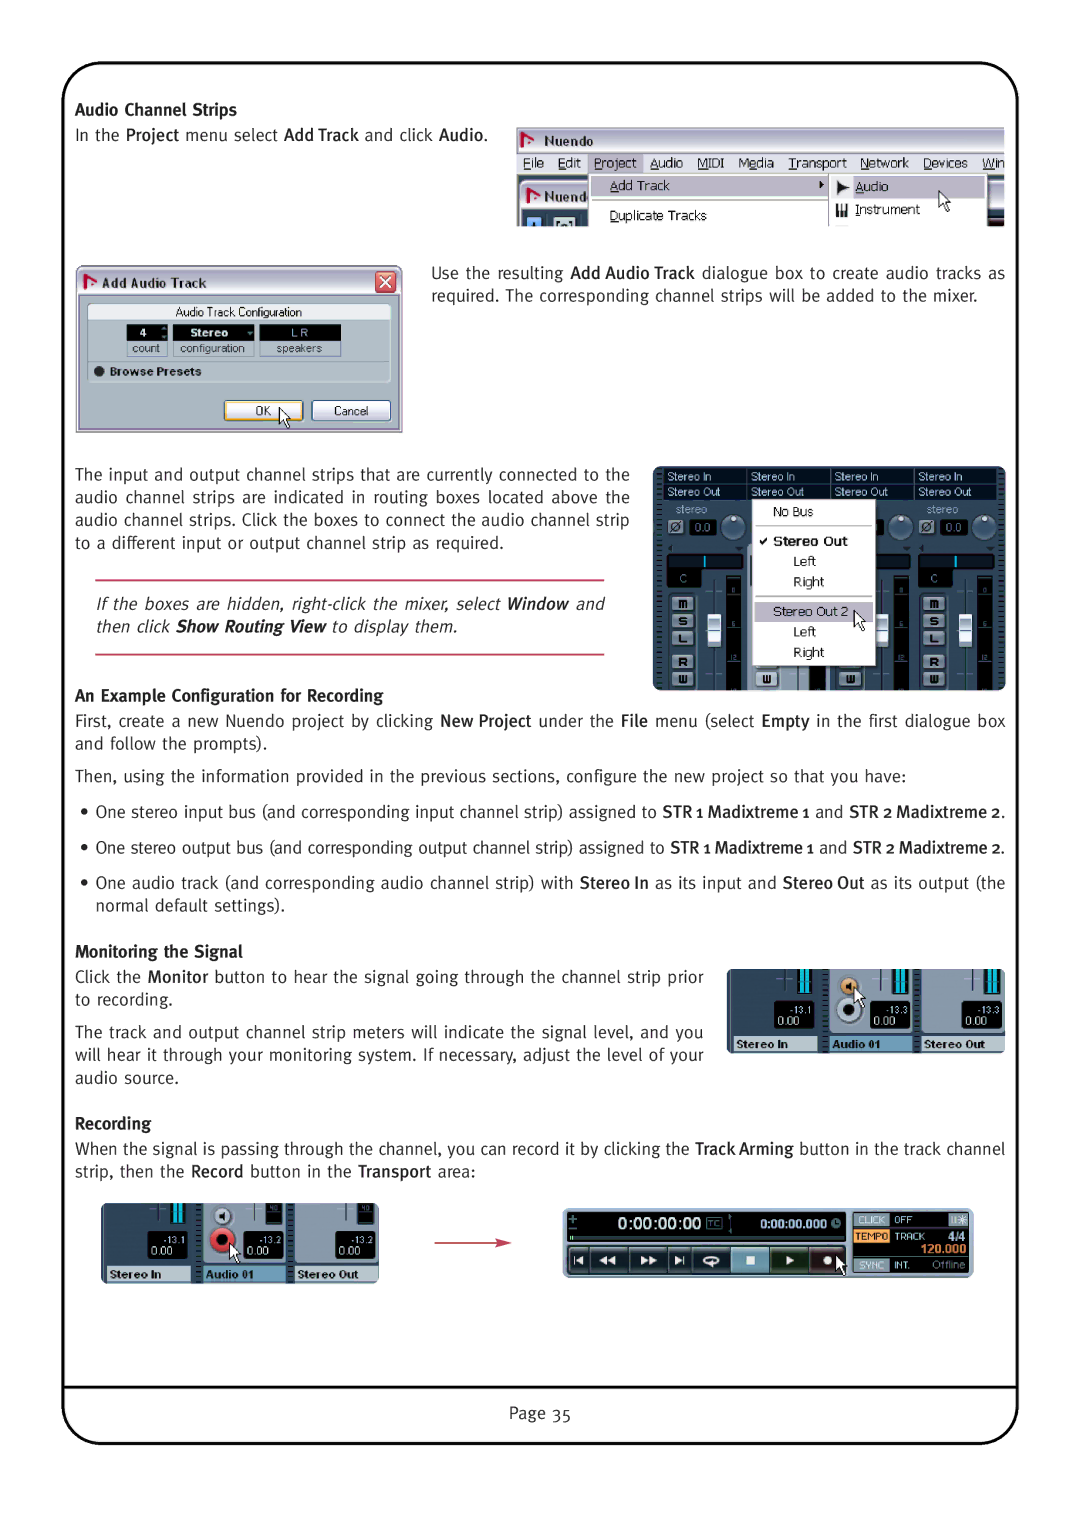
The input and output channel strips that are currently connected to the audio channel strips are indicated in routing boxes located above the audio channel strips. Click the boxes to connect the audio channel strip to a different input or output channel strip as required.
If the boxes are hidden,
An Example Configuration for Recording
First, create a new Nuendo project by clicking New Project under the File menu (select Empty in the first dialogue box and follow the prompts).
Then, using the information provided in the previous sections, configure the new project so that you have:
•One stereo input bus (and corresponding input channel strip) assigned to STR 1 Madixtreme 1 and STR 2 Madixtreme 2.
•One stereo output bus (and corresponding output channel strip) assigned to STR 1 Madixtreme 1 and STR 2 Madixtreme2.
•One audio track (and corresponding audio channel strip) with Stereo In as its input and Stereo Out as its output (the normal default settings).
Monitoring the Signal
Click the Monitor button to hear the signal going through the channel strip prior to recording.
The track and output channel strip meters will indicate the signal level, and you will hear it through your monitoring system. If necessary, adjust the level of your audio source.
Recording
When the signal is passing through the channel, you can record it by clicking the TrackArming button in the track channel strip, then the Record button in the Transport area:
Page 35