Storing Information About CDs (Custom Files)
Erasing the Custom Index 


1Place a disc.
2Press C.INDEX.
“CUSTOM INDEX” appears in the display.
3Press CHECK repeatedly until the Custom Index number you want to erase flashes.
4Press ERASE while the number is flashing to erase the Custom Index.
The succeeding Custom Index numbers decrease by one.
Playing using the Delete Bank 


1Press CONTINUE.
The Delete Bank is recalled and the selected track numbers appear on the music calendar.
2Press · to start playing.
To cancel playing using the Delete Bank
Press p.
To start playing using the Delete Bank again
When “PROGRAM” or “CUSTOM INDEX” appear in the display, press CONTINUE or SHUFFLE repeatedly until these indications disappear from the display. The Delete Bank is recalled and you can start playing by pressing ·.
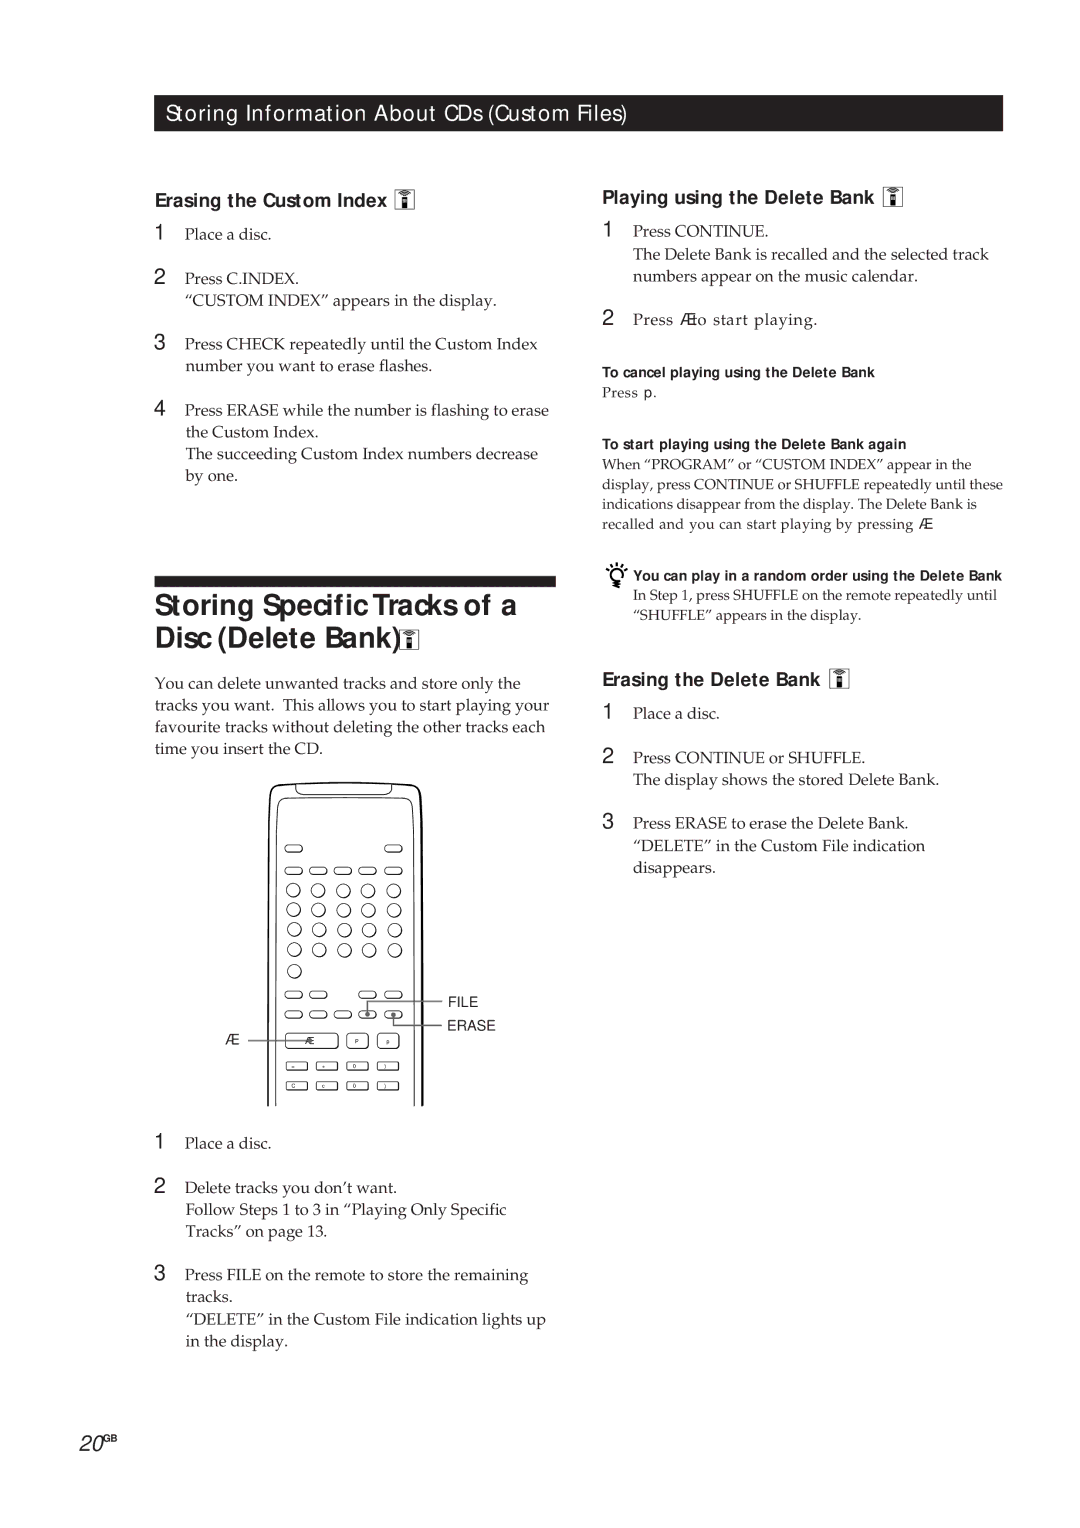
Storing Specific Tracks of a Disc (Delete Bank) 
You can delete unwanted tracks and store only the tracks you want. This allows you to start playing your favourite tracks without deleting the other tracks each time you insert the CD.
FILE
ERASE
· | Æ | P | p |
= | + | 0 | ) |
C | c | 0 | ) |
1Place a disc.
2Delete tracks you don’t want.
Follow Steps 1 to 3 in “Playing Only Specific Tracks” on page 13.
3Press FILE on the remote to store the remaining tracks.
“DELETE” in the Custom File indication lights up in the display.
![]()
![]() You can play in a random order using the Delete Bank
You can play in a random order using the Delete Bank
In Step 1, press SHUFFLE on the remote repeatedly until “SHUFFLE” appears in the display.
Erasing the Delete Bank 


1Place a disc.
2Press CONTINUE or SHUFFLE.
The display shows the stored Delete Bank.
3Press ERASE to erase the Delete Bank. “DELETE” in the Custom File indication disappears.
20GB
