CDX-5100RDS, CDX-4100RDS specifications
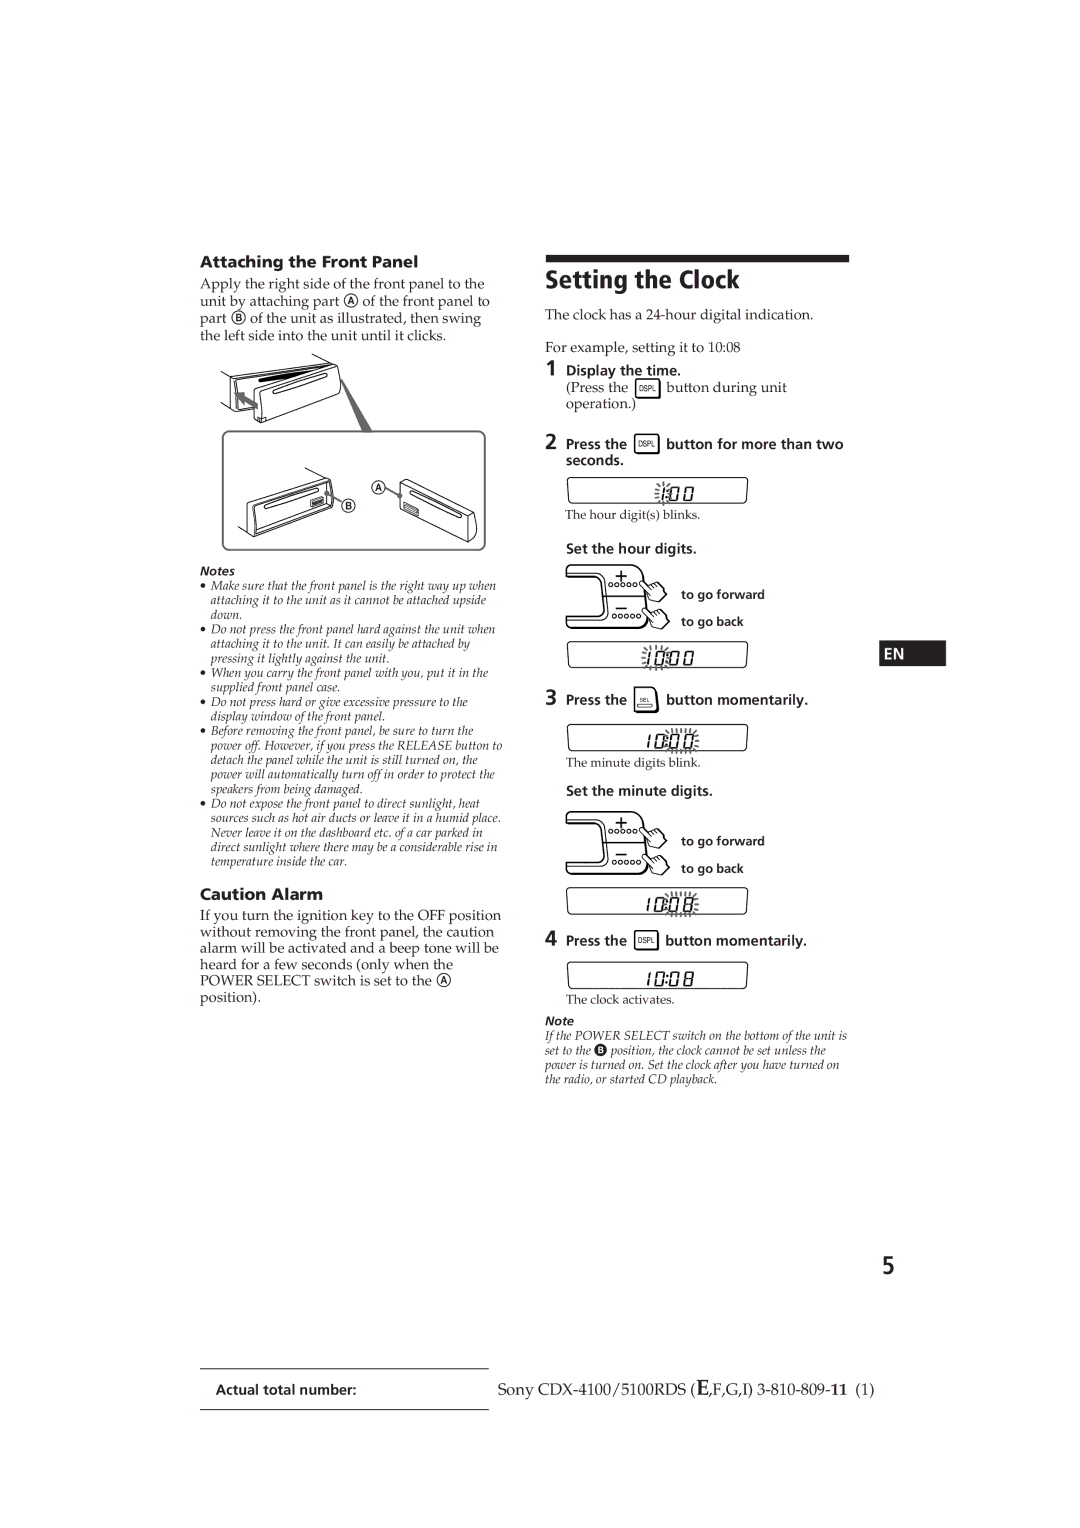
The Sony CDX-4100RDS and CDX-5100RDS are two standout car audio head units that reflect Sony’s commitment to quality, functionality, and user experience in automotive sound technology. Both models offer unique features while sharing core technologies that enhance the listening experience on the road.The CDX-4100RDS is designed with a sleek, user-friendly interface that makes it easy for drivers to navigate through their music choices without distraction. This model features RDS (Radio Data System), allowing users to receive additional information from FM radio stations, such as artist names and song titles, which enhances the overall listening experience. With a built-in CD player, users can enjoy their favorite music discs, while the auxiliary input provides flexibility for connecting various external devices.
On the other hand, the CDX-5100RDS brings additional enhancements over the CDX-4100RDS. This unit is equipped with a powerful 52 watts per channel output, delivering clearer and more dynamic sound whether you're listening to the radio, CDs, or external sources. The unit's advanced digital processing capabilities allow for precise sound tuning, enabling users to customize their audio experience with various presets and equalizer settings.
Both models incorporate Sony's Dynamic Soundstage Organizer technology, which works to create an expansive sound field, making it feel as if the music surrounds you. Additionally, they feature a detachable front panel for security, as well as customizable LED display options, including brightness adjustments that enhance visibility without causing distraction.
In terms of connectivity, the CDX-5100RDS surpasses its counterpart by offering USB connectivity and direct controls for select Android and iPod devices. This allows users to seamlessly integrate their digital music libraries into their car audio systems. Both models support a wide range of audio formats, ensuring that listeners can enjoy high-quality sound from their preferred sources, regardless of format.
Moreover, both units are engineered with a focus on durability, featuring rugged designs that can withstand the vibrations and temperature changes commonly found in vehicles. With their combination of style, advanced technologies, and user-friendly features, the Sony CDX-4100RDS and CDX-5100RDS state themselves as top contenders in the realm of car audio systems, suitable for any music enthusiast looking to enhance their driving experience. Whether it’s for casual listening or audiophile-grade sound, these units deliver exceptional performance, making every journey more enjoyable.

