Enjoying movies
Model No. DSC-P32/P72 Serial No
Declaration of Conformity
For the Customers in the U.S.A
Regulatory Information
For the Customers in Europe
For the Customers in the U.S.A. and Canada
N50 For the Customers in the U.S.A. and Canada
Memory Stick
Before using your camera
Flash
Power zoom lens for the DSC- P72 only
Do not get the camera wet
Do not expose the camera to sand or dust
Trademarks
Table of contents
Still image editing
Troubleshooting
Enjoying movies
Enjoying images on your Computer
DSC-P72
Identifying the parts
Finder
Self-timer/recording lamp red 31/27
AE/AF lock lamp green
Jack cover
AF illuminator
Identifying the parts DSC-P32
Qa qs qd qf qg qh qj
Charging the batteries
Preparing batteries
Acceptable batteries
Batteries that cannot be used
Charging time
Nickel-Metal Hydride Charging time Battery
Close the battery cover
Open the battery cover
Inserting the batteries
Insert the batteries
When the Power Save function is On
Power Save function
Shooting still images Under the average conditions1
Shooting3 movies
Playing back2 still images
Power sources
Using an external power source Using your camera abroad
Auto Power Off function
Turning your camera on/off How to use the control button
Press Power to turn on the camera
To turn off the power
Set the mode selector to
Setting the date and time
Select OK with B on the control button, then press z
Is shown above and V is shown below the selected item
Date and time are set and the clock will start to keep time
Open the Memory Stick cover
Inserting and removing a Memory Stick
Slide the cover in the direction of the arrow
Insert the Memory Stick
Setting the still image size
Number of images that can be saved in a Memory Stick2
Image size and quality
Set the mode selector to , and turn on the camera
Basic still image shooting using auto mode
Press and hold the shutter button halfway down
Position on the mode selector
About Auto Focus
Basic still image shooting using auto mode
Checking the last image shot Quick Review
Press b 7 on the control button
Smart zoom
Using the zoom feature
Set the mode selector to Press B on the control button
When the zoom is set all the way to
Shooting close-ups Macro DSC-P72 only
Self-timer indicator appears on the LCD screen
Using the self-timer
To cancel the self-timer during the operation
Selecting a flash mode
When shooting against a light source
Flash mode has the following features
Before flashed When flashed
Settings page 106. appears on the LCD screen
To reduce red-eye when shooting live subjects
Shooting with the AF illuminator
Shooting with the finder
SET UP screen appears
Set the mode selector to SET
Mode selector to to shoot your image
Inserting the date and time on a still image
Viewing on the single-image screen
Viewing images on the LCD screen of your camera
Single single-image screen
Index nine-image screen
Image screen
Viewing on the index nine- or triple-image screen
To display the next previous Index
Screen
Viewing images on a TV screen
Turn on the TV, and set the TV/ Video switch to Video
Press b/B on the control button to select the desired image
Ntsc system
Watching images on a TV screen
PAL system
PAL-M system
Deleting images
To cancel the deletion
Press Delete
Select Delete with v on the control button, then press z
Delete mark is indicated on
Deleting on the Index nine-image screen
Select Exit with b on the control button, then press z
Images with marks have been deleted
Deleting still images
Select Cancel with V on the control button, then press z
To cancel the formatting
Formatting a Memory Stick
Select OK with v on the control button, then press z
Changing menu settings
How to setup and operate your camera
Changing items in the SET UP screen
To turn off the SET UP screen display
Mode selector SET UP
Set the mode selector to Press Menu
Deciding the still image quality
Creating or selecting a folder
To cancel changing the recording folder
To cancel folder creation
Creating a new folder
Selecting the recording folder
Multipoint AF
Choosing a focus method
Center AF
Focus preset
Setting the distance to the subject
Menu settings
Shooting techniques
To return to auto focus mode
Adjusting the exposure
EV adjustment
To return to auto adjust mode
For the DSC-P72 Set the mode selector to or Press Menu
Selecting a metering mode
Multi-pattern metering
Spot metering
To cancel spot metering
Adjusting color tones
To return to automatic settings
White Balance
You can adjust the amout of flash light
Adjusting the flash level
Flash level
Clip Motion
Shooting multiple frames
To delete shot images in the midst of shooting
Multi Burst
Shooting in Multi Burst mode
Shoot your image
Frames will be recorded as one image image size 1.2M
Shooting still images for e-mail
Shooting two images in succession
Burst
Mail
Voice
Shooting still images with audio files
You can record still images with audio files
Release the shutter button for up to 40 seconds
Shooting according to scene conditions
Twilight portrait mode
To return to the normal shooting
Select Camera with b, then select the desired mode with v/V
, select Auto or Program
NR slow shutter
Adding special effects
To cancel Picture Effect
Picture Effect
, select Off
When multiple folders are created in the Memory Stick
To cancel the selection
, select Cancel
Selecting the folder and playing back images
Adjust the zoom with the zoom W/T buttons
To cancel enlarged viewing
Enlarging a portion of a still image
Enlarging an image
Playing back successive images
To cancel the slide show setting
Recording an enlarged
Slide show
Rotating still images
To cancel the rotation
To skip to the next/previous image during slide show
Rotate
Playing back continuously
Playing back images shot in Multi Burst mode
Playing back frame by frame
To pause
To delete shot images
Protecting images
To cancel the protection
Protect
On the single screen
To protect all the images in folder
To release protection
To release protection of all the images in the folder
On the Index triple-image screen
Changing image size
To cancel the resizing
Resize
Print Dpof mark
Choosing images to print
To delete the mark
Select Dpof with b/B, then press z
To delete all the marks from the images in the folder
To cancel the marking
Press Menu Select OK with B, then press z
Select Dpof with v , then press z
To shoot with a self-timer
Indicators on the screen while you are shooting movies
Shooting movies
Before operation
To adjust the volume
Indicators on the screen while you are viewing movies
Viewing movies on the LCD screen
To fast-forward / rewind
Deleting movies
To cancel the deletion
Select Delete with v , then press z
Repeat to delete other movies Press Delete
Or 7, select Exit
To delete all the images in the folder
, select Exit
Editing movies
File numbers assigned when movies are cut
Cutting movies
Playback of the movie starts
Deleting unnecessary portions of movies
To cancel cutting
Decide on a cutting point
Contents of the CD-ROM
USB mode
Copying images to your computer For Windows users
Recommended computer environment
Click Next. When the Information screen appears, click Next
Installing the USB driver
Click Cyber-shot on the model selection screen
Click USB Driver on the title screen
Click Next. When License Agreement screen appears, click Yes
Installing Image Transfer
Click Finish
Installing ImageMixer
Follow instructions on each succeeding screen
Connecting the camera to your computer
For Windows 2000, Me, or XP users
Copying images using Image Transfer
For Windows 98 or 98SE users
Windows 98/98SE/2000/Me
Copying images without using Image Transfer
Changing Image Transfer settings
When a removable disk icon is not shown
Double-click My Computer, then double-click Removable Disk
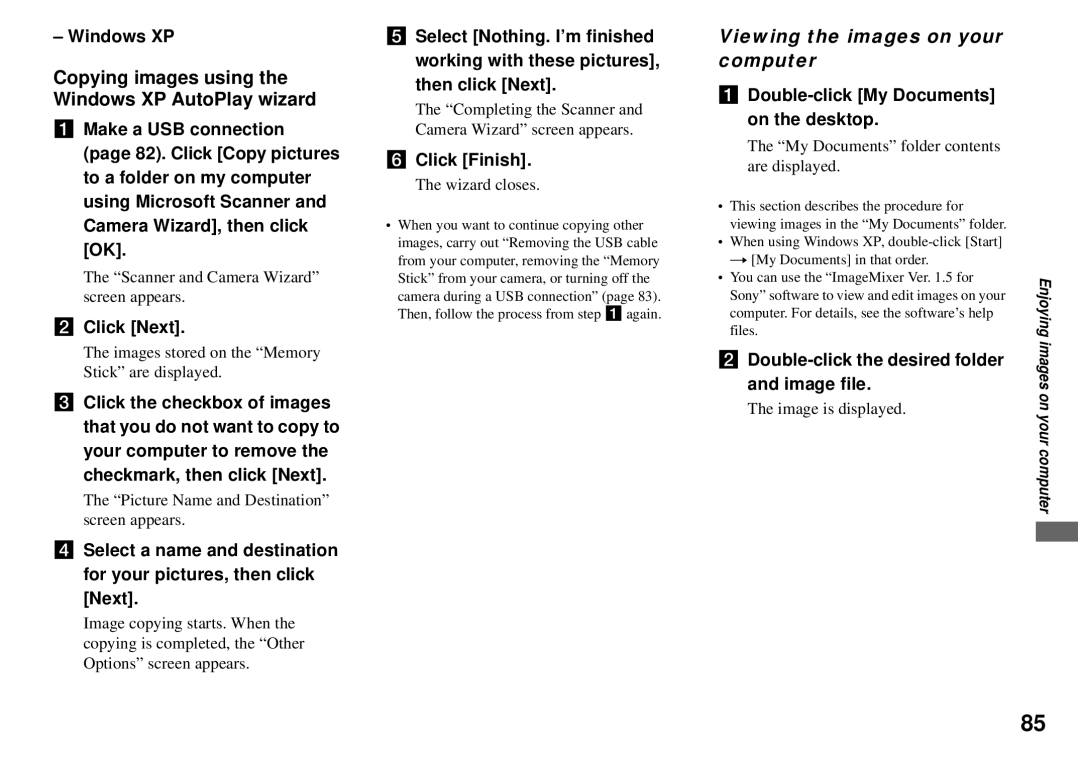
Viewing the images on your computer
Copying images using the Windows XP AutoPlay wizard
Click Next
Double-click My Documents on the desktop
Image file storage destinations and file names
Example when viewing folders on Windows Me
999MSDCF
Folder File name File meaning
Connecting your camera to your computer
Installing the USB driver
Copying images to your computer For Macintosh users
Steps your OS requires
Double-click the newly recognized icon on the desktop
Copying images
Viewing the images on your computer
For Mac OS X users
Start ImageMixer Click
Creating a Video CD
Drag & drop the desired file or album to the menu screen
For the Macintosh edition
Battery and power
Troubleshooting
While shooting still images
Shooting still images / movies
Macro mode does not
Symptom Cause Solution Image is too bright
Image is
Monochrome black White Vertical streaks appear
Deleting/editing an image
Viewing images
Computers
Memory Stick
Others
Following messages appear on the LCD screen
Message Meaning/ Corrective Action
Turn the power off and on
Again
100
Self-diagnosis display
If a code starting with an alphabet letter appears
101
Number of images that can be saved/ shooting time
Menu items
When the mode selector is set to
102
103
When Camera is set to Auto, these items are not displayed
Interval
104
105
When the mode selector is set to
106
SET UP items
Camera
Memory Stick Tool
107
Setup
Cleaning
Precautions
108
Do not leave the camera in the following places
How to charge
Internal rechargeable button battery
Memory Stick
109
Nickel-metal hydride batteries
Effective use of the battery
110
Specifications
Battery charger
Battery life
111
112
Accessories
113
LCD screen
For shooting still images
54-57
114
Recordable time indicator 101/ Self-diagnosis display
For shooting movies
115
Recording mode indicator 73 N Playback indicator 73/Volume
For still image playback For movie playback
Numbers in parentheses indicate
116
Index
PAL
117
Page
Page
8 0 8 7 7 1