Cyber-shot User Guide
Operation Search
Before Use
Shooting
Viewing
Using 3D Functions
Using MENU items (Shooting)
Using MENU items (Viewing) Changing settings Viewing images on a TV
Using with your computer
Printing
Troubleshooting
Precautions/About this camera
![]() Contents list
Contents list
Top page > Changing settings > Main Settings >
Eye-Fi
 Transferring image data using the
 Eye-Fi card
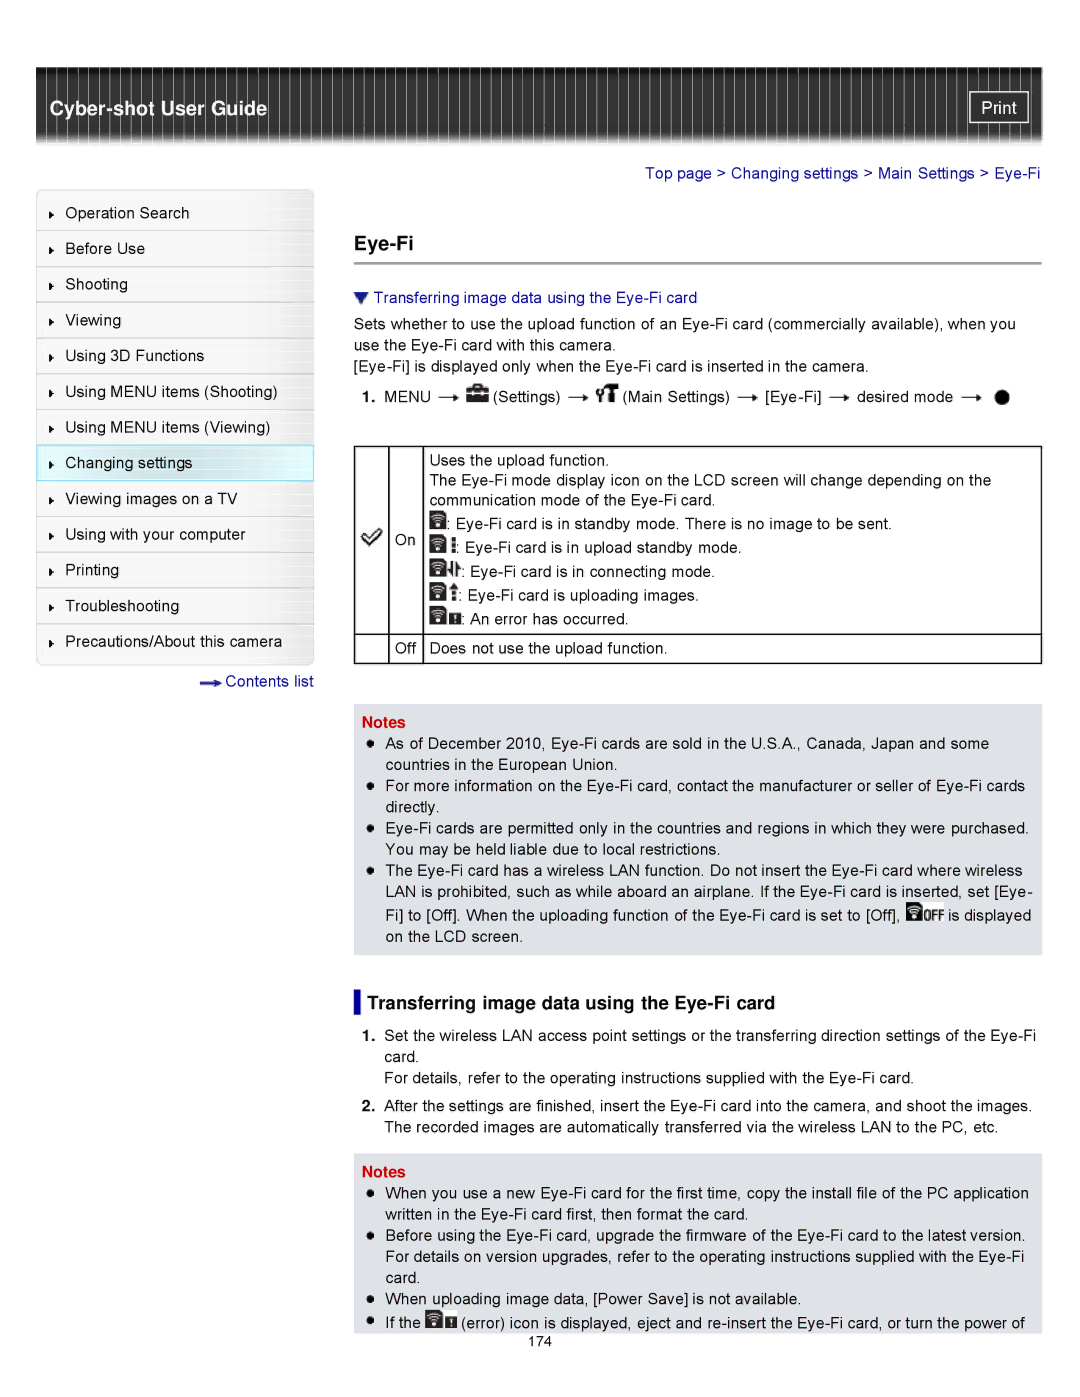
Sets whether to use the upload function of an
1.MENU ![]()
![]() (Settings)
(Settings) ![]()
![]() (Main Settings)
(Main Settings) ![]()
![]() desired mode
desired mode ![]()
![]()
| Uses the upload function. | |
| The | |
| communication mode of the | |
On | : | |
: | ||
|
![]() :
:
![]() :
: ![]() : An error has occurred.
: An error has occurred.
Off Does not use the upload function.
Notes
As of December 2010,
For more information on the
The
Fi] to [Off]. When the uploading function of the ![]() is displayed on the LCD screen.
is displayed on the LCD screen.
 Transferring image data using the
 Eye-Fi card
1.Set the wireless LAN access point settings or the transferring direction settings of the
For details, refer to the operating instructions supplied with the
2.After the settings are finished, insert the
Notes
When you use a new
Before using the
When uploading image data, [Power Save] is not available.
If the ![]() (error) icon is displayed, eject and
(error) icon is displayed, eject and
