Level 1 | Level 2 | Level 3 / Function | Level 1 | Level 2 |
Level 3 / Function
Picture Adjustment |
| b) Label a channel using up to five characters. | Picture Adjustment |
Mode: Personal |
|
| |
| To do this: Highlighting the Programme | Mode: Personal | |
Contrast |
| ||
Brightness |
| Contrast | |
Colour |
| option, press the PROGR +/- button to select | Brightness |
Hue |
| Sharpness | |
Sharpness |
|
| Colour |
Reset |
| the programme number with the channel | Hue |
|
| Reset | |
| OK | you wish to name. When the programme you | OK |
|
| ||
|
| want to name appears on the screen, select |
|
Set Up | Set Up | the Label option and press | . Next | Set Up | ||||
Language/Country | Language/Country | |||||||
Language/Country | ||||||||
Auto Tuning | Auto Tuning | press | or | to select a letter, number or | ||||
Programme Sorting | Programme Sorting | Auto Tuning | ||||||
Progamme Labels | Programme Sorting | |||||||
Progamme Labels | to confirm this | Progamme Labels | ||||||
AV Preset | AV Preset | |||||||
AV Preset | ||||||||
Manual Programme Preset | Manual Programme Preset | |||||||
Detail Set Up | Detail Set Up | character. Select the other four characters in | Manual Programme Preset | |||||
| Detail Set Up | |||||||
OK |
| OK |
|
|
|
| OK | |
|
| the same way. After selecting all the | ||||||
|
|
| ||||||
characters, press OK twice to store.
Detail Set Up |
|
Noise Reduction: | Auto |
AV2 Output: | TV |
RGB Centring: | 0 |
Picture Rotation: | 0 |
| OK |
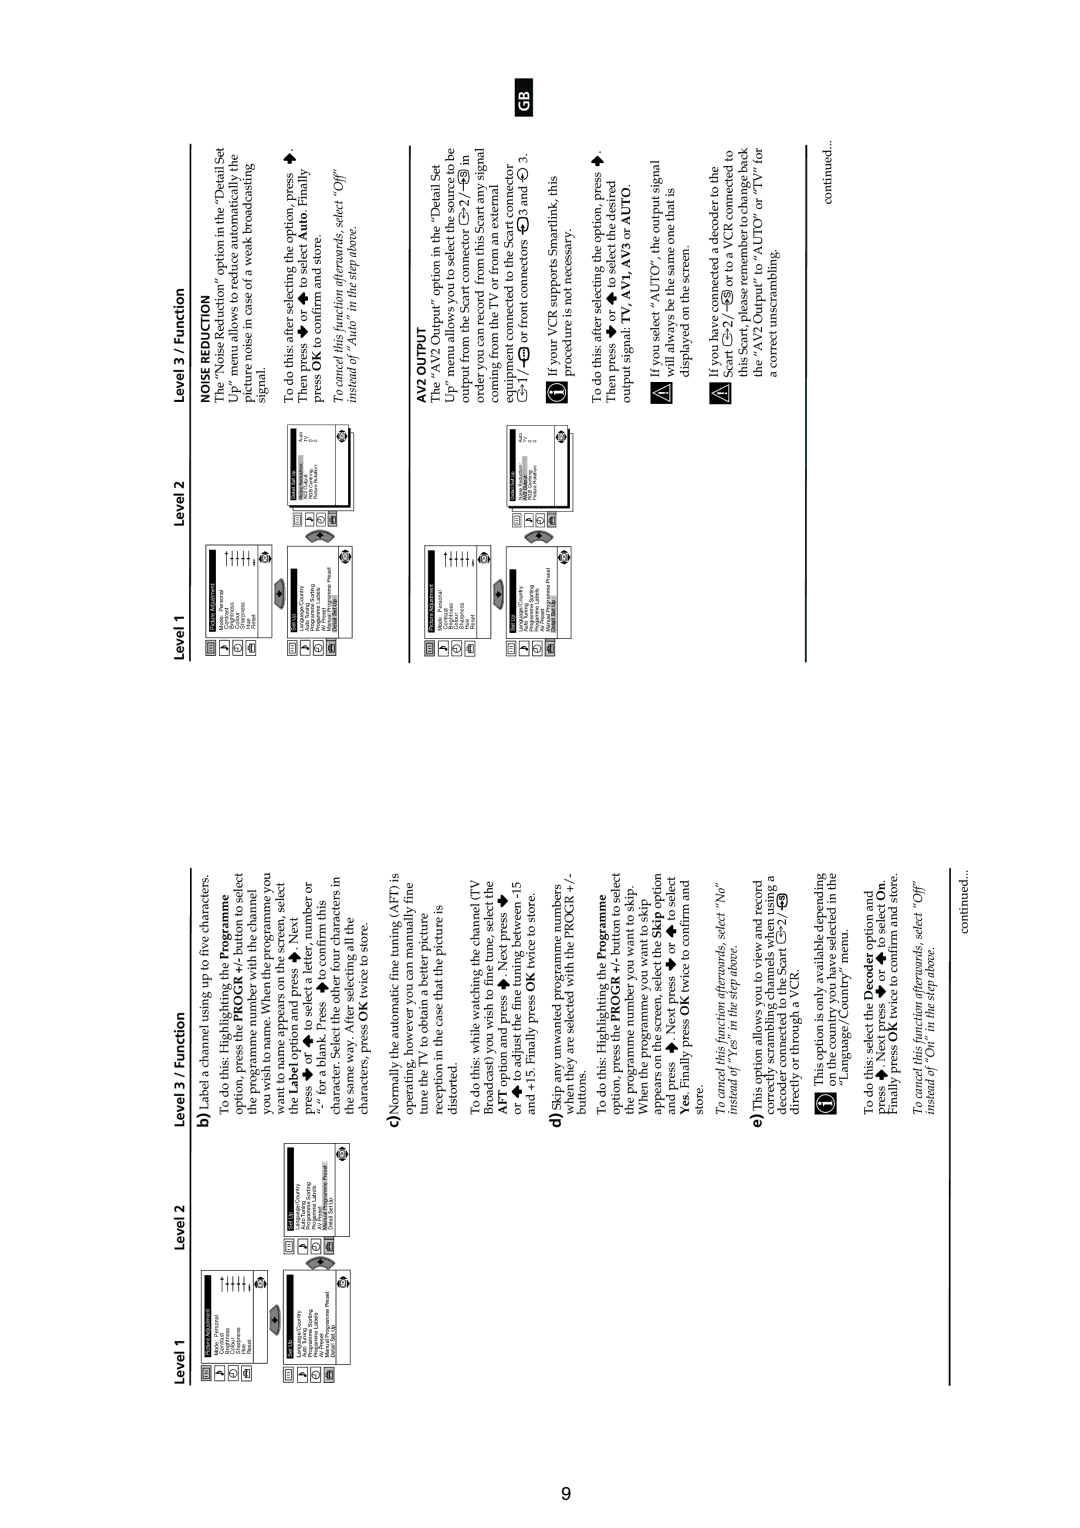
NOISE REDUCTION
The “Noise Reduction” option in the “Detail Set Up” menu allows to reduce automatically the picture noise in case of a weak broadcasting signal.
To do this: after selecting the option, press ![]() .
.
Then press ![]() or
or ![]() to select Auto. Finally press OK to confirm and store.
to select Auto. Finally press OK to confirm and store.
To cancel this function afterwards, select “Off” instead of “Auto” in the step above.
9
c)Normally the automatic fine tuning (AFT) is operating, however you can manually fine tune the TV to obtain a better picture reception in the case that the picture is distorted.
To do this: while watching the channel (TV Broadcast) you wish to fine tune, select the
AFT option and press ![]() . Next press
. Next press ![]()
or ![]() to adjust the fine tuning between
to adjust the fine tuning between
d)Skip any unwanted programme numbers when they are selected with the PROGR +/- buttons.
To do this: Highlighting the Programme option, press the PROGR +/- button to select the programme number you want to skip. When the programme you want to skip appears on the screen, select the Skip option
and press ![]() . Next press
. Next press ![]() or
or ![]() to select Yes. Finally press OK twice to confirm and store.
to select Yes. Finally press OK twice to confirm and store.
To cancel this function afterwards, select “No” instead of “Yes” in the step above.
e)This option allows you to view and record correctly scrambling channels when using a decoder connected to the Scart :2/ ![]() S directly or through a VCR.
S directly or through a VCR.
This option is only available depending on the country you have selected in the “Language/Country” menu.
To do this: select the Decoder option and
press ![]() . Next press
. Next press ![]() or
or ![]() to select On. Finally press OK twice to confirm and store.
to select On. Finally press OK twice to confirm and store.
To cancel this function afterwards, select “Off” instead of “On” in the step above.
Picture Adjustment |
Mode: Personal |
Contrast |
Brightness |
Colour |
Sharpness |
Hue |
Reset |
OK |
Set Up
Language/Country |
Auto Tuning |
Programme Sorting |
Progamme Labels |
AV Preset |
Manual Programme Preset |
Detail Set Up |
OK |
Detail Set Up |
|
Noise Reduction: | Auto |
AV2 Output: | TV |
RGB Centring: | 0 |
Picture Rotation: | 0 |
| OK |
AV2 OUTPUT
The “AV2 Output” option in the “Detail Set Up” menu allows you to select the source to be output from the Scart connector :2/q in order you can record from this Scart any signal coming from the TV or from an external equipment connected to the Scart connector
:1/![]() or front connectors
or front connectors ![]() 3 and
3 and ![]() 3.
3.
If your VCR supports Smartlink, this procedure is not necessary.
To do this: after selecting the option, press ![]() .
.
Then press ![]() or
or ![]() to select the desired output signal: TV, AV1, AV3 or AUTO.
to select the desired output signal: TV, AV1, AV3 or AUTO.
If you select “AUTO”, the output signal will always be the same one that is displayed on the screen.
If you have connected a decoder to the Scart :2/q or to a VCR connected to this Scart, please remember to change back the “AV2 Output” to “AUTO” or “TV” for a correct unscrambling.
continued...
GB
continued...
