SECTION 3: SAFETY RELATED ADJUSTMENTS
The following adjustments should always be performed when replacing the following components which are marked with Y on the schematic diagram:
Part Replaced ( |
| ) | Adjustment ( ) |
| |||
|
|
|
|
DY, C511, C574, C575, D572, | HV | ||
D573, D574, R582, R583, R584, | R582 | ||
R585, R586, R578, R625, R626, |
| ||
R640, R635,T504, IC301, IC521, |
| ||
IC602 | A Board |
| |
|
|
|
|
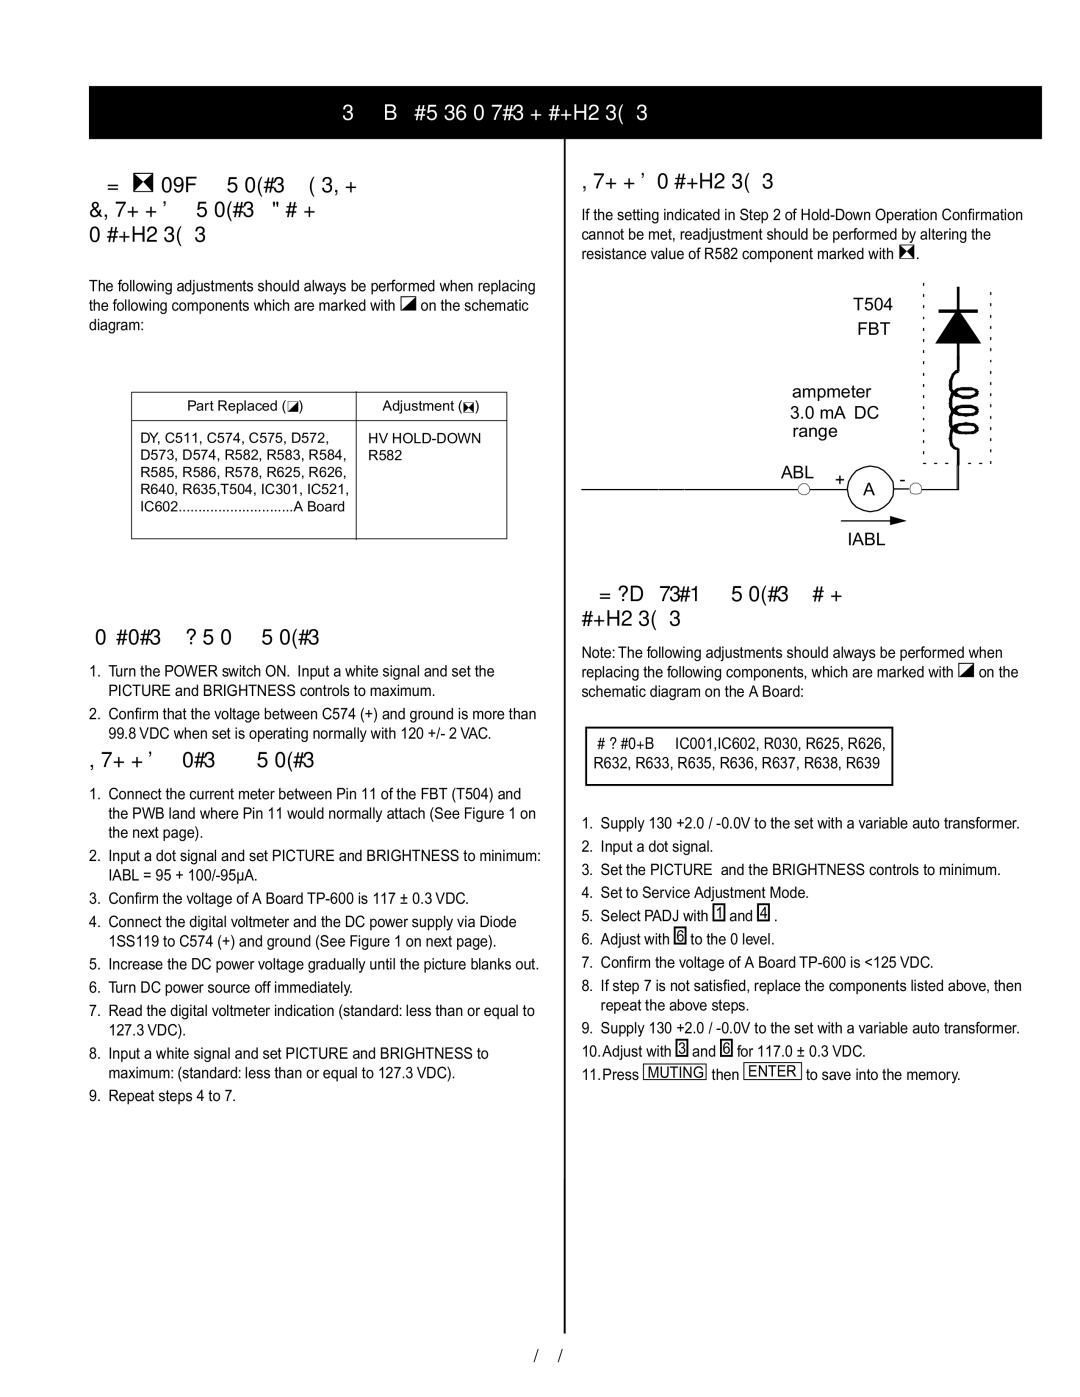
HOLD-DOWN READJUSTMENT
If the setting indicated in Step 2 of
T504
FBT
ampmeter 3.0 mA DC range
ABL + A -
IABL
PREPARATION BEFORE CONFIRMATION
1.Turn the POWER switch ON. Input a white signal and set the PICTURE and BRIGHTNESS controls to maximum.
2.Confi rm that the voltage between C574 (+) and ground is more than 99.8 VDC when set is operating normally with 120 +/- 2 VAC.
HOLD-DOWN OPERATION CONFIRMATION
1.Connect the current meter between Pin 11 of the FBT (T504) and the PWB land where Pin 11 would normally attach (See Figure 1 on the next page).
2.Input a dot signal and set PICTURE and BRIGHTNESS to minimum: IABL = 95 +
3.Confi rm the voltage of A Board
4.Connect the digital voltmeter and the DC power supply via Diode 1SS119 to C574 (+) and ground (See Figure 1 on next page).
5.Increase the DC power voltage gradually until the picture blanks out.
6.Turn DC power source off immediately.
7.Read the digital voltmeter indication (standard: less than or equal to 127.3 VDC).
8.Input a white signal and set PICTURE and BRIGHTNESS to maximum: (standard: less than or equal to 127.3 VDC).
9.Repeat steps 4 to 7.
3-2. B+ VOLTAGE CONFIRMATION AND ADJUSTMENT
Note: The following adjustments should always be performed when replacing the following components, which are marked with Y on the schematic diagram on the A Board:
A BOARD: IC001,IC602, R030, R625, R626,
R632, R633, R635, R636, R637, R638, R639
1.Supply 130 +2.0 /
2.Input a dot signal.
3.Set the PICTURE and the BRIGHTNESS controls to minimum.
4.Set to Service Adjustment Mode.
5.Select PADJ with 1 and 4 .
6.Adjust with 6 to the 0 level.
7.Confi rm the voltage of A Board
8.If step 7 is not satisfi ed, replace the components listed above, then repeat the above steps.
9.Supply 130 +2.0 /
10.Adjust with 3 and 6 for 117.0 ± 0.3 VDC.
11.Press MUTING then ENTER to save into the memory.
— 14 —
