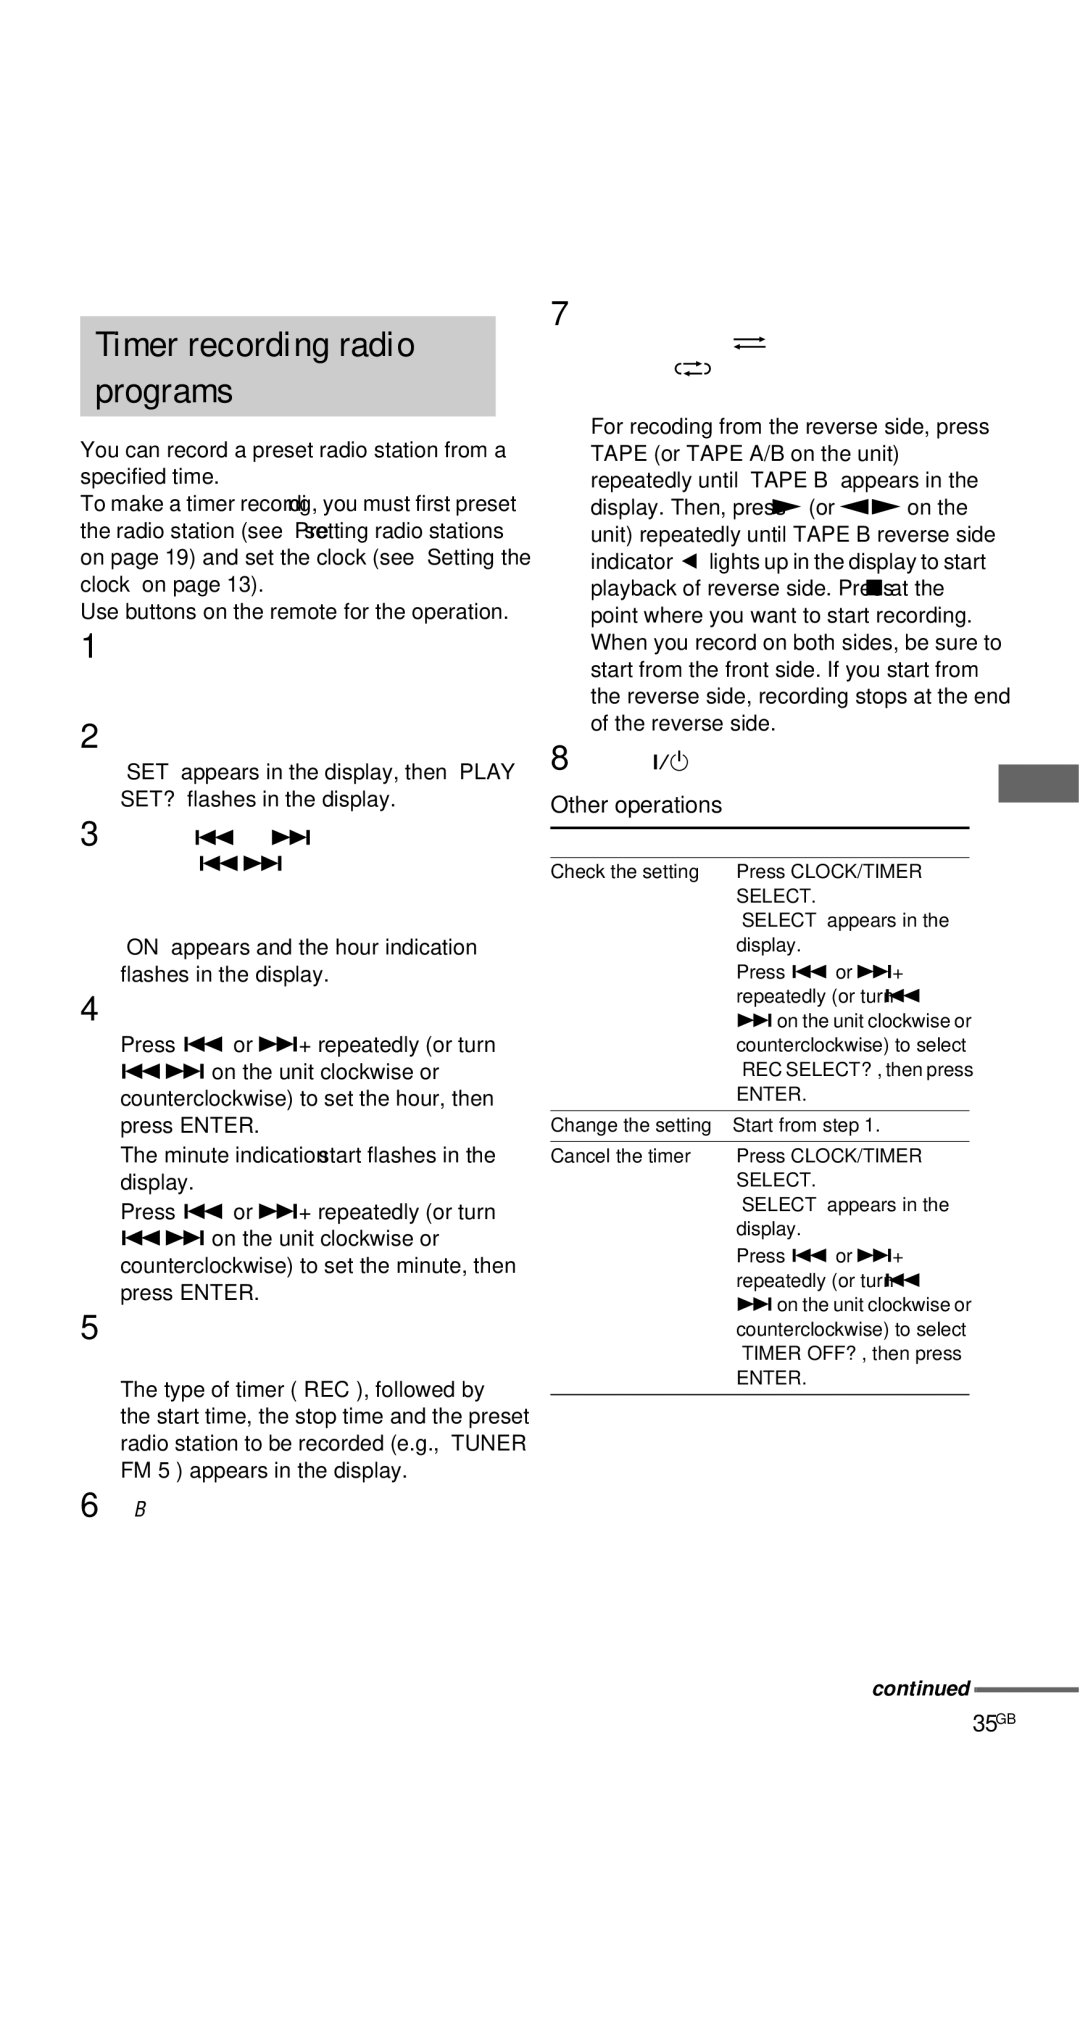
Timer recording radio programs

You can record a preset radio station from a specified time.

To make a timer recording, you must first preset the radio station (see “Presetting radio stations” on page 19) and set the clock (see “Setting the clock” on page 13).

Use buttons on the remote for the operation.

1 Tune in the preset radio station

(see “Listening to a preset station” on page 21).

2 Press CLOCK/TIMER SET.

“SET” appears in the display, then “PLAY SET?” flashes in the display.

3 Press .or >+ repeatedly

(or turn .> on the unit clockwise or counterclockwise) to select “REC SET?”, then press ENTER.

“ON” appears and the hour indication flashes in the display.

4 Set the time to start recording.

Press .or >+ repeatedly (or turn

.> on the unit clockwise or counterclockwise) to set the hour, then press ENTER.

The minute indication start flashes in the display.

Press .or >+ repeatedly (or turn

.> on the unit clockwise or counterclockwise) to set the minute, then press ENTER.

5 Set the time to stop recording following the same procedure as step 4.

The type of timer (“REC”), followed by the start time, the stop time and the preset radio station to be recorded (e.g., “TUNER FM 5”) appears in the display.

6 Load a recordable tape into Deck B.

7 Press DIRECTION repeatedly on the unit to select “g” to record on one side or “j” (or “RELAY”) to record on both sides.

For recoding from the reverse side, press TAPE (or TAPE A/B on the unit) repeatedly until “TAPE B” appears in the display. Then, press N (or nN on the unit) repeatedly until TAPE B reverse side indicator “b” lights up in the display to start playback of reverse side. Press x at the point where you want to start recording. When you record on both sides, be sure to start from the front side. If you start from the reverse side, recording stops at the end of the reverse side.

8 Press ?/1 to turn off the system.

Other operations

To

Do this

Timer

Check the setting

1 Press CLOCK/TIMER


SELECT.


“SELECT” appears in the


display.


2 Press .or >+


repeatedly (or turn .


> on the unit clockwise or


counterclockwise) to select


“REC SELECT?”, then press


ENTER.


Change the setting

Start from step 1.


Cancel the timer

1 Press CLOCK/TIMER


SELECT.


“SELECT” appears in the


display.


2 Press .or >+


repeatedly (or turn .


> on the unit clockwise or


counterclockwise) to select


“TIMER OFF?”, then press


ENTER.


continued

35GB

Page 35
Image 35
Sony MHC-GNX90, MHC-GNX100, MHC-GX9900, MHC-GNX88 manual Timer recording radio programs, 35GB, Set the time to start recording

MHC-GNX60, MHC-GX9900, MHC-GNX100, MHC-GNX66, MHC-GNX70 specifications

The Sony MHC-GNX series encompasses a range of high-performance audio systems designed to deliver an immersive sound experience for music lovers and party enthusiasts alike. This series includes models such as the MHC-GNX77, MHC-GNX88, MHC-GNX80, MHC-GNX90, and MHC-GNX70, each featuring distinctive characteristics and advanced technologies.

At the heart of the MHC-GNX series is the powerful audio system, which is engineered to produce strikingly clear sound and deep bass. These models come equipped with high-output speakers and advanced amplification technology that allow for loud, distortion-free sound across various music genres. Additionally, the integrated Mega Bass feature enhances low frequencies, providing an exhilarating audio experience that is ideal for dance tracks and EDM.

The series also boasts versatile connectivity options, including Bluetooth, USB, and audio input ports. This allows users to stream music directly from their smartphones, tablets, or laptops. Furthermore, some models support NFC technology for easy pairing with compatible devices, streamlining the process of enjoying music on the go. The MHC-GNX series supports various audio formats, making it easy to enjoy your favorite tracks in multiple ways.

One notable feature across these models is the DJ effects and karaoke functions. Users can engage in live mixing with built-in DJ effects that allow for scratching, echo, and reverb. Additionally, karaoke enthusiasts will appreciate microphone inputs and vocal effects, turning any gathering into a vibrant sing-along session.

Stylish design is another hallmark of the MHC-GNX series. These audio systems feature an eye-catching, modern aesthetic with LED lighting effects that sync to the beat of the music, creating an electrifying atmosphere perfect for parties and gatherings.

Moreover, the MHC-GNX series is built with durability in mind, making them suitable for both indoor and outdoor use. With user-friendly controls and an intuitive interface, adjusting settings and managing playlists is both simple and efficient.

In summary, the Sony MHC-GNX series, including the MHC-GNX77, MHC-GNX88, MHC-GNX80, MHC-GNX90, and MHC-GNX70, delivers a robust audio experience combined with versatile features, stylish design, and advanced connectivity options, catering to the audio needs of diverse users. Whether for casual listening or lively parties, these systems promise to elevate any musical experience.