Recording a CD by specifying track order
— Programme Edit
You can record tracks from all the CDs in the order you want. When programming, make sure the playing times for each side do not exceed the length of one side of the tape.
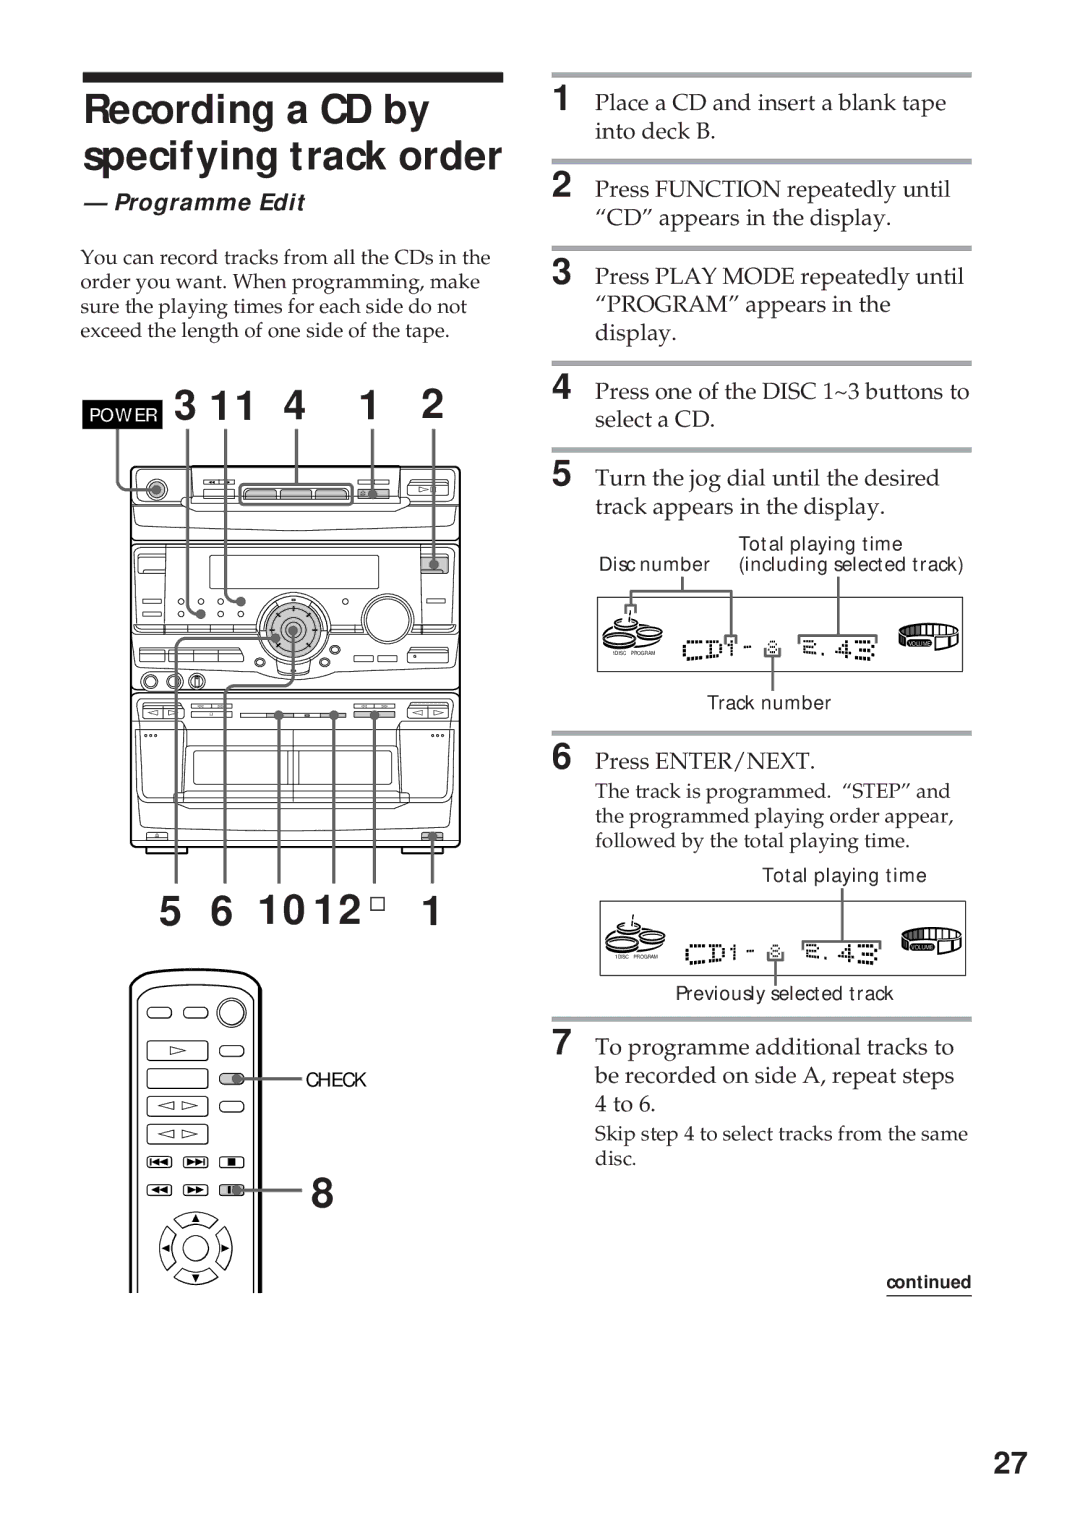
POWER 3 11 4 | 1 2 | |
0 ) |
| ¹ |
| ¤ | Ḡ|
¼ | â | ¼ | â |
» á | ¹ | ¹ | » á |
¤ | ¤ |
5 6 10 12 ¹ 1
á
CHECK
ȇ ![]()
ȇ
=+ p
0 | ) P | 8 |
| ||
| 4 |
|
4 | $ |
|
$
1 Place a CD and insert a blank tape into deck B.
2 Press FUNCTION repeatedly until “CD” appears in the display.
3 Press PLAY MODE repeatedly until “PROGRAM” appears in the display.
4 Press one of the DISC 1~3 buttons to select a CD.
5 Turn the jog dial until the desired track appears in the display.
Total playing time
Disc number (including selected track)
![]()
![]()
![]()
![]()
![]()
![]()
![]()
![]()
![]()
![]()
![]()
![]()
![]()
![]()
![]() VOLUME 1DISC PROGRAM
VOLUME 1DISC PROGRAM![]()
![]()
![]()
![]()
![]()
![]()
![]()
![]()
![]()
![]()
![]()
![]()
![]()
![]()
Track number
6 Press ENTER/NEXT.
The track is programmed. “STEP” and the programmed playing order appear, followed by the total playing time.
Total playing time
VOLUME
1DISC PROGRAM
Previously selected track
7 To programme additional tracks to be recorded on side A, repeat steps 4 to 6.
Skip step 4 to select tracks from the same disc.
continued
27