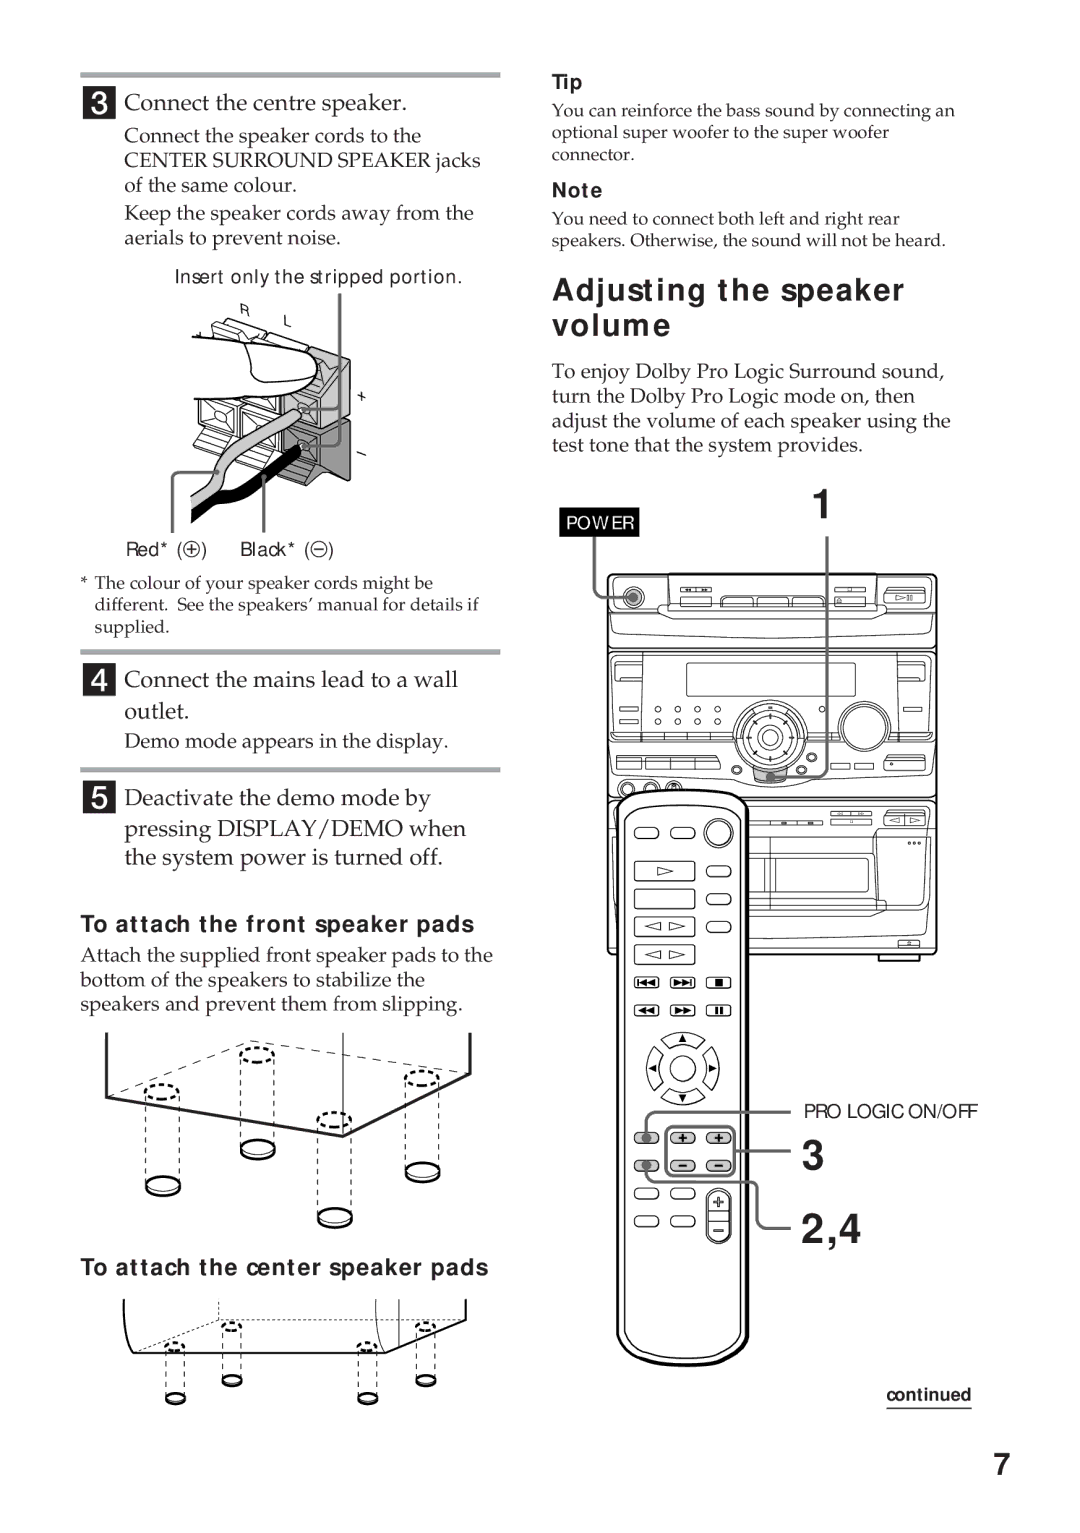
3-859-541-131
Mini Hi-Fi Component System
MHC-RX100AV
Operating Instructions
This caution label is located inside the unit
Getting Started
Table of Contents
Sound Adjustment
Other Features
Getting Started
Step 1 Hooking up the main unit
When carrying this system
Step 2 Setting up your speakers
Positioning the speakers
Connecting the speakers
To attach the center speaker pads
Adjusting the speaker volume
3 2,4
To attach the front speaker pads
Step 2 Setting up your speakers continued
Step 3 Setting the time
1 2,4 3,5
4 Press TUNER MEMORY
Step 4 Presetting radio stations
2 Press TUNING MODE repeatedly to select “AUTO”
3 Turn the jog dial
To tune in a station with a weak signal
Connecting optional AV components
Connecting audio components
Step 4 Presetting radio stations continued
Connecting an MD deck for analog recording
Connecting a VCR
Connecting a super woofer
Connecting optional AV components continued
Connecting outdoor aerials
Normal play
Playing a CD
2 1 á¸
Basic Operations
Do this
Playing a CD continued
Basic Operations
Recording a CD
CD Synchro Recording
To stop recording
POWER
Preset Tuning
Listening to the radio
Recording a CD continued
Basic Operations
To listen to non-presetradio stations
1 Press TUNER/BAND to select the band you want
Recording from the radio
5 7 ¹
3 Turn the jog dial to tune in a preset station
Basic Operations
Playing a tape
High-speedDubbing
Recording from a tape
1 ¹ 2 4 ¹
Playing a tape continued
4 Press ¸
To stop dubbing
Basic Operations
The CD Player
Using the CD display
To cancel Repeat Play
Playing the CD tracks repeatedly
To select a desired CD
To cancel Shuffle Play
Playing the CD tracks in random order
Shuffle Play
Programme Play
To cancel Programme Play
Programming the CD tracks
¹
Playing CDs without interruption
To cancel Non-StopPlay
Non-StopPlay
The Tape Deck
Recording on a tape manually
Recording a CD by specifying track order
5 6 10 12 ¹
Programme Edit
Tape Select Edit
To cancel Programme Edit
Selecting tape length automatically
To check the order
Flashing part of a CD
To adjust the loop length
To adjust the flash length
Looping part of a CD
Waving the equalizer
To adjust the wave length
Wave
To listen through the headphones
Adjusting the sound
Sound Adjustment
For a powerful sound GROOVE
Selecting the surround menu
To adjust the “presence” of the surround effect
Enjoying the Dolby Pro Logic Surround sound
To cancel the Dolby Pro Logic Surround sound
Selecting the audio emphasis
To change the equalizer display
To cancel the effect
Selecting the Audio Emphasis continued
Music menu options
Adjusting the graphic equalizer
Adjusting the audio emphasis
Personal file
Making a personal audio emphasis file
To call up the personal file
Receiving RDS broadcasts
Using the Radio Data System RDS
Other Features
What is the Radio Data System?
Locating a station by programme type continued
To cancel PTY search
List of programme types PTY
Singing along Karaoke
When you are done
Mixing and recording sounds
Falling asleep to music
Sleep Timer
When you choose auto
To cancel the Sleep Timer function
Waking up to music
Wake-upTimer
9 3 4,5,6,7,8
7 2 3,4,5
Timer-recordingradio programmes
To check the setting
To cancel the timer operation
4 Set the time to start recording
6 Insert a recordable tape 7 Turn off the power
To check the setting
To cancel the timer operation
Cleaning the cabinet
Precautions
On safety
On placement
General
Troubleshooting
When using a tape longer than 90 minutes
Cleaning the tape heads
Speakers
Troubleshooting continued
CD Player
The tape does not erase completely
Tape Deck
Tuner
The tape does not record
Tape player section
Specifications
Amplifier section
CD player section
Rear speaker SS-SR101/SR101H
FM tuner section
AM tuner section
Front speaker SS-L100V/L100VH
H, I, J, K
Index
D, E
F, G