Waving the equalizer
— Wave
With the Wave function, you can fluctuate the graphic equalizer automatically. This effect can be used with any source, but it cannot be recorded.
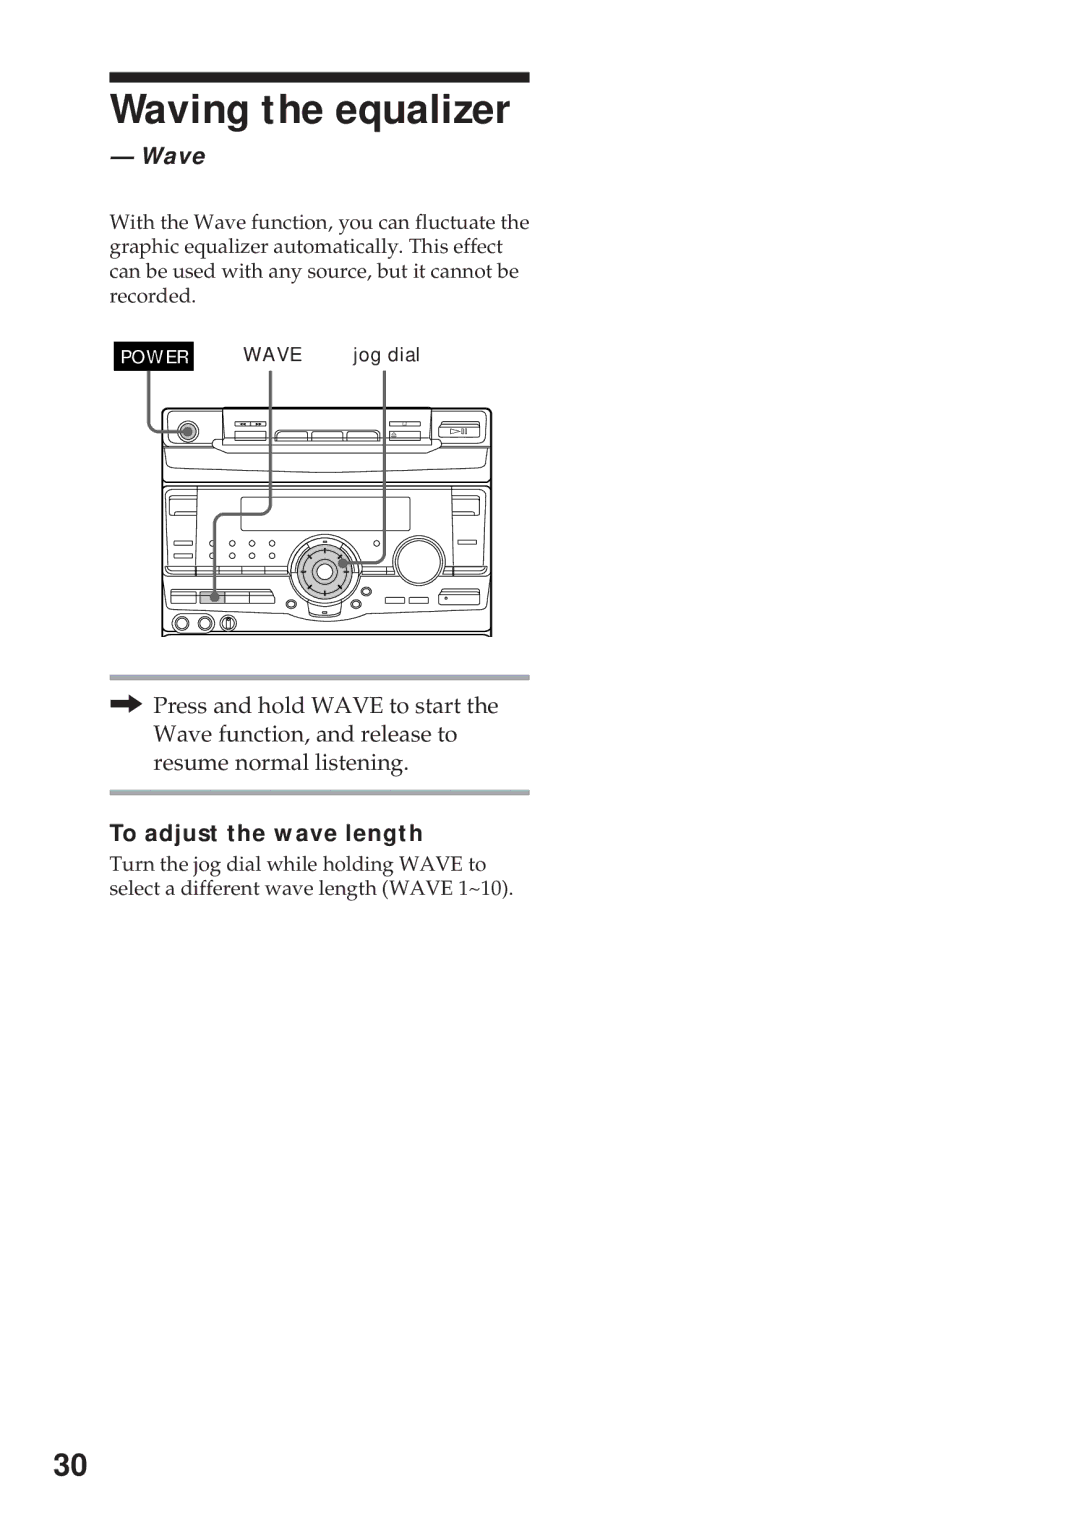
POWER | WAVE | jog dial |
|
| 0 ) | ¹ |
|
|
| ¤ | Ḡ|
|
|
|
/Press and hold WAVE to start the Wave function, and release to resume normal listening.
To adjust the wave length
Turn the jog dial while holding WAVE to select a different wave length (WAVE 1~10).
30