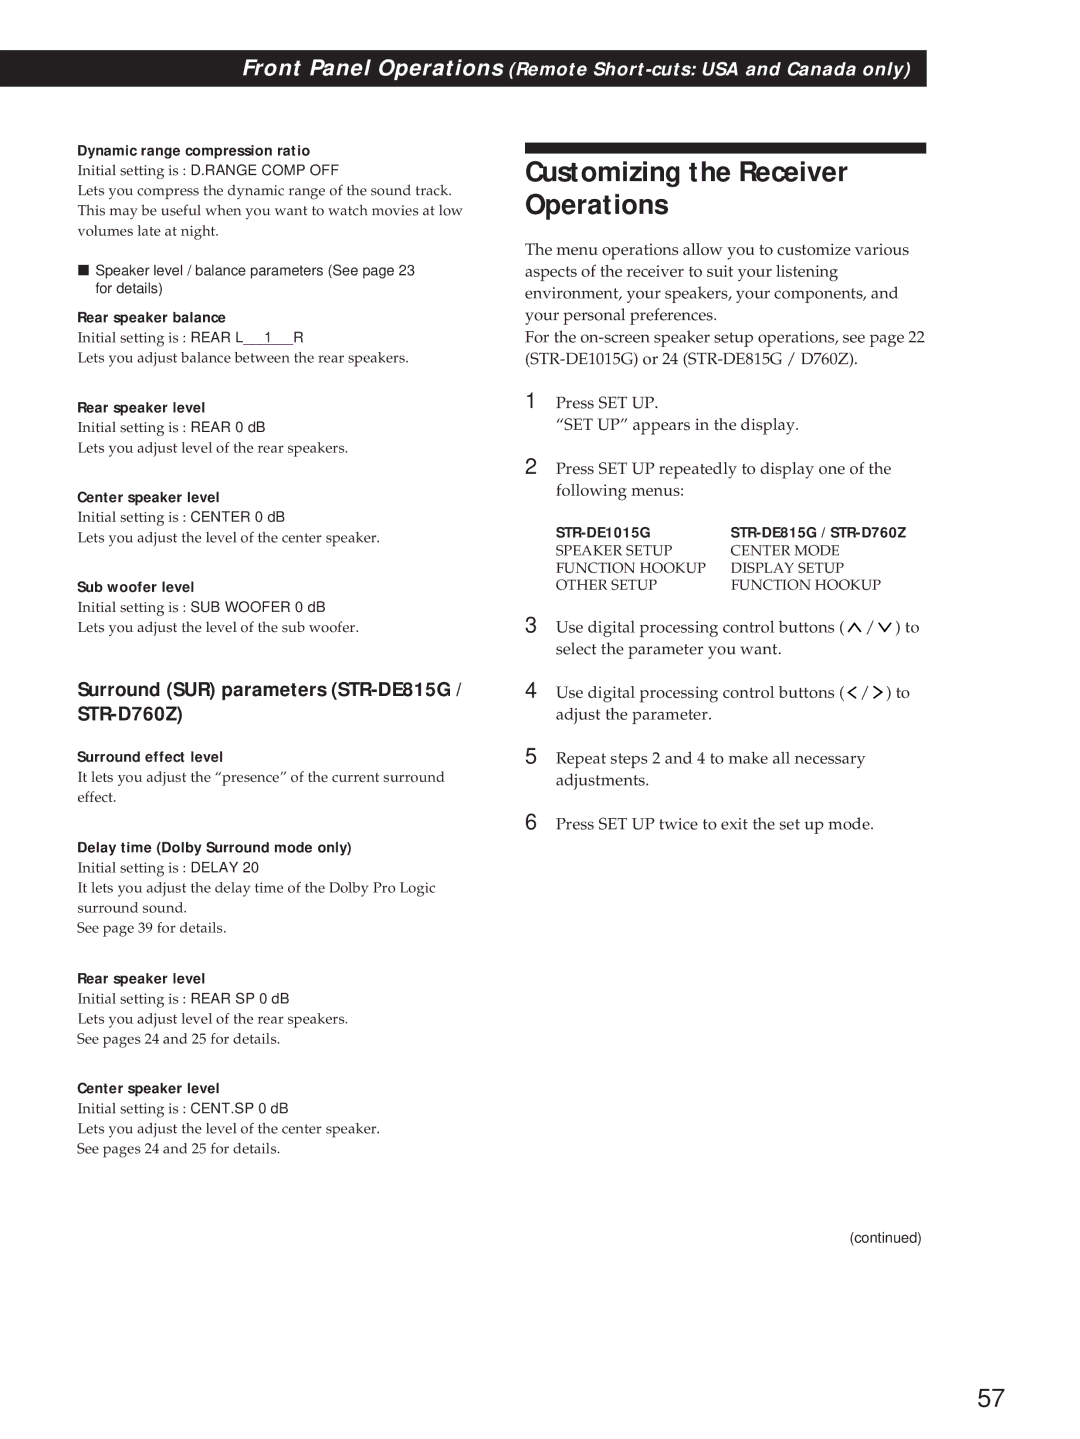
STR-DE1015G, STR-DE815G, STR-D760Z, STR-D760Z, STR-DE815G specifications
The Sony STR-DE815G, STR-D760Z, and STR-DE1015G are distinguished audio/video receivers that offer exceptional performance and functionality for home theater enthusiasts. Each model features state-of-the-art technology, making them suitable for a variety of audio setups.The STR-DE815G is designed for those who appreciate clean, powerful audio output. It boasts a robust power output of 100 watts per channel and supports a wide range of sound formats, enhancing the listening experience for music, movies, and gaming. The receiver also includes an FM/AM tuner, enabling users to enjoy their favorite radio stations in high quality. The integration of Dolby Pro Logic and DTS surround sound makes it possible to immerse listeners in a multidimensional audio experience.
Moving on to the STR-D760Z, this model incorporates sophisticated digital signal processing technology. With 5.1 channel surround sound capabilities, it provides an encompassing audio field perfect for movie nights or gaming marathons. The STR-D760Z features a variety of sound modes that can be tailored to suit different types of content, ensuring optimal sound quality. Additionally, its multiple inputs, including optical and coaxial, allow for versatile connection options with various devices, from DVD players to gaming consoles.
Finally, the STR-DE1015G showcases a blend of modern aesthetics and user-friendly functionality. It delivers a powerful audio performance, boasting 100 watts per channel. One of its standout features is the built-in virtual surround sound technology, which allows users to enjoy an immersive experience without the need for multiple speakers. With various surround modes and equalization options, users can customize their audio experience to match their personal preferences.
Each of these Sony receivers demonstrates a commitment to high-quality audio reproduction, showcasing features that include advanced tuning capabilities, sleek designs, and durability. Whether for music listening, watching movies, or gaming, the STR-DE815G, STR-D760Z, and STR-DE1015G represent the best of home audio solutions, making them a valuable addition to any entertainment setup. As the demand for high-fidelity sound continues to rise, these models remain relevant, offering rich soundscapes and versatility for the discerning audiophile.

