Step 2. Configure Memory
Your board comes with three DIMM sockets, providing support for up to 3GB of main memory using unbuffered and
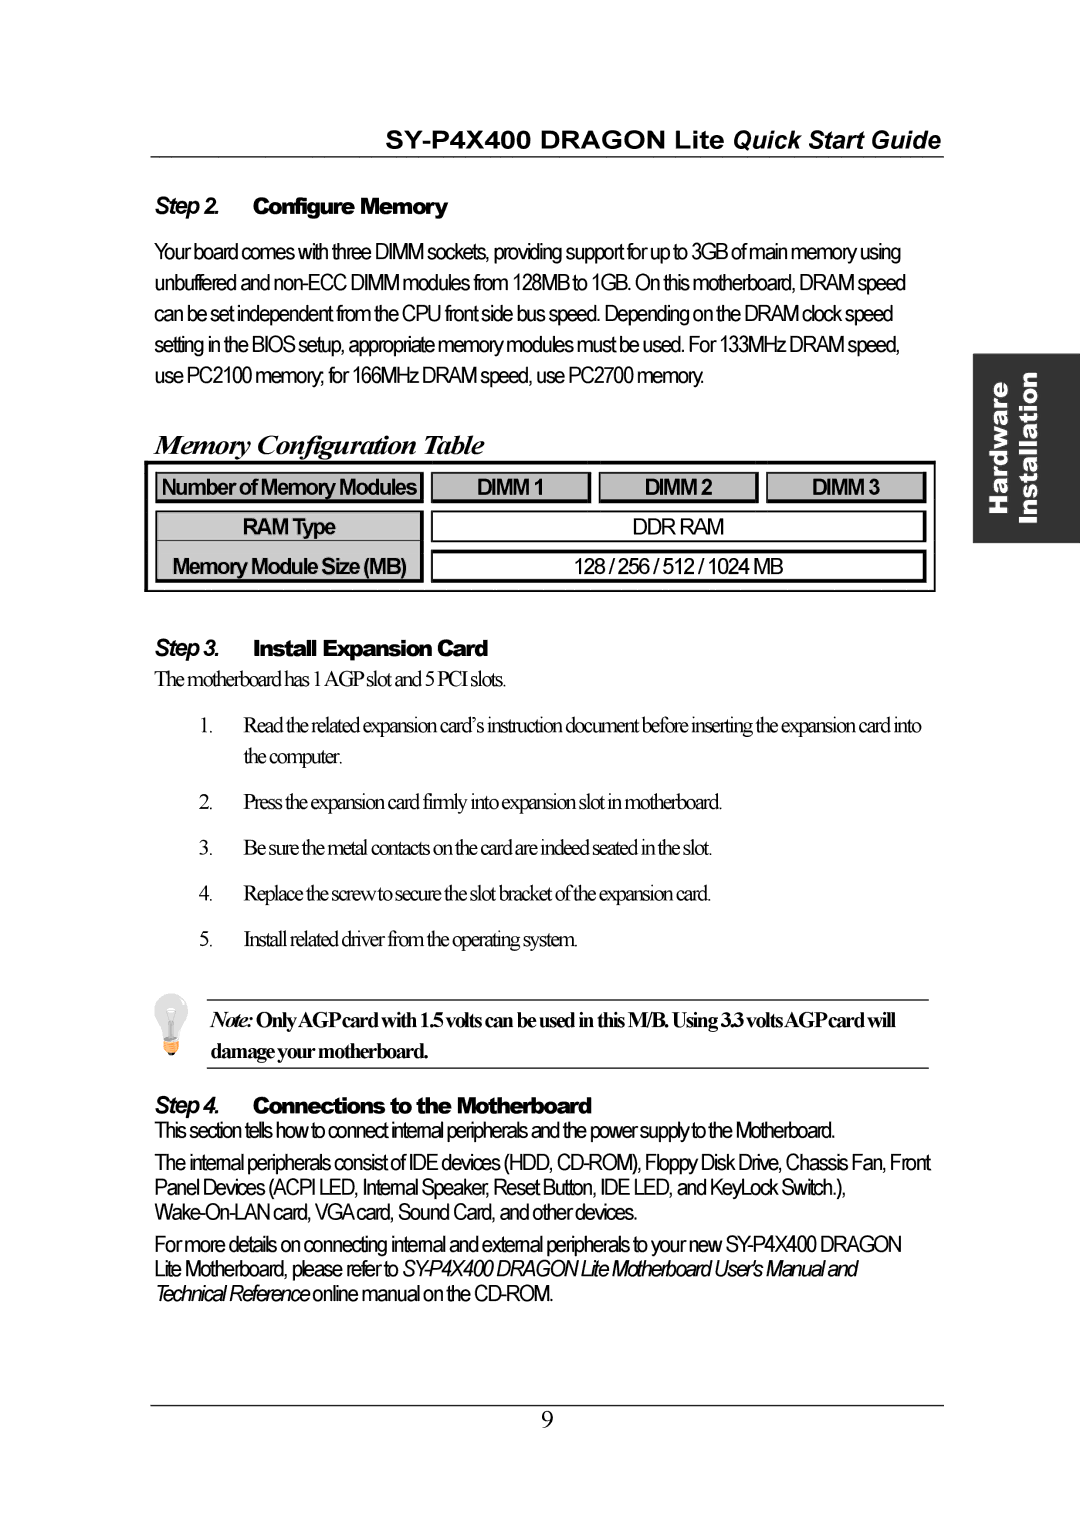
Memory Configuration Table
|
|
|
|
|
|
|
|
|
|
|
| NumberofMemoryModules |
| DIMM1 |
|
| DIMM2 |
|
| DIMM3 |
|
|
|
|
|
|
|
|
|
| ||
| RAMType |
|
|
|
| DDR RAM |
|
| ||
| MemoryModuleSize(MB) |
|
|
|
|
| ||||
|
|
| 128/ 256/ 512/ 1024MB |
|
| |||||
|
|
|
|
|
|
|
|
|
|
|
Step 3. Install Expansion Card
Themotherboardhas1AGPslotand5PCIslots.
1.Readtherelatedexpansioncard’sinstructiondocumentbeforeinsertingtheexpansioncardinto thecomputer.
2.Presstheexpansioncardfirmlyintoexpansionslotinmotherboard.
3.Besurethemetalcontactsonthecardareindeedseatedintheslot.
4.Replacethescrewtosecuretheslotbracketoftheexpansioncard.
5.Installrelateddriverfromtheoperatingsystem.
Note:OnlyAGP cardwith1.5voltscanbeusedinthisM/B.Using3.3voltsAGP cardwill damageyourmotherboard.
Step 4. Connections to the Motherboard
ThissectiontellshowtoconnectinternalperipheralsandthepowersupplytotheMotherboard.
The internal peripherals consist of IDE devices (HDD,
For more details on connecting internal and external peripherals to your new
Hardware Installation
9