Recording Music
Your Audio Server can make new recordings onto the hard disk by recording music directly from an audio CD placed in the CD tray.
Your Audio Server can access the Internet, using either a broadband connection (via the Ethernet port) or using the
Recording from a CD
•Press the OPEN/CLOSE button on the front panel to open the CD tray.
•Place a CD in the tray.
•Press the OPEN/CLOSE button on the front panel again to close the CD tray.
Your Audio Server will now automatically attempt to retrieve information about the CD from the Gracenote Music Recognition Service.
If you do not have an Internet connection, or the CD is not listed in the database, it will be given names such as Album 35, Artist 21, and Track 1, Track 2 etc. and it will be classified in genre Unclassified.
•Press the JMenu key on your Audio Server remote control to display the Main Menu.
•Use the U or V keys to select the CD Drive option.
•Press the OSelect key.
The CD Drive screen will display the contents of the CD:
•Press the MRecord key.
Depending on the configuration of your Audio Server, you may now be presented with the Recording Quality options. By default, the Auto Quality set up option is set to enabled and the recording quality will be determined by the Recording Quality set up option. If you have set the Auto Quality option to disabled, you will be asked to choose the recording quality each time you record a CD.
•Use the U or V keys to choose either Uncompressed WAV, or one of the MP3 or WMA compression options.
Note: The higher quality options use more space on your Audio Server hard disk, so you will not be able to record as many CDs. The amount of recording time left is displayed at the bottom of the screen as you scroll the compression options when recording a CD.
•Press the OSelect key to begin recording.
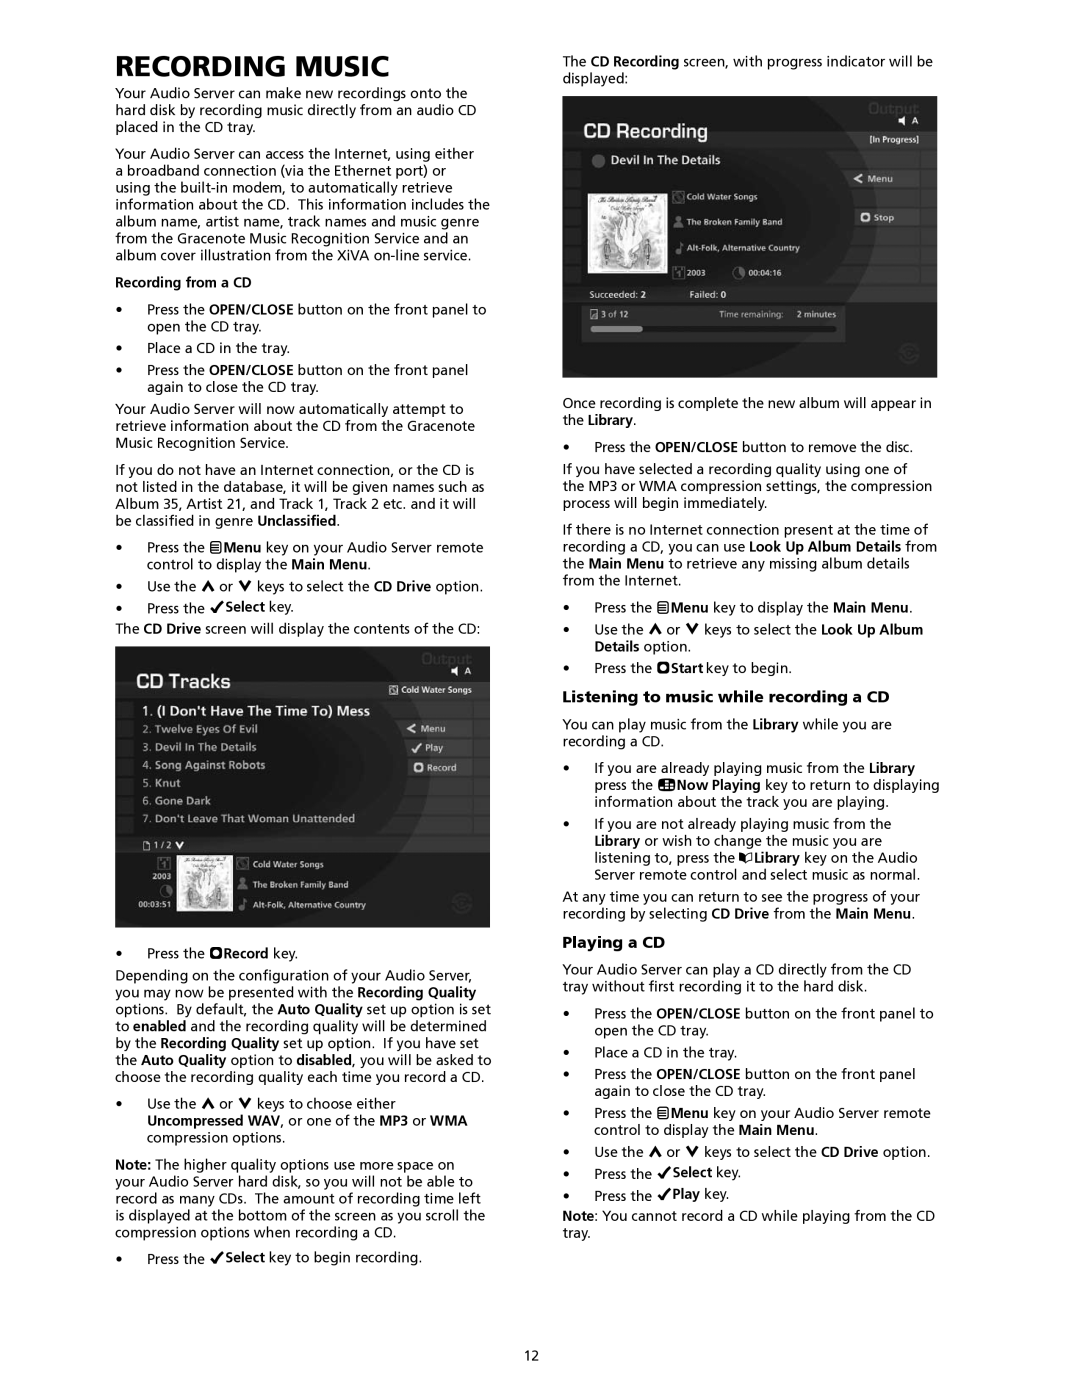
The CD Recording screen, with progress indicator will be displayed:
Once recording is complete the new album will appear in the Library.
•Press the OPEN/CLOSE button to remove the disc.
If you have selected a recording quality using one of the MP3 or WMA compression settings, the compression process will begin immediately.
If there is no Internet connection present at the time of recording a CD, you can use Look Up Album Details from the Main Menu to retrieve any missing album details from the Internet.
•Press the JMenu key to display the Main Menu.
•Use the U or V keys to select the Look Up Album Details option.
•Press the MStart key to begin.
Listening to music while recording a CD
You can play music from the Library while you are recording a CD.
•If you are already playing music from the Library press the •Now Playing key to return to displaying information about the track you are playing.
•If you are not already playing music from the Library or wish to change the music you are listening to, press the àLibrary key on the Audio Server remote control and select music as normal.
At any time you can return to see the progress of your recording by selecting CD Drive from the Main Menu.
Playing a CD
Your Audio Server can play a CD directly from the CD tray without first recording it to the hard disk.
•Press the OPEN/CLOSE button on the front panel to open the CD tray.
•Place a CD in the tray.
•Press the OPEN/CLOSE button on the front panel again to close the CD tray.
•Press the JMenu key on your Audio Server remote control to display the Main Menu.
•Use the U or V keys to select the CD Drive option.
•Press the OSelect key.
•Press the OPlay key.
Note: You cannot record a CD while playing from the CD tray.
12
