STEP4:Plastic Parts
1.Mate the Connecting Arm Covers (71 and 72) over the Left Connecting Arm (8) and secure with two Phillips Head Screws (82) and a Sheet Metal Screw (107).Tighten the screws using the Short Phillips Head Screw Driver (125). Repeat for the opposite side.
2.Install Roller Covers (64) onto each set of Rollers. Secure with four Phillips Head Screws (82).Tighten using the Phillips Head Screw Driver (126).
3.Attach the two covers
4.Attach the Front Stabilizer Cover (59) to the front stabilizer tube with Use two Phillips Head Screws (82). Secure with the Phillips Head Screw Driver (126).
5.Attach a steel bracket (156) to the rear stabilizer tube on the left and right sides (with the single hole facing the rear), and secure them with four Phillips Head Screws (157). Secure using the Phillips Head Screw Driver (126).
6.Attach the front Rear Stabilizer Cover to the rear stabilizer tube with two Phillips Head Screws(82). Secure with the Phillips Head Screw Driver (126). Attach the back Rear Stabilizer Cover
7.Plug in the electrical cord to a properly grounded outlet and turn on the power button, located at the bottom front of the unit. Raise the incline to Level “8” and attach the Incline Cover (73) with two Phillips Head Screws (82). Secure using the Phillips Head Screw Driver (126). Return the Incline to “0”.
8.Look closely at the four floor levelers underneath the middle and rear of the elliptical. If any of these aren’t in contact with the floor, use the wrench (124) to loosen the bottom nut. Once the nut has been loosened, turn the rubber pad clockwise until it makes solid contact with the floor. Retighten the bottom nut to prevent it from moving.
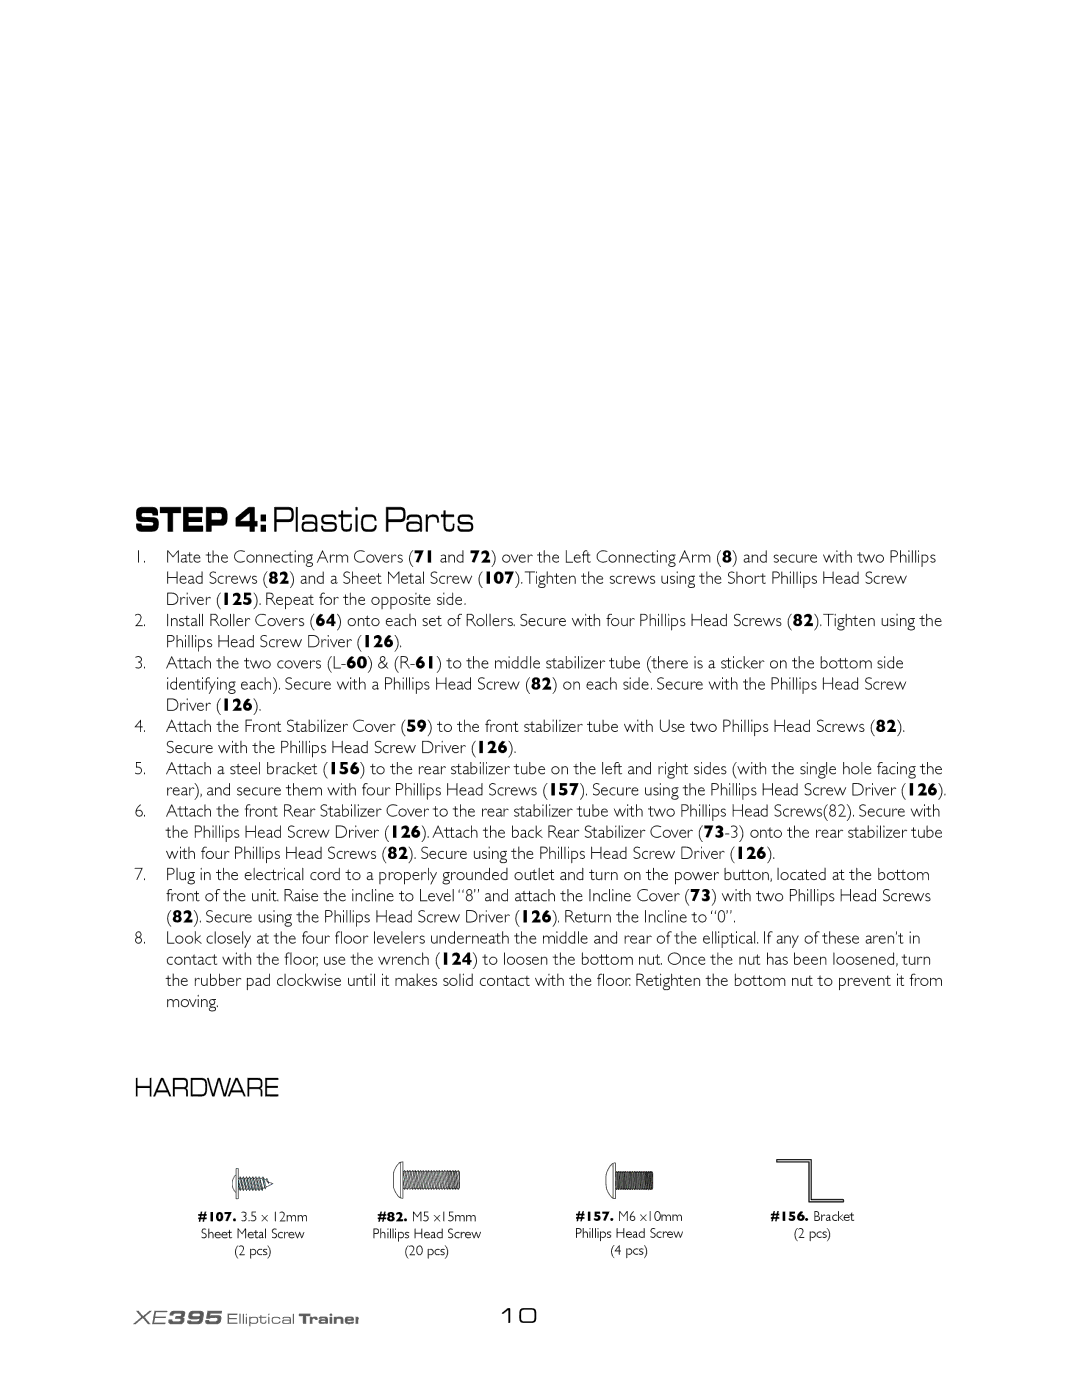
HARDWARE
#107. 3.5 x 12mm | #82. M5 x15mm | #157. M6 x10mm | #156. Bracket |
Sheet Metal Screw | Phillips Head Screw | Phillips Head Screw | (2 pcs) |
(2 pcs) | (20 pcs) | (4 pcs) |
|
XE395 Elliptical Trainer | 10 |
