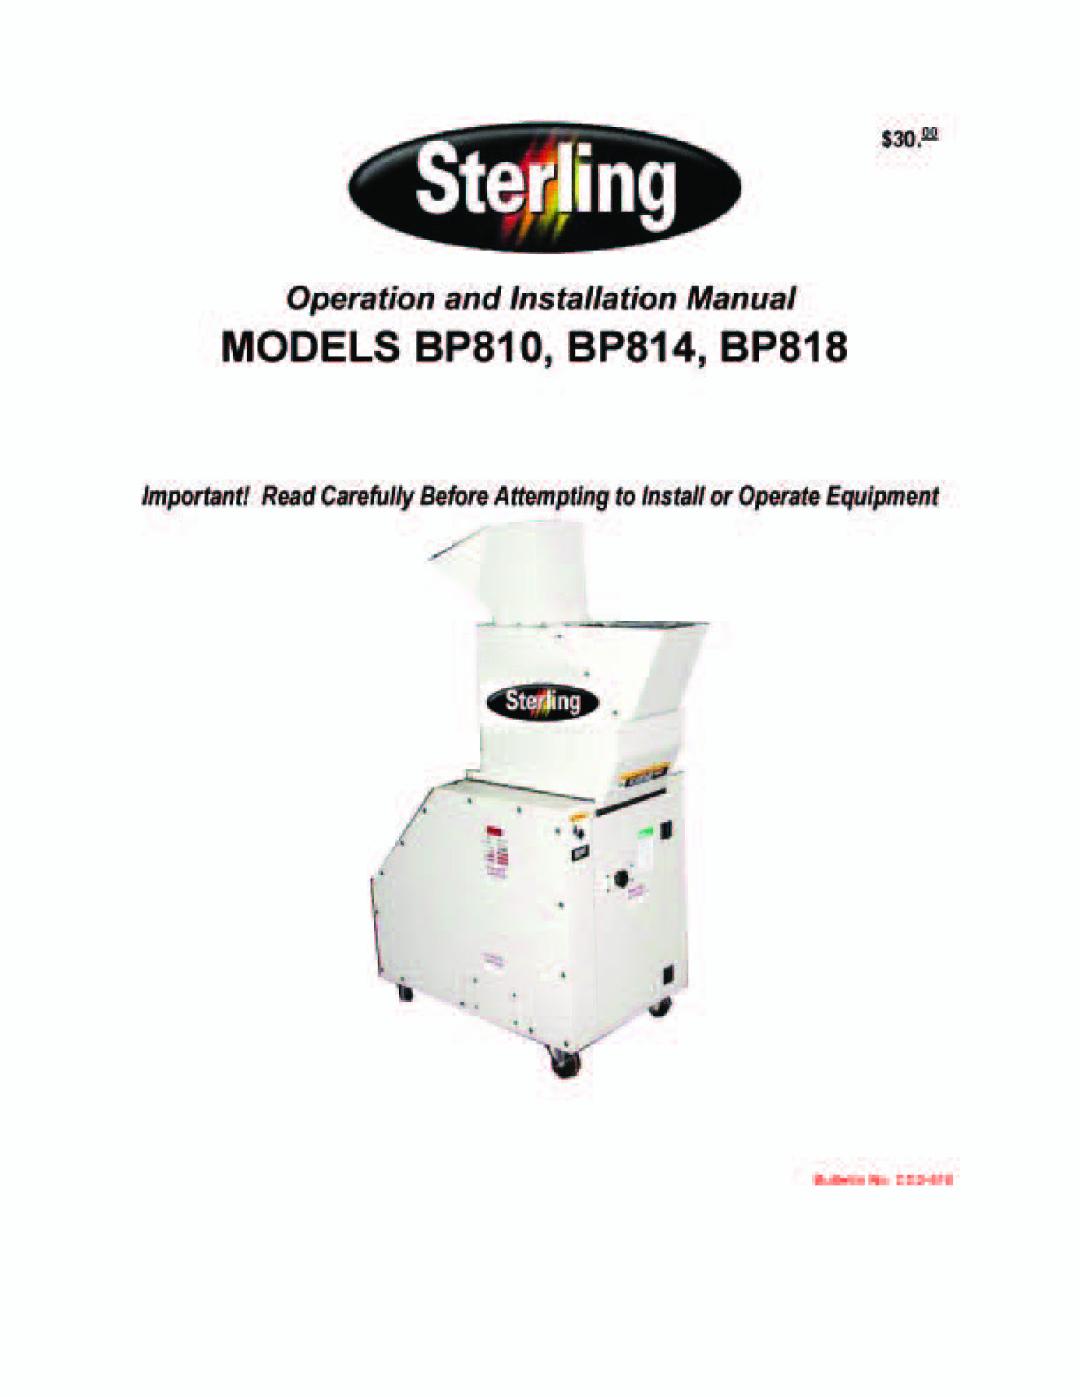
BP810, BP818, BP814 specifications
The Sterling BP810, BP818, and BP814 are three cutting-edge devices designed to enhance the user experience in various applications. Each model comes equipped with distinct features, technologies, and characteristics that cater to different needs, making them versatile options for consumers.The Sterling BP810 is known for its sleek design and user-friendly interface. One of its standout features is the high-resolution display that ensures clear visibility in various lighting conditions. The device operates on a robust operating system, offering seamless performance and multitasking capabilities. With built-in connectivity options, including Wi-Fi and Bluetooth, users can easily sync their devices and access a wide range of applications. The BP810 also boasts impressive battery life, allowing for extended use without frequent recharging.
Moving on to the Sterling BP818, this model takes innovation to the next level with its advanced processing capabilities. Powered by a high-performance processor, the BP818 delivers lightning-fast response times, making it an excellent choice for demanding tasks. Its enhanced graphics performance is perfect for gaming and multimedia applications, providing users with an immersive experience. The device also features an upgraded camera system, enabling high-quality photography and video recording, which is ideal for content creators. Additionally, the BP818 incorporates state-of-the-art security features, including facial recognition and fingerprint scanning, ensuring that user data remains protected.
Lastly, the Sterling BP814 focuses on durability and functionality. This device is built to withstand harsh conditions, making it suitable for outdoor use and professional environments. Its rugged design doesn't compromise on aesthetics, as it combines style with strength. The BP814 includes a range of practical features, such as customizable buttons for quick access to frequently used applications. This model is also equipped with advanced sound technology, delivering crystal-clear audio for both calls and media playback. Furthermore, the battery technology in the BP814 is designed for efficiency, allowing users to maximize productivity throughout the day.
In summary, the Sterling BP810, BP818, and BP814 each present unique strengths that cater to different user preferences. Whether you need a device for casual use, intensive tasks, or rugged environments, there is a Sterling model tailored to meet those requirements. With advancements in processing, connectivity, and security, these devices exemplify Sterling's commitment to providing top-tier technology and user satisfaction.