USER INSTRUCTIONS
7.6.3Place one large coal or pebble on top of the pilot shield, then place 10 alternating large and small coals or pebbles around the perimeter of the fire. They should sit on the bottom row of small coals or pebbles and rest against the inner mass of square blocks. Place one small coal or pebble on top of the centre of the square blocks. See diagram 15.
15
AR1272
7.6.4Place the remaining 4 large coals or pebbles on top of the square blocks, ensure that they lean against the central small coal or pebble and that there are gaps between each coal or pebble. See diagram 16.
16
AR1273
7.7 Log & Driftwood Layout – Small Aspen & Chamonix
It may be necessary to make small changes to the log positioning in order to achieve the most pleasing flame effect but the following guidelines should be followed.
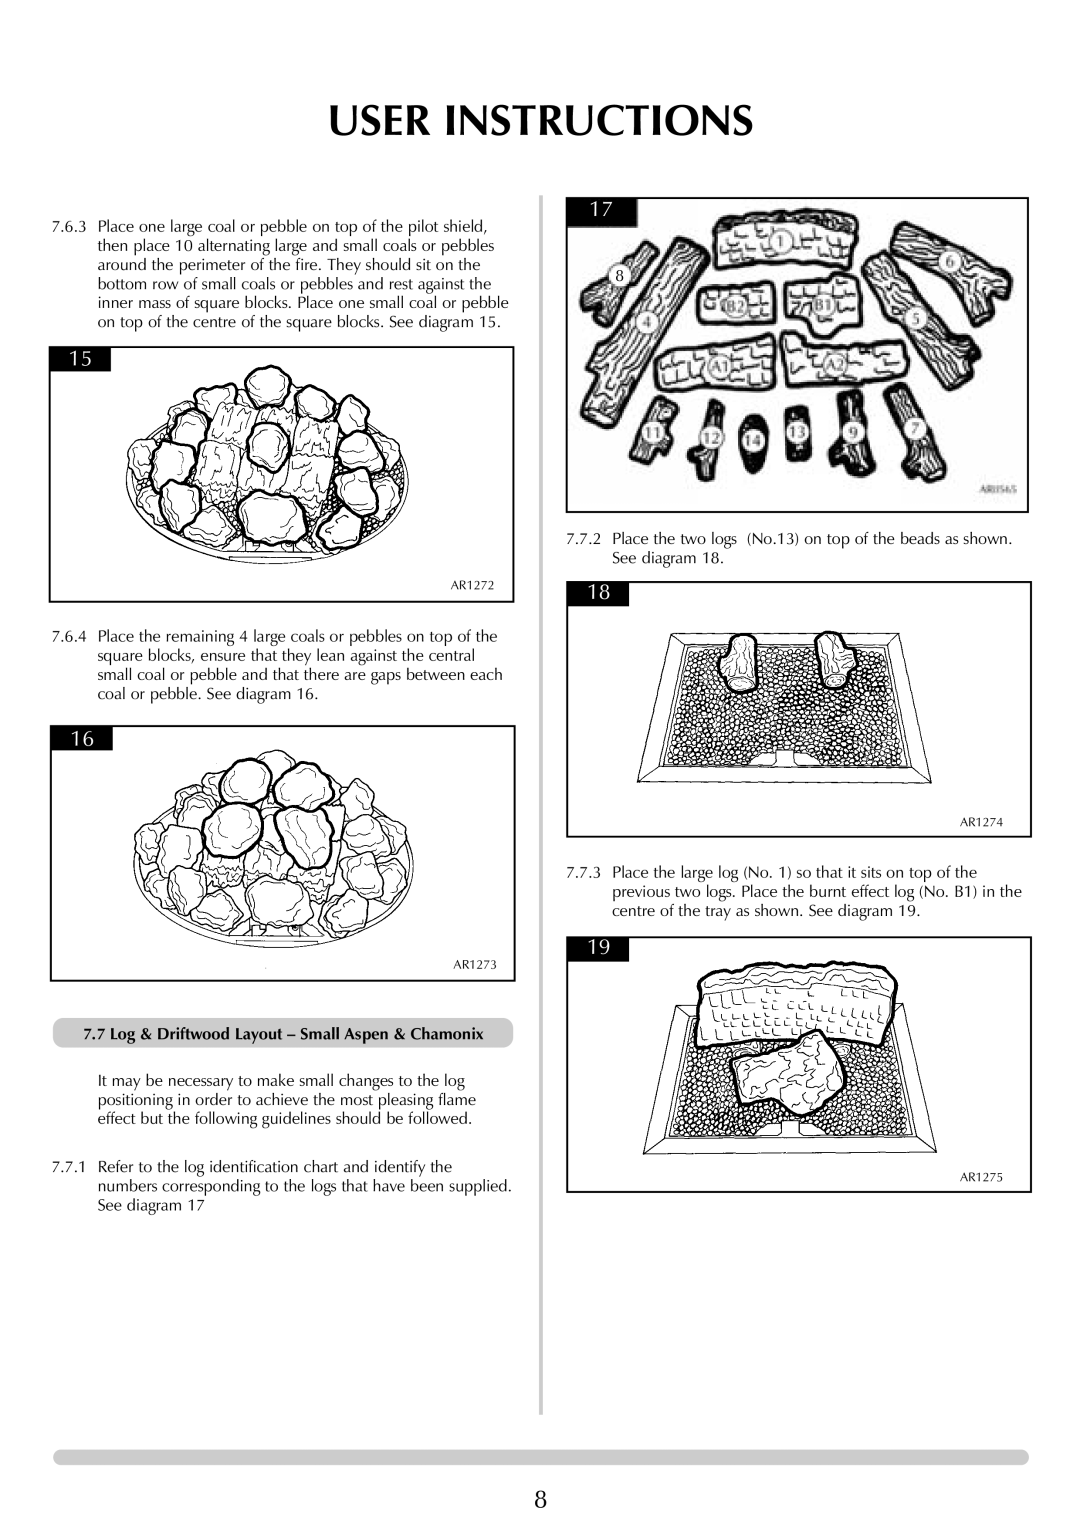
7.7.1Refer to the log identification chart and identify the numbers corresponding to the logs that have been supplied. See diagram 17
17
8
7.7.2Place the two logs (No.13) on top of the beads as shown. See diagram 18.
18
AR1274
7.7.3Place the large log (No. 1) so that it sits on top of the previous two logs. Place the burnt effect log (No. B1) in the centre of the tray as shown. See diagram 19.
19
AR1275
8