Appendix C: Troubleshooting
If there is a yellow exclamation point next to the AMX USB LAN LINK device (within the hardware devices section of the Unplug or Eject Hardware window), stop and close the USB operation. Reconnect the USB cable to the panel and repeat the setup procedures.
To remove the USB driver association from a previously connected touch panel, you must navigate back to the Device Manager,
Once the system completes the removal of the device, the Device Manager window will refresh, and the device will no longer appear.
The next time this device is connected to the computer it will appear as a new hardware device and will need to be associated again with the driver (refer to Configure the panel for USB communication section on page 24).
A
Checking AMX USBLAN Device Connections via NetLinx Studio
Use the
1.Verify this direct USB connection
2.With the panel already configured for USB communication and the Virtual Master setup within NetLinx Studio, its now time to verify the panel is ready to receive files.
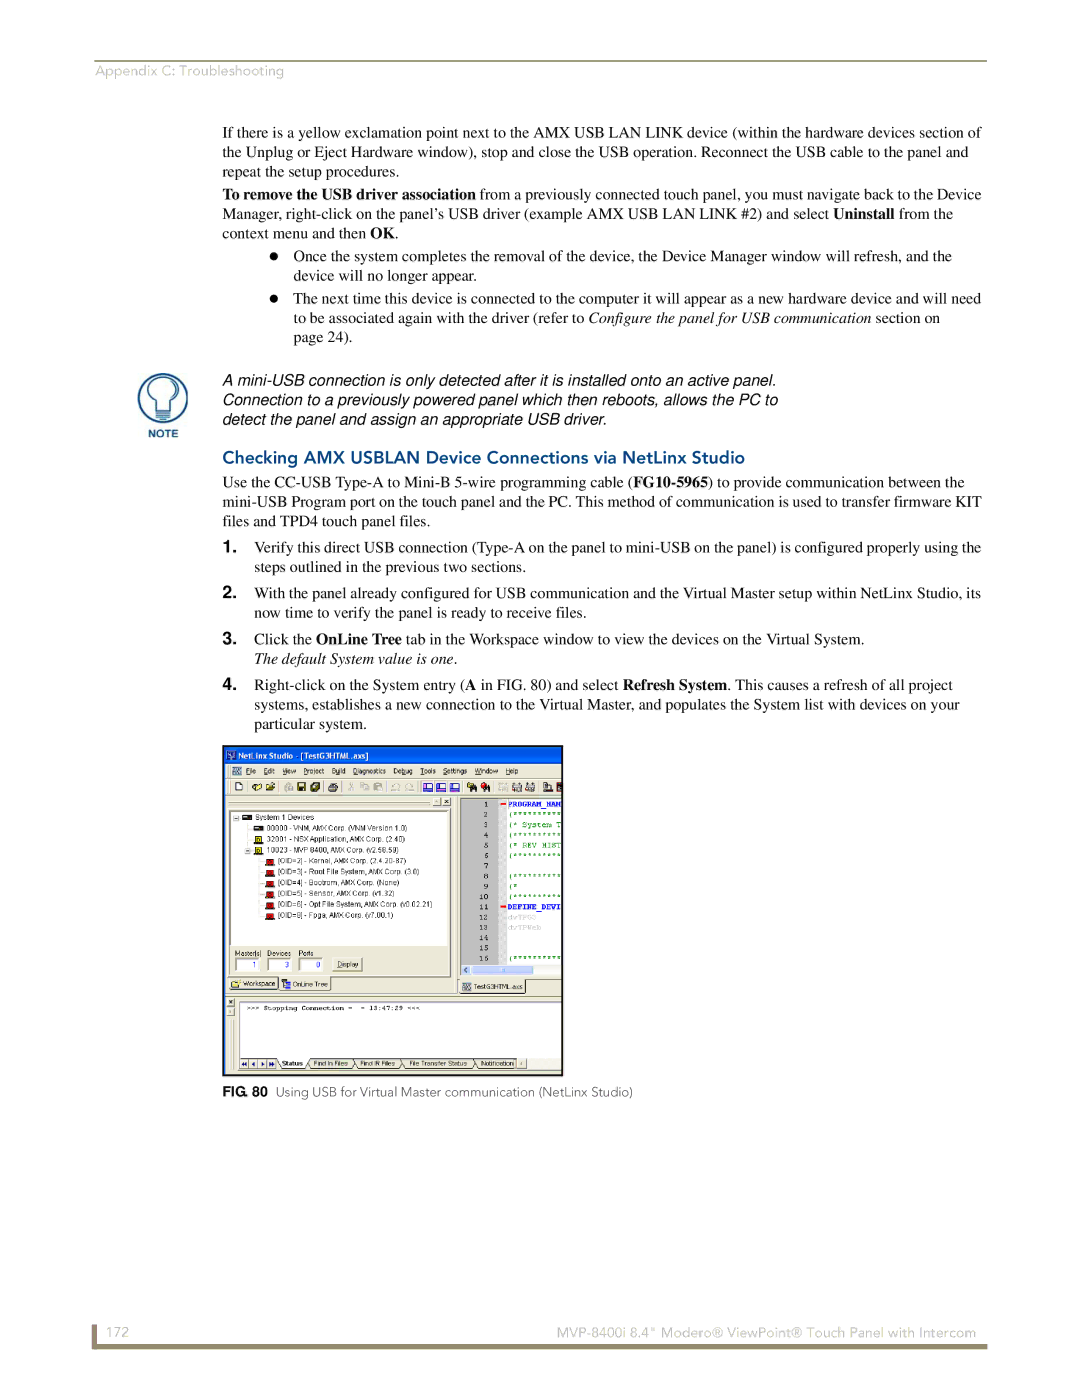
3.Click the OnLine Tree tab in the Workspace window to view the devices on the Virtual System. The default System value is one.
4.
FIG. 80 Using USB for Virtual Master communication (NetLinx Studio)
172 |
