Configuring Communications
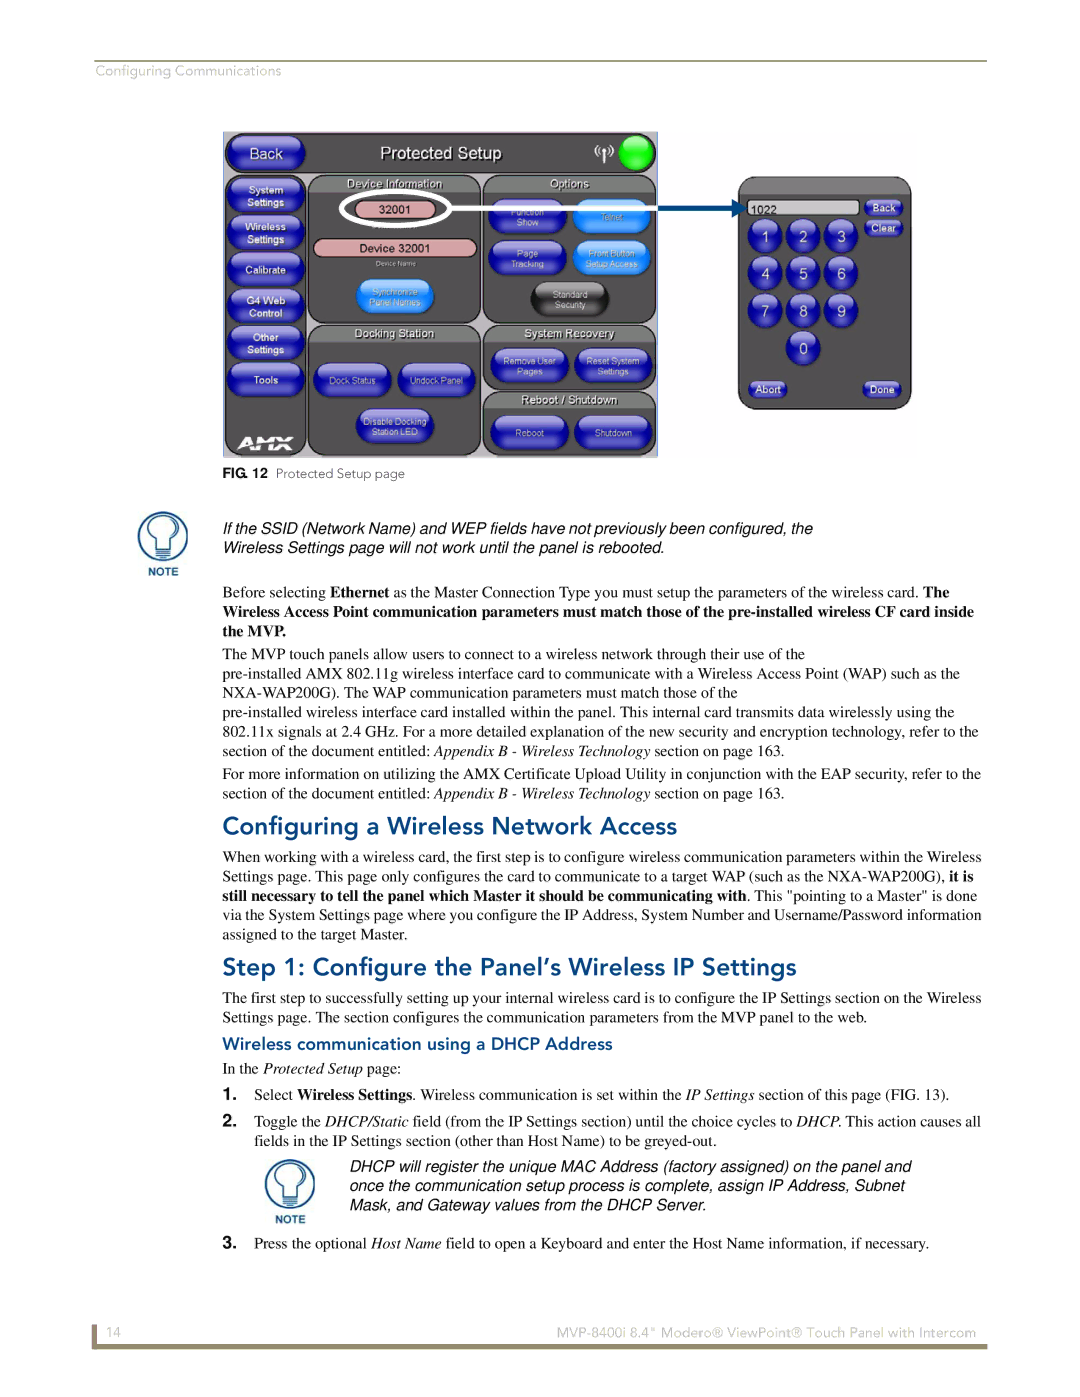
FIG. 12 Protected Setup page
If the SSID (Network Name) and WEP fields have not previously been configured, the
Wireless Settings page will not work until the panel is rebooted.
Before selecting Ethernet as the Master Connection Type you must setup the parameters of the wireless card. The
Wireless Access Point communication parameters must match those of the
The MVP touch panels allow users to connect to a wireless network through their use of the
For more information on utilizing the AMX Certificate Upload Utility in conjunction with the EAP security, refer to the section of the document entitled: Appendix B - Wireless Technology section on page 163.
Configuring a Wireless Network Access
When working with a wireless card, the first step is to configure wireless communication parameters within the Wireless Settings page. This page only configures the card to communicate to a target WAP (such as the
Step 1: Configure the Panel’s Wireless IP Settings
The first step to successfully setting up your internal wireless card is to configure the IP Settings section on the Wireless Settings page. The section configures the communication parameters from the MVP panel to the web.
Wireless communication using a DHCP Address
In the Protected Setup page:
1.Select Wireless Settings. Wireless communication is set within the IP Settings section of this page (FIG. 13).
2.Toggle the DHCP/Static field (from the IP Settings section) until the choice cycles to DHCP. This action causes all fields in the IP Settings section (other than Host Name) to be
DHCP will register the unique MAC Address (factory assigned) on the panel and once the communication setup process is complete, assign IP Address, Subnet Mask, and Gateway values from the DHCP Server.
3.Press the optional Host Name field to open a Keyboard and enter the Host Name information, if necessary.
14 |