EM6200 specifications
The Sunbeam EM6200 is a versatile and stylish espresso machine designed for coffee enthusiasts who value both performance and aesthetics. This compact unit combines advanced features with user-friendly operation, making it an ideal choice for home baristas and casual coffee drinkers alike.One of the standout features of the Sunbeam EM6200 is its powerful 15-bar Italian pump, which ensures optimal pressure for extracting rich, flavorful espresso shots. This high pressure is crucial for producing a perfect crema, delivering a café-quality experience right in the comfort of your kitchen. The machine heats up quickly thanks to its stainless steel boiler, enabling users to brew in just a short time without sacrificing quality.
In terms of user interface, the EM6200 is equipped with a combination of manual controls and an easy-to-read LCD display. This allows users to select from various coffee options, adjust the coffee strength, and customize their brewing experience. The intuitive layout ensures that even beginners can enjoy a seamless brewing process.
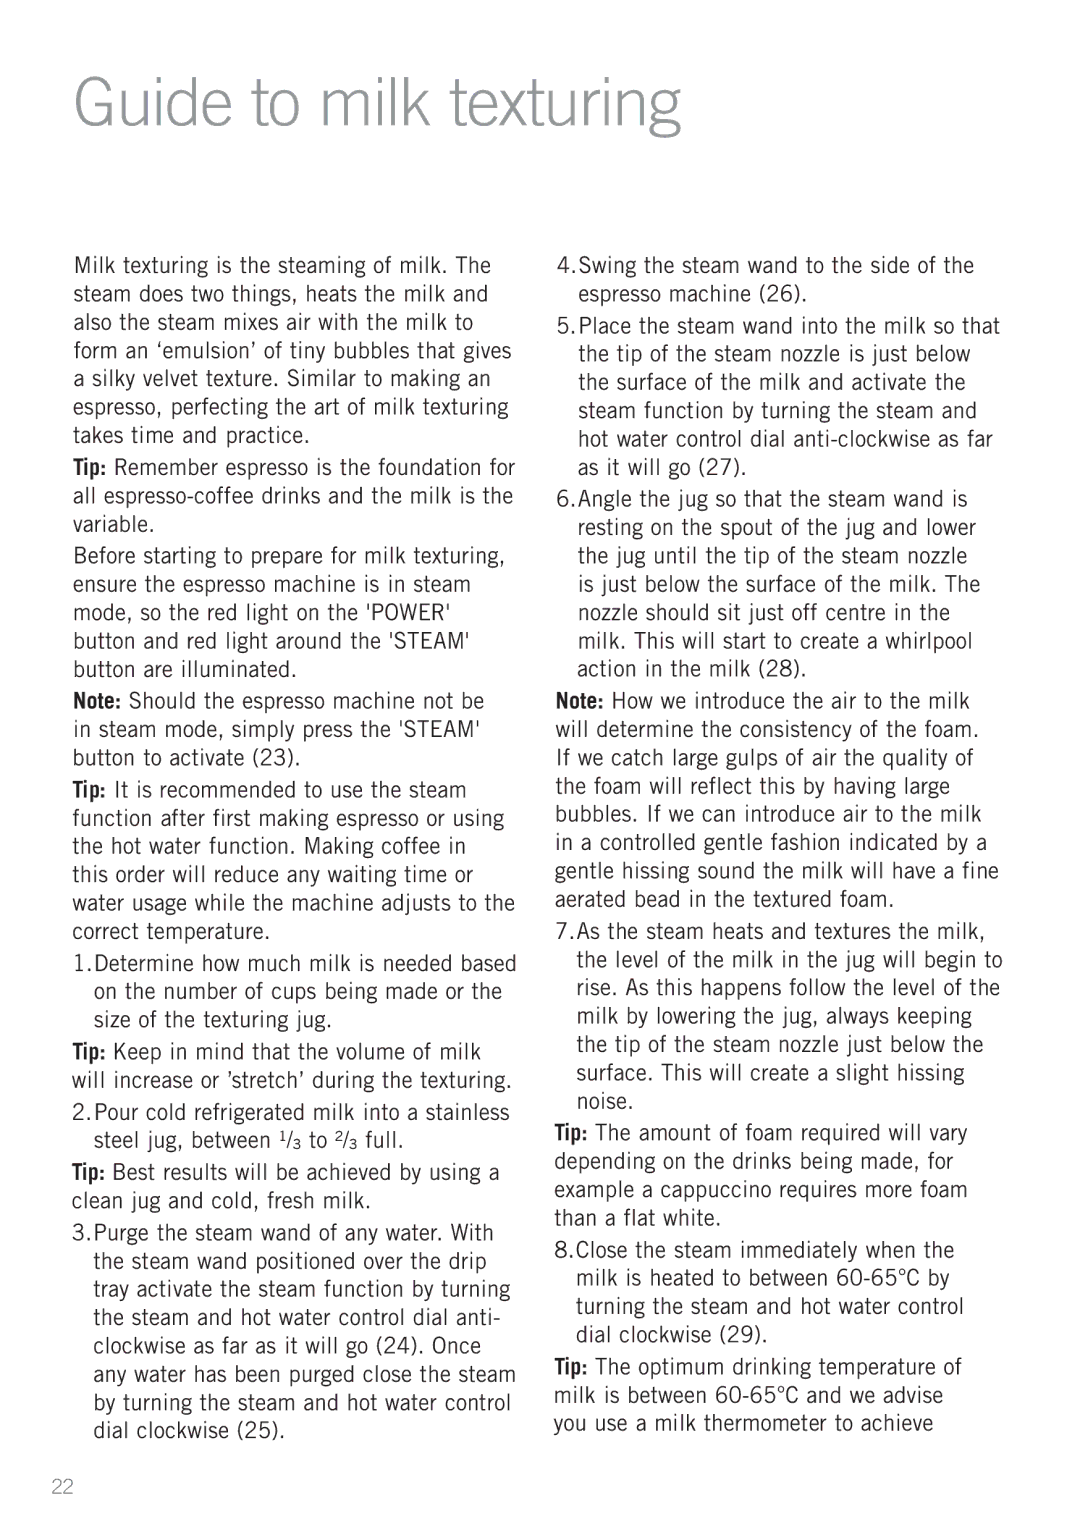
The Sunbeam EM6200 also features a built-in steam wand for frothing milk. This allows users to create creamy lattes, cappuccinos, and macchiatos with ease. The steam wand is designed with a 360-degree rotation, providing flexibility in frothing techniques and simplifying the milk texturing process.
For coffee aficionados looking for flexibility, the EM6200 supports both ground coffee and E.S.E. pods. This versatility ensures that users can enjoy their favorite coffee varieties while also having the convenience of pre-packaged options. The machine comes with a removable drip tray and water reservoir, making cleanup and maintenance a breeze.
Additional attributes of the Sunbeam EM6200 include its sleek design, available in various finishes, which enhances any kitchen decor. The machine is also equipped with safety features such as an automatic shutdown, giving users peace of mind during use.
Overall, the Sunbeam EM6200 is a well-rounded espresso machine that combines modern technology with practical features. Its combination of functionality, ease of use, and elegant design makes it a popular choice for coffee lovers seeking to elevate their home brewing experience. Whether you are a novice or an experienced barista, the EM6200 is equipped to help you craft the perfect cup of coffee every time.