Chapter 2: Installation
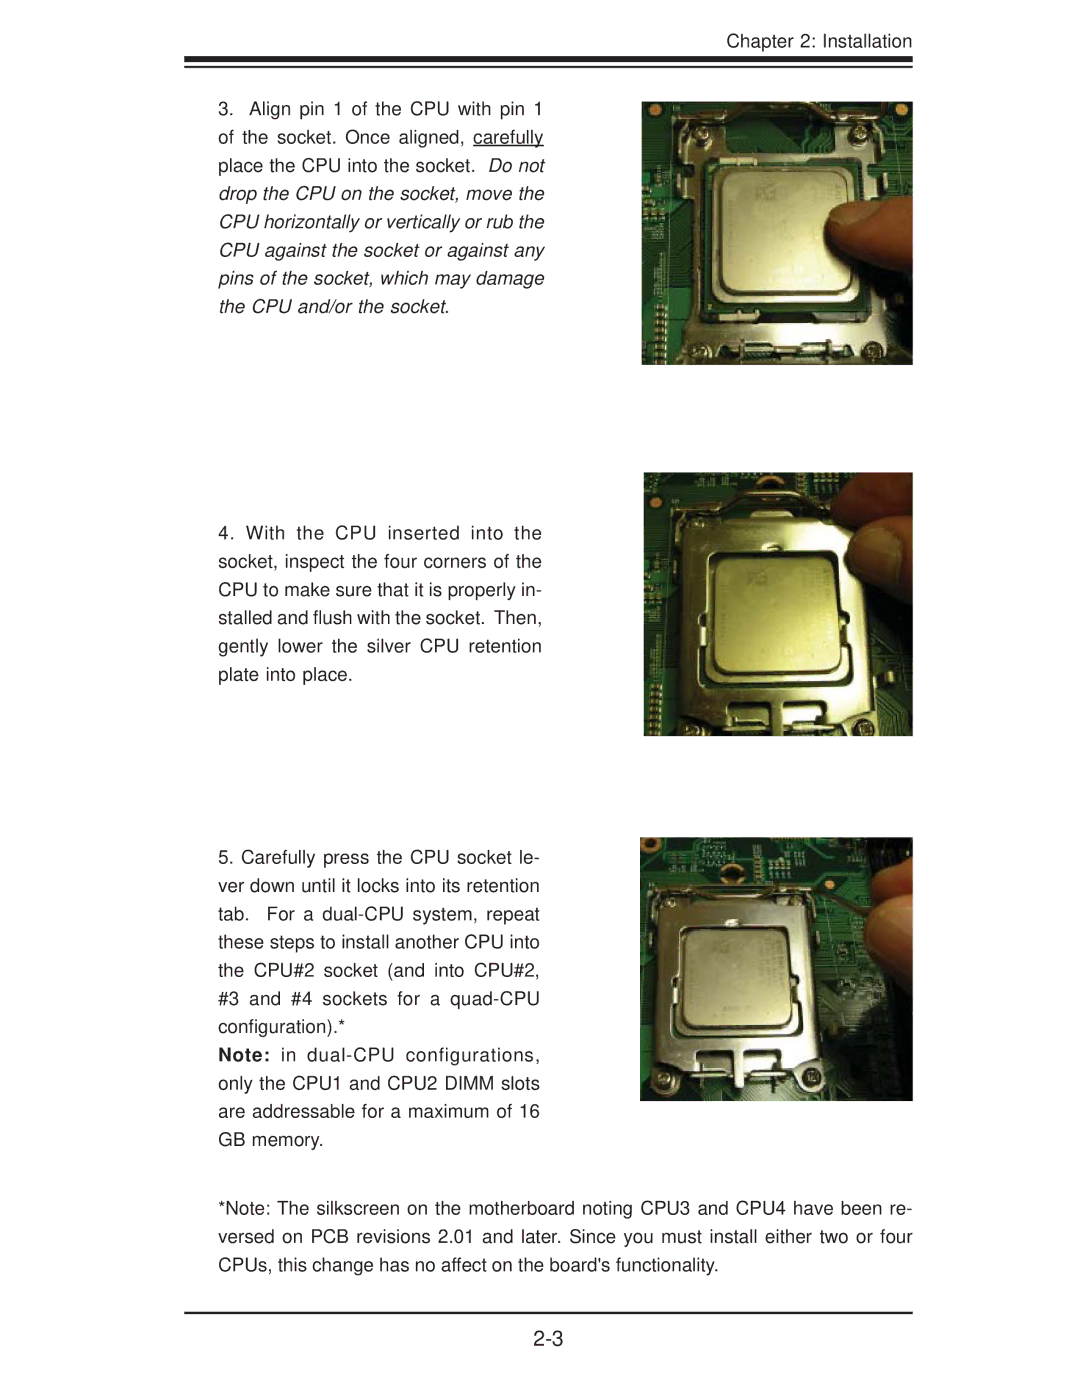
3.Align pin 1 of the CPU with pin 1 of the socket. Once aligned, carefully place the CPU into the socket. Do not drop the CPU on the socket, move the CPU horizontally or vertically or rub the CPU against the socket or against any pins of the socket, which may damage the CPU and/or the socket.
4.With the CPU inserted into the socket, inspect the four corners of the CPU to make sure that it is properly in- stalled and flush with the socket. Then, gently lower the silver CPU retention plate into place.
5.Carefully press the CPU socket le- ver down until it locks into its retention tab. For a
Note: in
*Note: The silkscreen on the motherboard noting CPU3 and CPU4 have been re- versed on PCB revisions 2.01 and later. Since you must install either two or four CPUs, this change has no affect on the board's functionality.