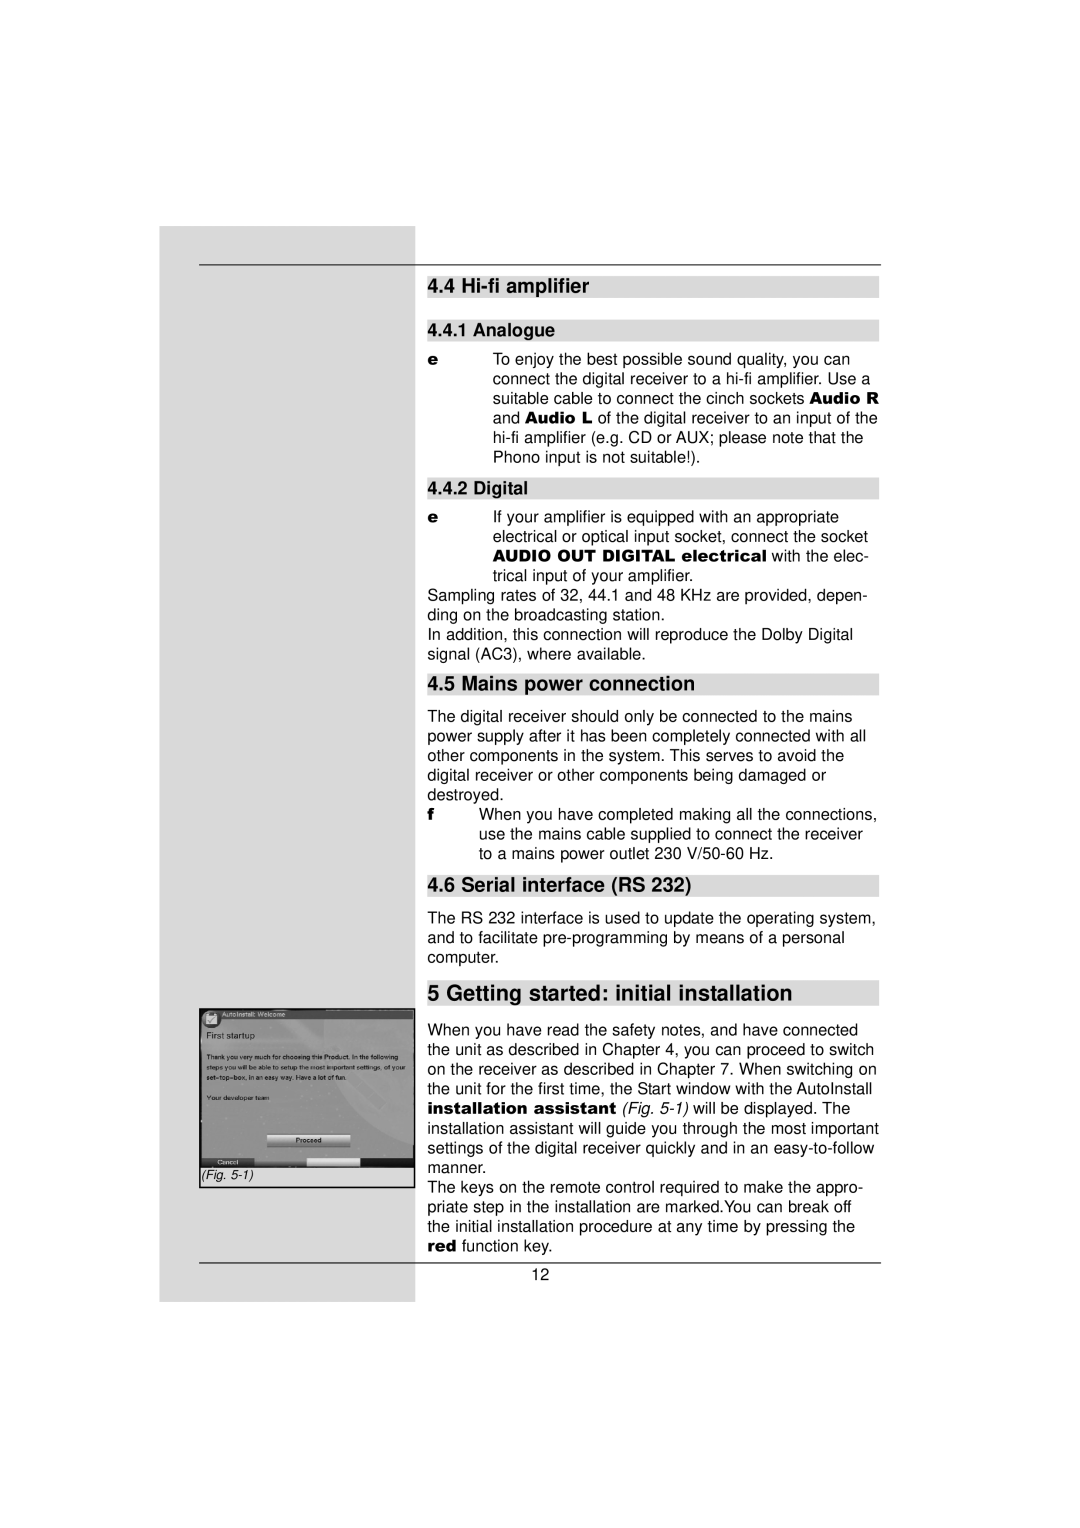
(Fig.
4.4 Hi-fi amplifier
4.4.1 Analogue
eTo enjoy the best possible sound quality, you can connect the digital receiver to a
4.4.2 Digital
eIf your amplifier is equipped with an appropriate electrical or optical input socket, connect the socket
AUDIO OUT DIGITAL electrical with the elec-
trical input of your amplifier.
Sampling rates of 32, 44.1 and 48 KHz are provided, depen- ding on the broadcasting station.
In addition, this connection will reproduce the Dolby Digital signal (AC3), where available.
4.5 Mains power connection
The digital receiver should only be connected to the mains power supply after it has been completely connected with all other components in the system. This serves to avoid the digital receiver or other components being damaged or destroyed.
fWhen you have completed making all the connections, use the mains cable supplied to connect the receiver to a mains power outlet 230
4.6 Serial interface (RS 232)
The RS 232 interface is used to update the operating system, and to facilitate
5 Getting started: initial installation
When you have read the safety notes, and have connected the unit as described in Chapter 4, you can proceed to switch on the receiver as described in Chapter 7. When switching on the unit for the first time, the Start window with the AutoInstall installation assistant (Fig.
The keys on the remote control required to make the appro- priate step in the installation are marked.You can break off the initial installation procedure at any time by pressing the red function key.
12