Please read this first
>Before connecting the receiver, first check that you have received all necessary parts. The following are included:
1 receiver | 1 mains cable | 1 remote control unit |
1 instruction manual 1 guarantee card | 2 batteries (1.5V size AAA) | |
>Insert the enclosed batteries in the battery compartment of the remote control unit, ensuring the polarity is correct as indicated
>Before switching on the receiver, please first read the safety hints in Chapter 3
>Chapters 4 and 5 show you how to adjust and connect the receiver so that it con- forms to the requirements of the external unit (dish antenna, LNB, etc.) as well as to those of the TV set, VCR, etc. These settings have to be made only once when com- mencing operation, and only need to be augmented when you attach additional equipment to the
>Chapter 6 describes all functions required for everyday usage, such as volume adjustment and programme selection.
>Chapter 7 shows you ways of setting additional programmes, and of changing the order of programmes.
>Technical terms used in the instruction manual are explained in Chapter 8.
>Technical data and specifications are to be found in Chapter 9.
>Hints on finding and correcting faults and malfunctions are described in Chapter 10.
Important hints on Usage
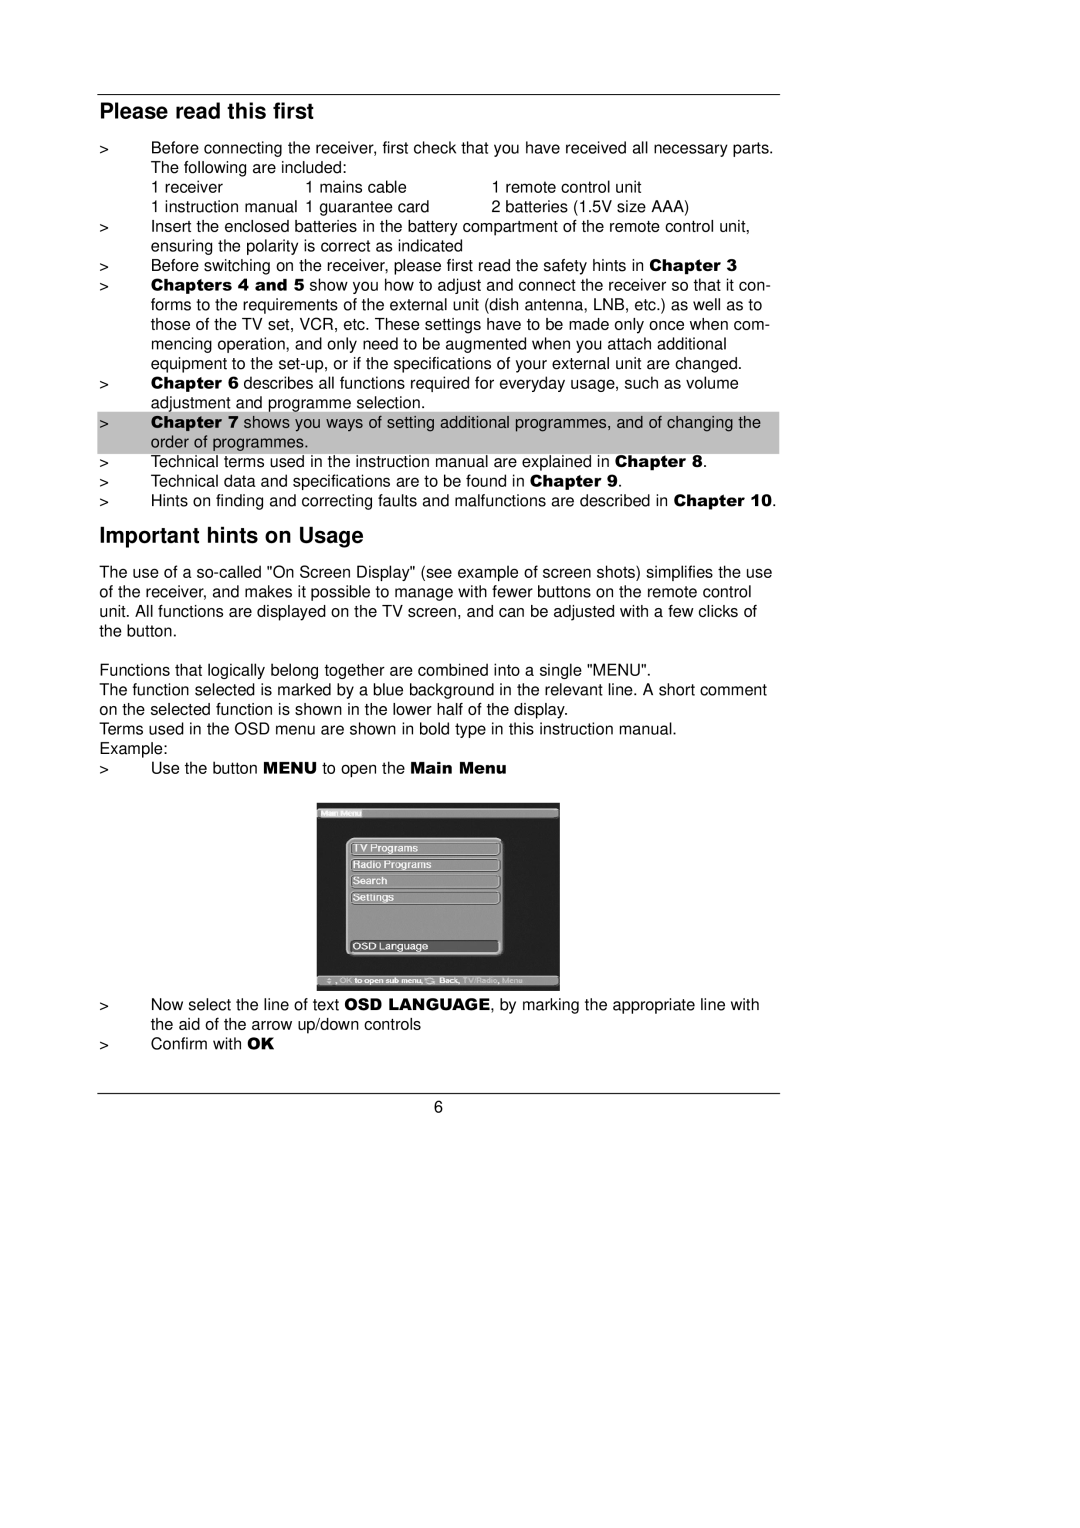
The use of a
Functions that logically belong together are combined into a single "MENU".
The function selected is marked by a blue background in the relevant line. A short comment on the selected function is shown in the lower half of the display.
Terms used in the OSD menu are shown in bold type in this instruction manual. Example:
>Use the button MENU to open the Main Menu
>Now select the line of text OSD LANGUAGE, by marking the appropriate line with the aid of the arrow up/down controls
>Confirm with OK
6
