Model 3000 | Quickstart Guide |
|
|
•Use the ◄► arrow keys to blink the range to be set: low (L), medium (M), or high
(H).
•Use the ▲▼ arrow keys to enter the upper value of the range (all ranges begin at 0 ppm). Repeat for each range you want to set.
•Press Enter to accept the values and return to analyze mode.
Note: The ranges must be increasing from low to high, for example, if range 1 is set as
Fixed Range or Autoranging Analysis
To switch from autoranging to fixed range analysis:
•Enter the range function by pressing the Range button.
•Use the ◄► arrow keys to move the blinking over AUTO.
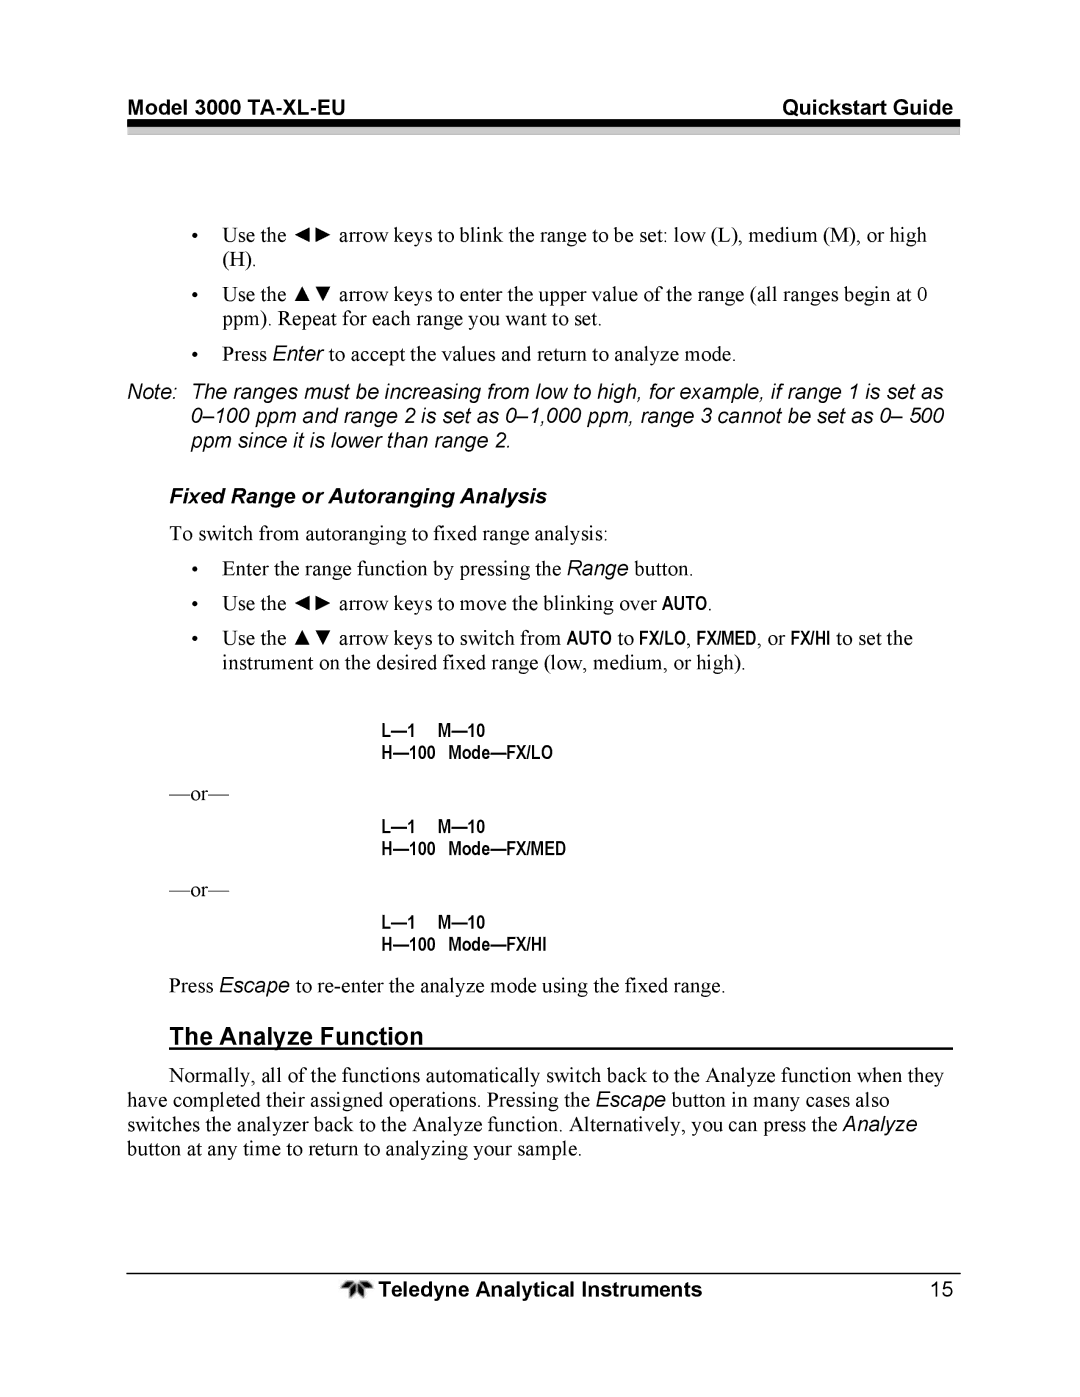
•Use the ▲▼ arrow keys to switch from AUTO to FX/LO, FX/MED, or FX/HI to set the instrument on the desired fixed range (low, medium, or high).
Press Escape to
The Analyze Function
Normally, all of the functions automatically switch back to the Analyze function when they have completed their assigned operations. Pressing the Escape button in many cases also switches the analyzer back to the Analyze function. Alternatively, you can press the Analyze button at any time to return to analyzing your sample.
Teledyne Analytical Instruments | 15 |
